

My best friend just recently got married, which of course just meant LOTS of fun crafting projects for me! One thing I knew I really wanted to make for this event were matching bridesmaids t-shirts! I’ve made tons of different shirts over the years for myself and my friends, but this was the first time I took on the challenge of making multiple matching shirts. I also wanted to make sure they had added special elements that would tie them into the rest of the wedding, so this was certainly a big undertaking, but I think the results were worth it! Everyone in the bridal party seemed very happy with them, and I even had one groomsman upset that he did not get one as well.
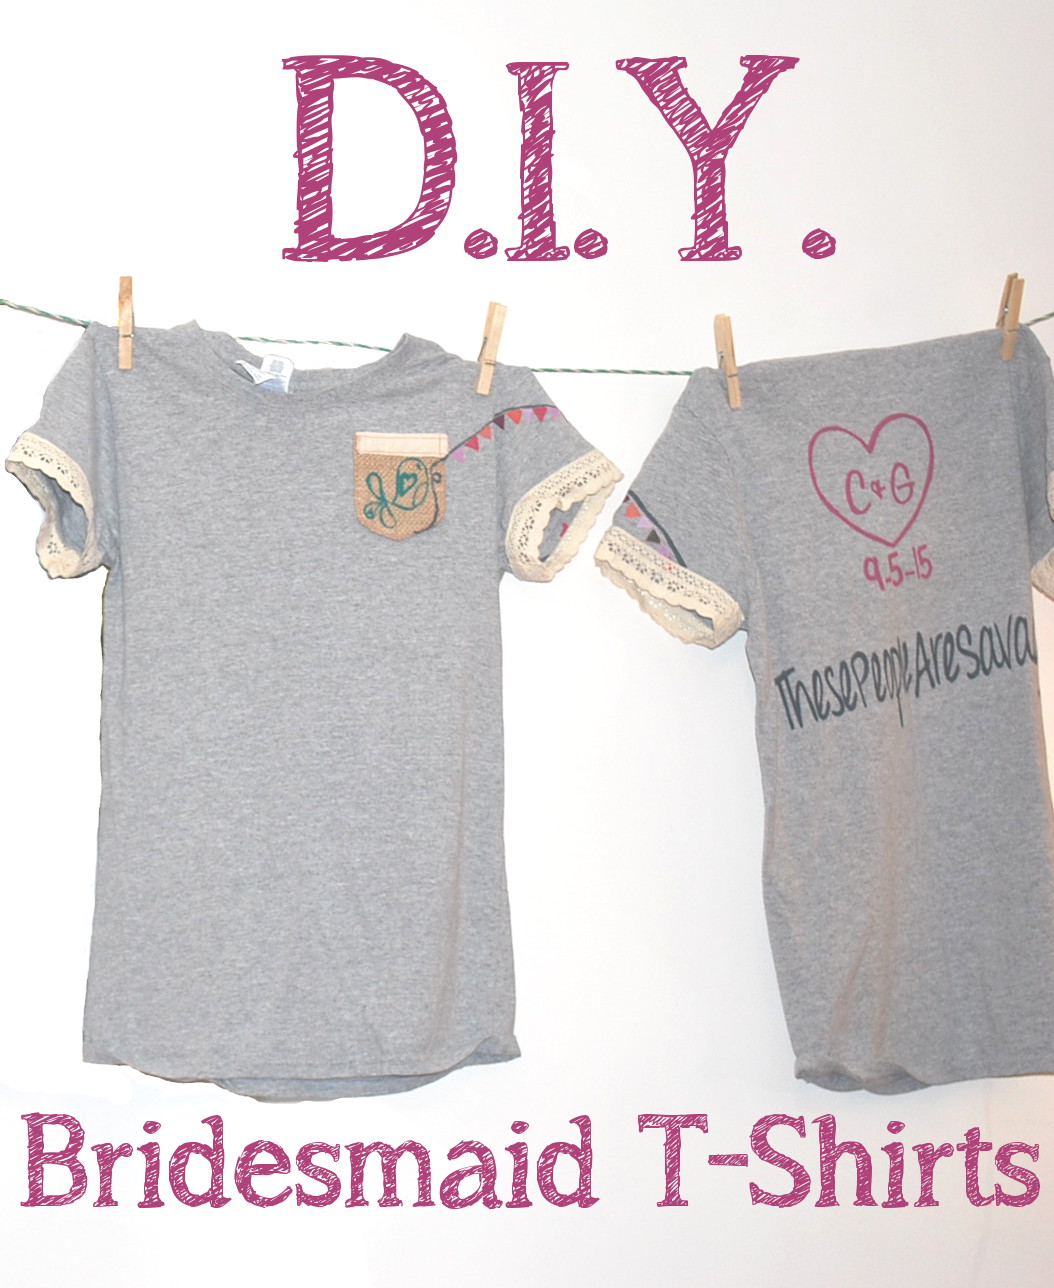
I decided to use very basic light gray t-shirts for the base, primarily because they were cheap but also because I needed something good for both painting and sewing. I did opt for a “girl” cut though. I first needed to add the text to the back. My friend snapped a picture for me of the cute initial and date stamp they were using for some DIY wedding projects, so I re-sized the picture in order to create a stencil. I also picked a coordinating font to add in their wedding hashtag.

Ideally, screen printing is the way to accomplish the stenciling I did on these shirts. However, I needed a lot of supplies to make that happen, and I’m on a budget. So I decided to instead use freezer paper stenciling, a technique I’ve had a lot of success with in the past. Simply draw or print directly onto the paper side of the freezer paper and then carefully cut your stencil out with an exacto knife. You can then iron the stencil wax side down directly to your fabric. In theory, these stencils could be used multiple times if you were very careful to not overheat while ironing the stencil on and then careful when removing the stencil. I wanted to ensure that each t-shirt would have equally precise lettering and I had plenty of time, so I just made a separate stencil for each shirt.

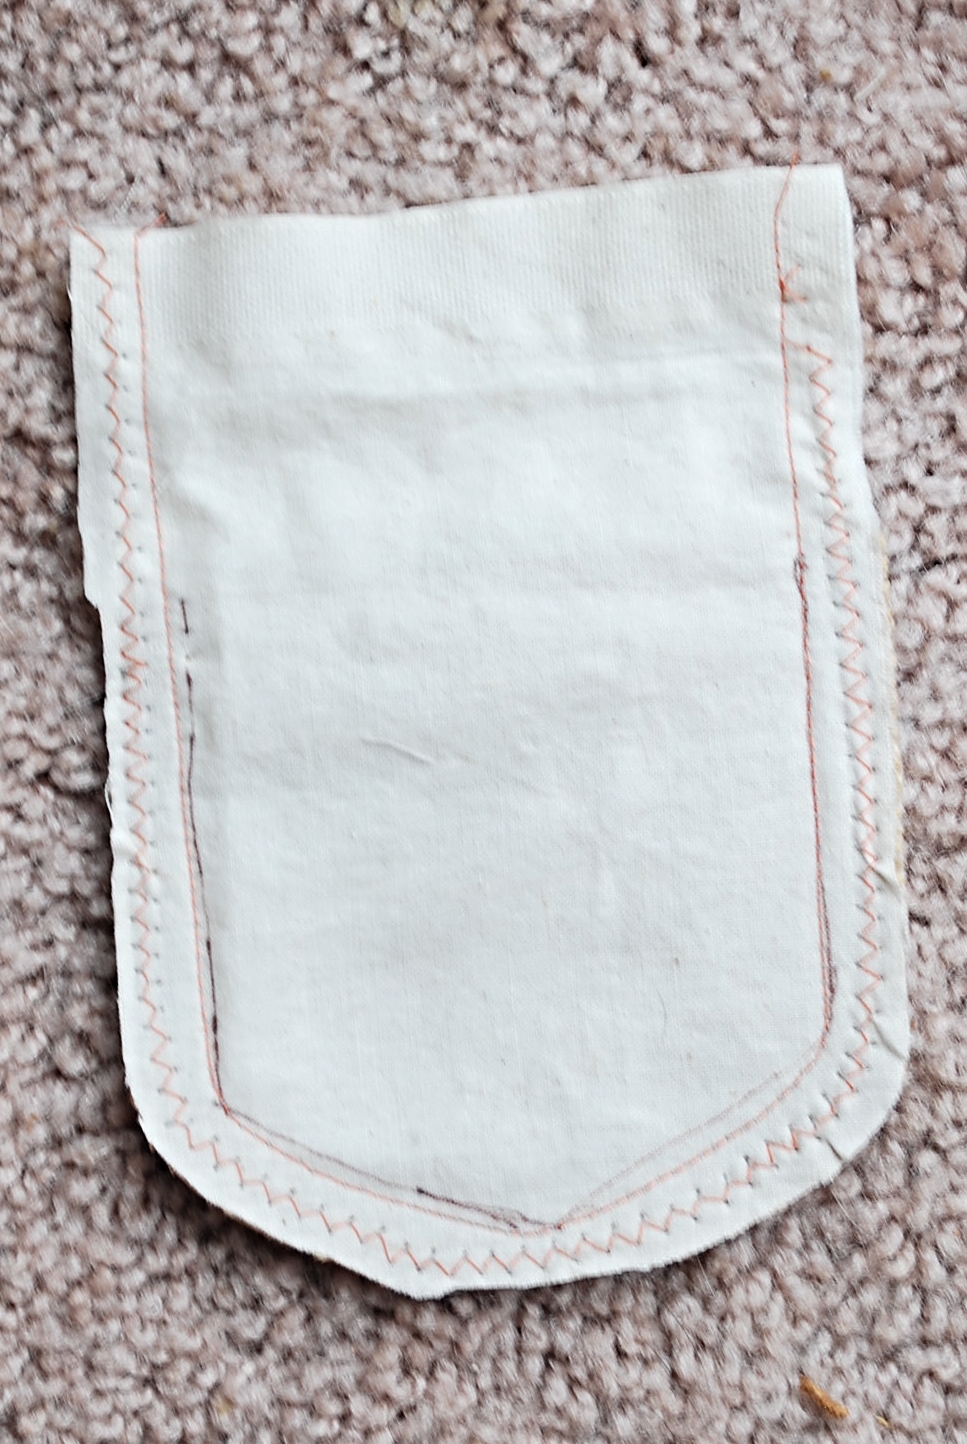
Once I had adhered the stencils to the shirts, I mixed up the fabric paint colors I wanted and applied with a foam brush. Then I got creative and awkwardly hanged t-shirts all over my loft while they dried. As I sat in my makeshift sweatshop, I sewed small chest pockets for the shirts. To match my friends farm wedding I wanted to make the pockets out of burlap, but I also wanted to avoid the burlap fraying and wanted the pockets to be strong enough to be functional. I decided to line the burlap pocket with two layers of cotton muslin folded over at the top. This allowed for the muslin to form the structure of the pocket, with the burlap seam completely hidden. I sewed all the pockets on after removing the stencils from the shirts once completely dry.

With the pockets all sewn on, I repeated the same freezer paper stenciling technique with a simple bird design I drew. I added strips of freezer paper to stencil a line around the sleeve (I later added painted flags to the line). In retrospect, I would have designed the front slightly differently as stenciling on the burlap resulted in less precise results than I would have liked. I would recommend either stenciling a simpler design on the burlap pocket, or making the pocket out of a different material.


Once the fronts were dry enough to remove the stencil, I added flags on to the painted string around the sleeve (my friend tells me this is called “bunting”). I decided to sacrifice a few foam paint brushes to turn them into triangle stamps for the flags. These ultimately worked, but the foam only stayed glued to the posts for the first half of the shirts, then I simply had to carefully stamp/finger paint the rest. If you have more than a few shirts to make, I would recommend constructing better stamps. In order to complete stamping on both the front and the back of the sleeve at the same time, I inserted a piece of curved cardboard for support. Be very careful when hanging the shirt to dry that the wet sleeve does not fall to touch the rest of the shirt.
Once all the paint was dry, I just had to add the last touch: lace hem! My friend had a very cute farm wedding in a barn with lots of lace accents, so I wanted to bring some of that to the shirts. I had never worked with lace before, so I found a cotton lace that I figured would be easy to sew and not be an issue with washing along with the t-shirt. Adding the lace was super easy, I simply folded under some of the shirt sleeve hem and then added the lace and hemmed the sleeve with a single top stitch!

I’m super happy how these turned out and everyone looked great in their shirts!