Whimsy Scribble

Grooming Van Conversion

DIY Mobile Grooming Van Conversion - Plumbing and Electrical

Grooming Van ConversionMichela Mastellone-SchottmanComment
20210122_095953.jpg

Finally this monstrous undertaking in my life is finally starting to take flight. The Wild Rover-Mobile is up and running and fully functioning complete with giving our clients full bathing services! This means that yes, I’ve finally mastered (haha - not even close) the plumbing and electrical systems on the van so we are able to run all of our equipment (like a dryer) and have heated water to give baths with a recirculating bathing system. Unfortunately among the many “bad timings” this van project has had, in our first weeks of operating we had extreme low temperatures causing freezing I didn’t account for and burst a few of my plumbing components (luckily nothing too challenging to replace). But that experience led me to realize I had not properly accounted for needing to be able to drain the system entirely during the winter, so I’ve now made some design adjustments to add in what drainage valves we will need to keep everything running smoothly all times of the year.

Along with extreme freezing temperatures, we’ve also been hit with several storms and a good amount of accumulated snow. And of course, just to keep us on our toes, the van has had a few mechanical hiccups in the first few weeks of being in service. An extraordinary noise announced the development of a giant hole in our muffler that we had to bring in to a mechanic to be fixed. Less than a week later, we found ourselves broken down on the side of the highway. Ultimately we were able to get ourselves going again - with lots of help from family from troubleshooting over the phone to help me identify the problem, to roadside deliveries of transmission fluid. Long story short: I now know how to fix transmission hoses. We have had a pump seize up on us and stop working and the water heating system is still not working to the efficiency I had hoped, but luckily all of the “plan B” options I’ve come up with on the fly have worked out alright for us and we’ve been able to continue working. So needless to say - I am not yet fully finished, but the end is in sight.

We had about a month in which we caught up on appointments in our van though were not yet able to offer baths. A short break thereafter allowed me to buckle down, practically live in the van, and get us all set up to operate fully. The first major step of this: the bath. A huge component of this van is that it can give us the capability to offer full bathing services, something we were previously unable to do. This of course requires a LOT to make happen in the back of a van. In a previous post, I made this basic diagram to figure out how our system would work.

van plumbing.jpg

Now I just had to actually make it happen. First to tackle was the piping required for the water heating system. I chose to use PEX piping since sections of it would need to sustain high heat. It is also relatively easy to work with. I can’t even really explain how all of this came together. I spent a lot of time in awkward positions under the tub table, struggling to attach a pump under the tank mount and trying to figure out the most logical place to put things in order to still access filters that would need regular maintenance.

PLUMBING.png

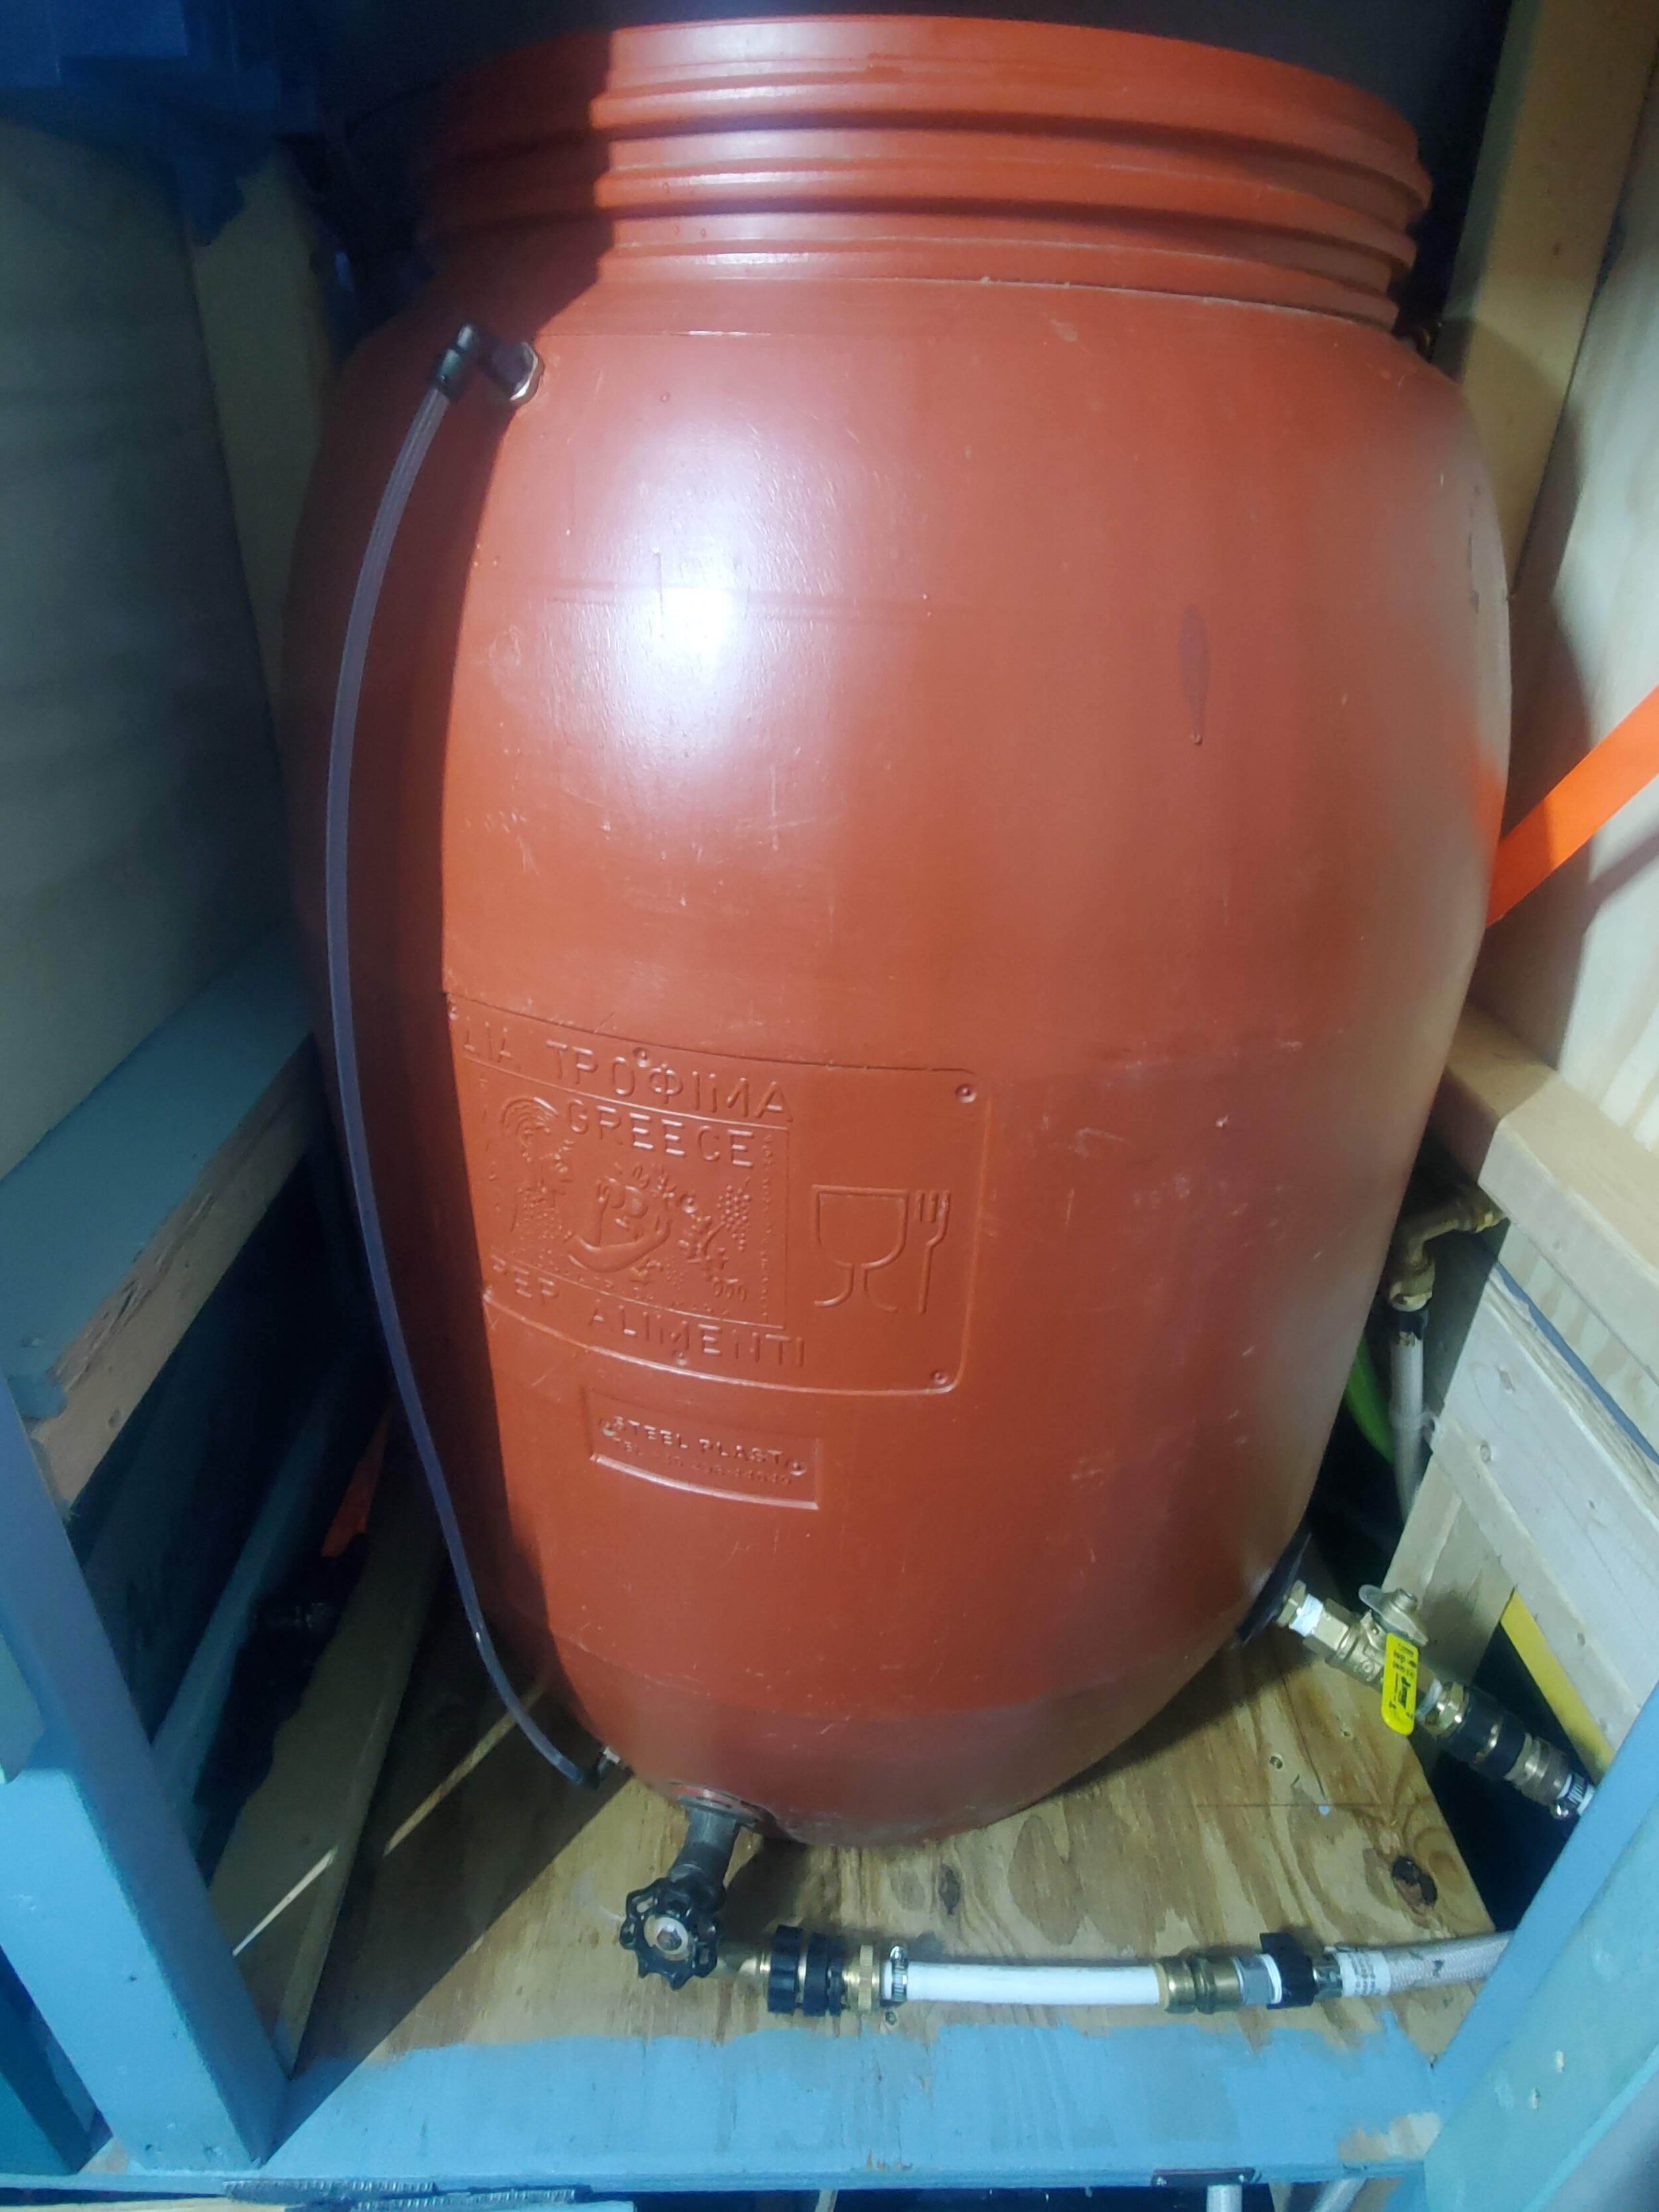
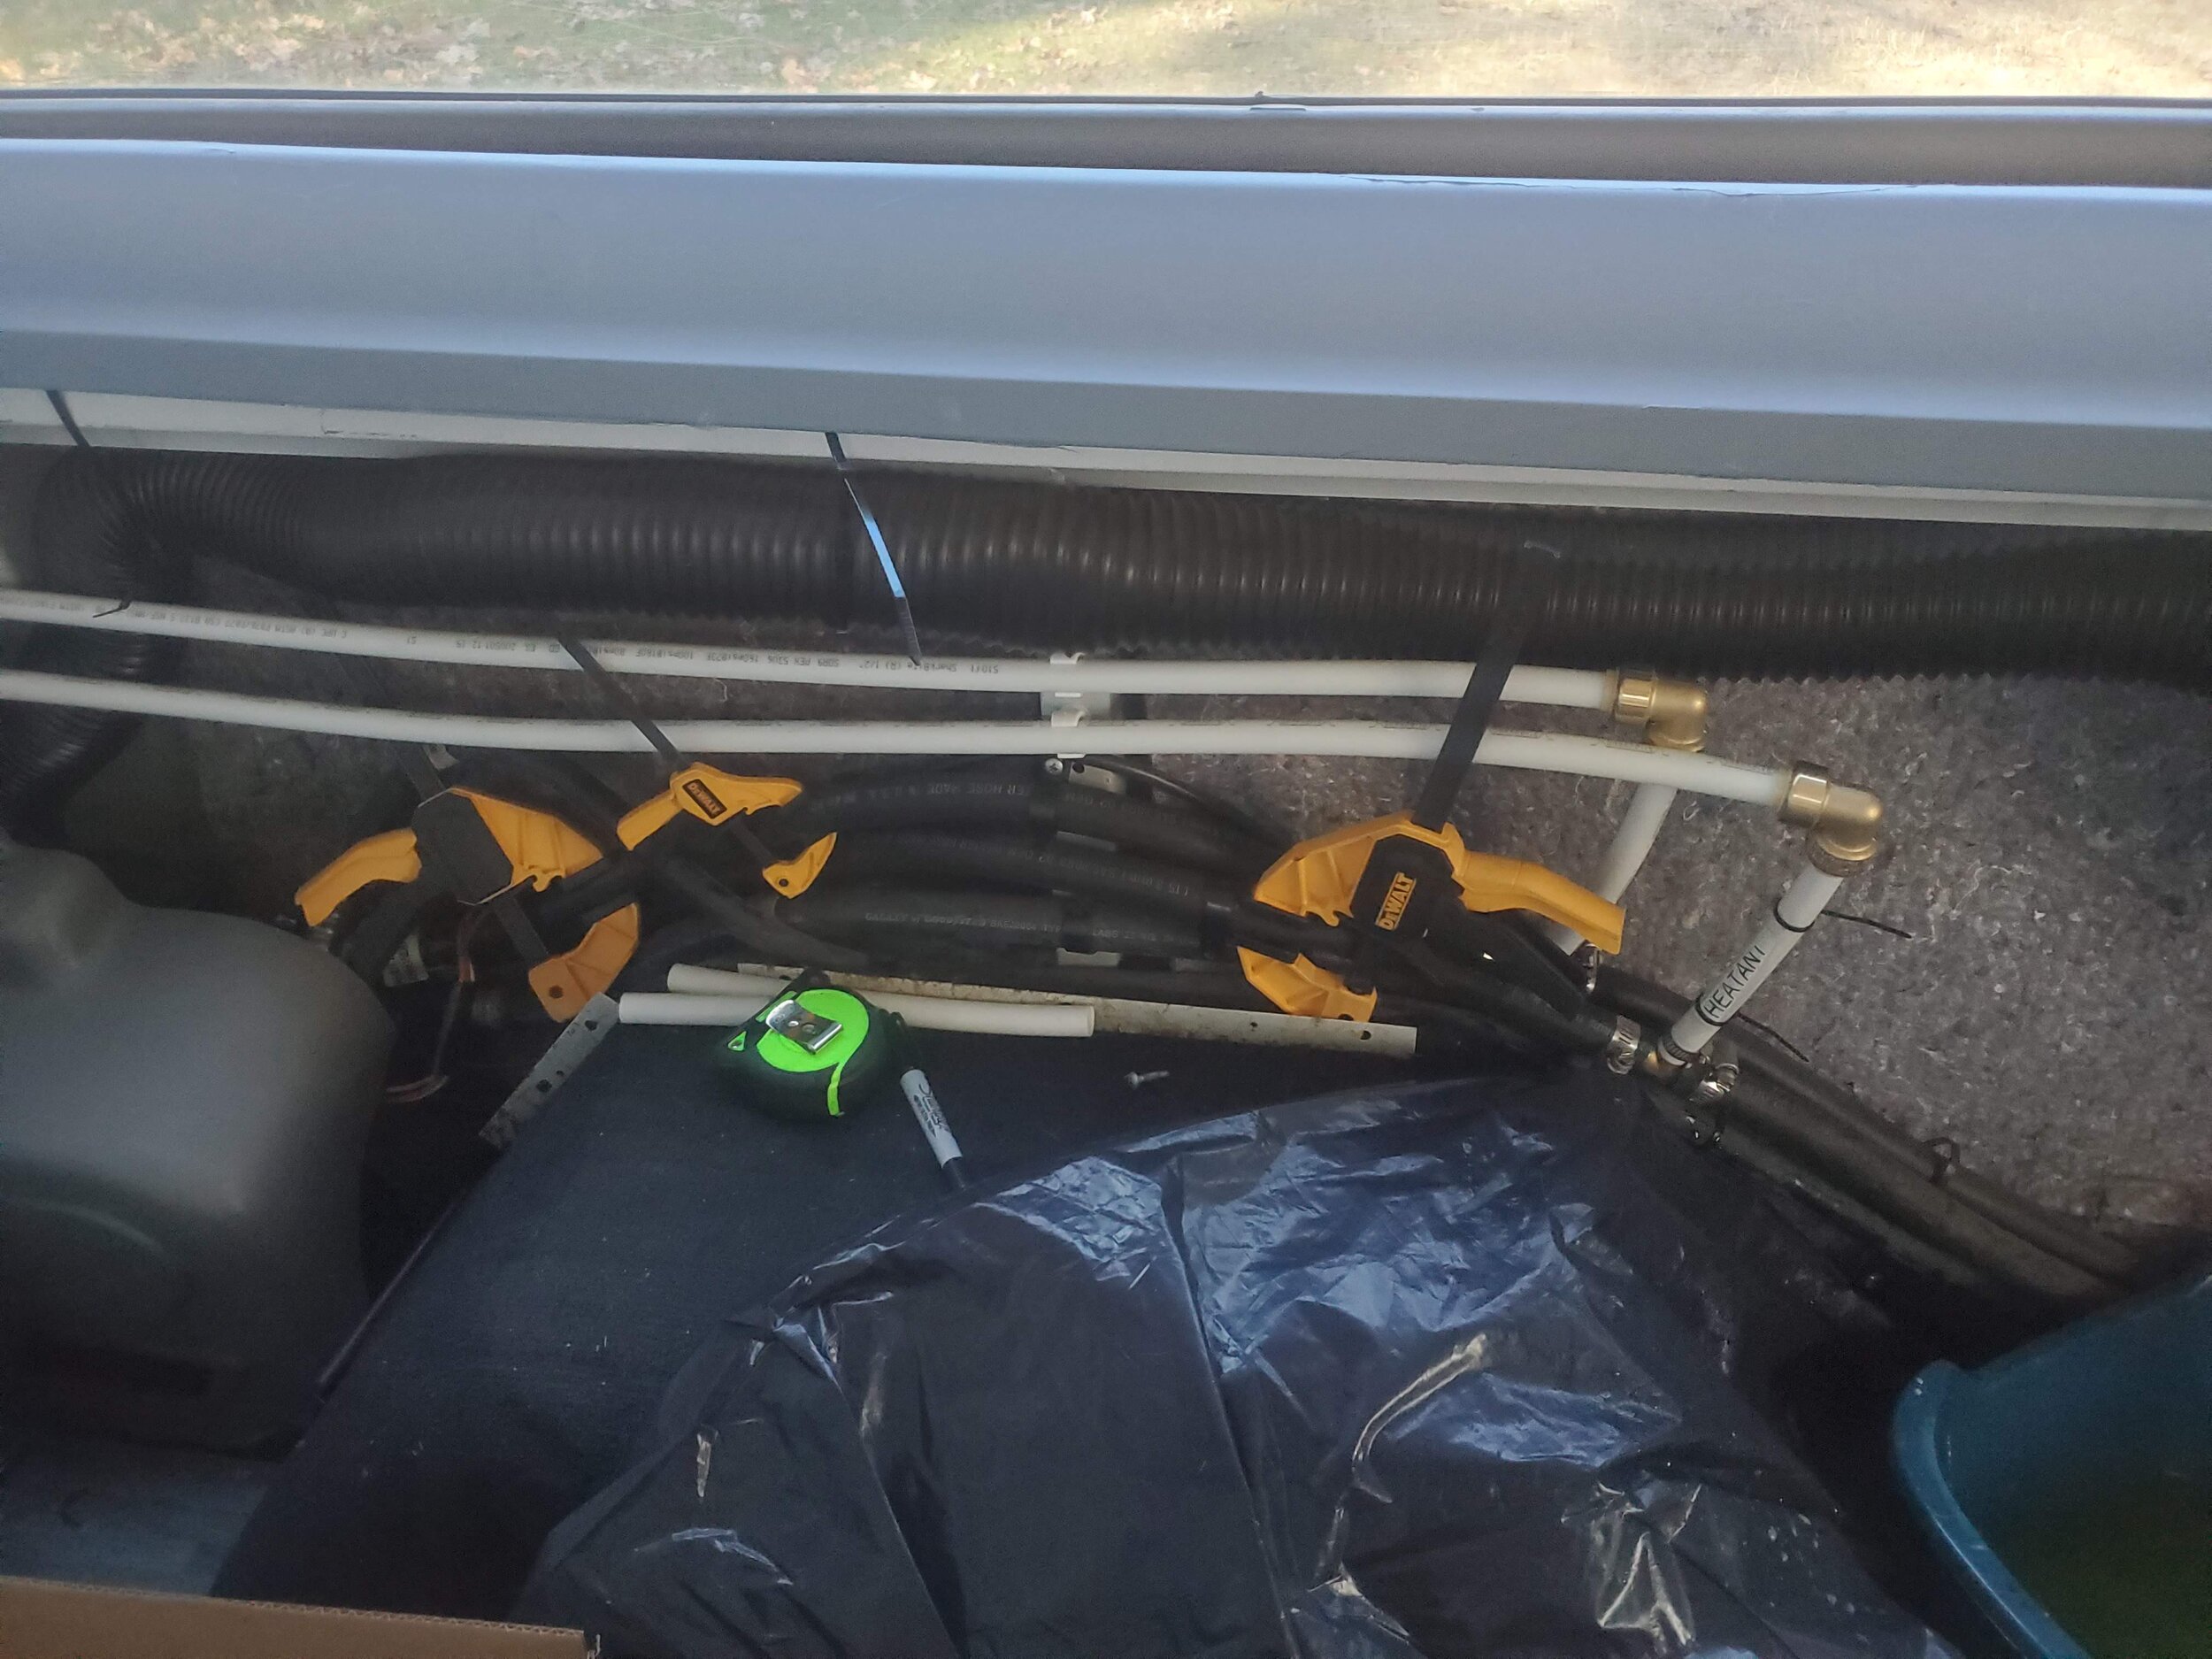
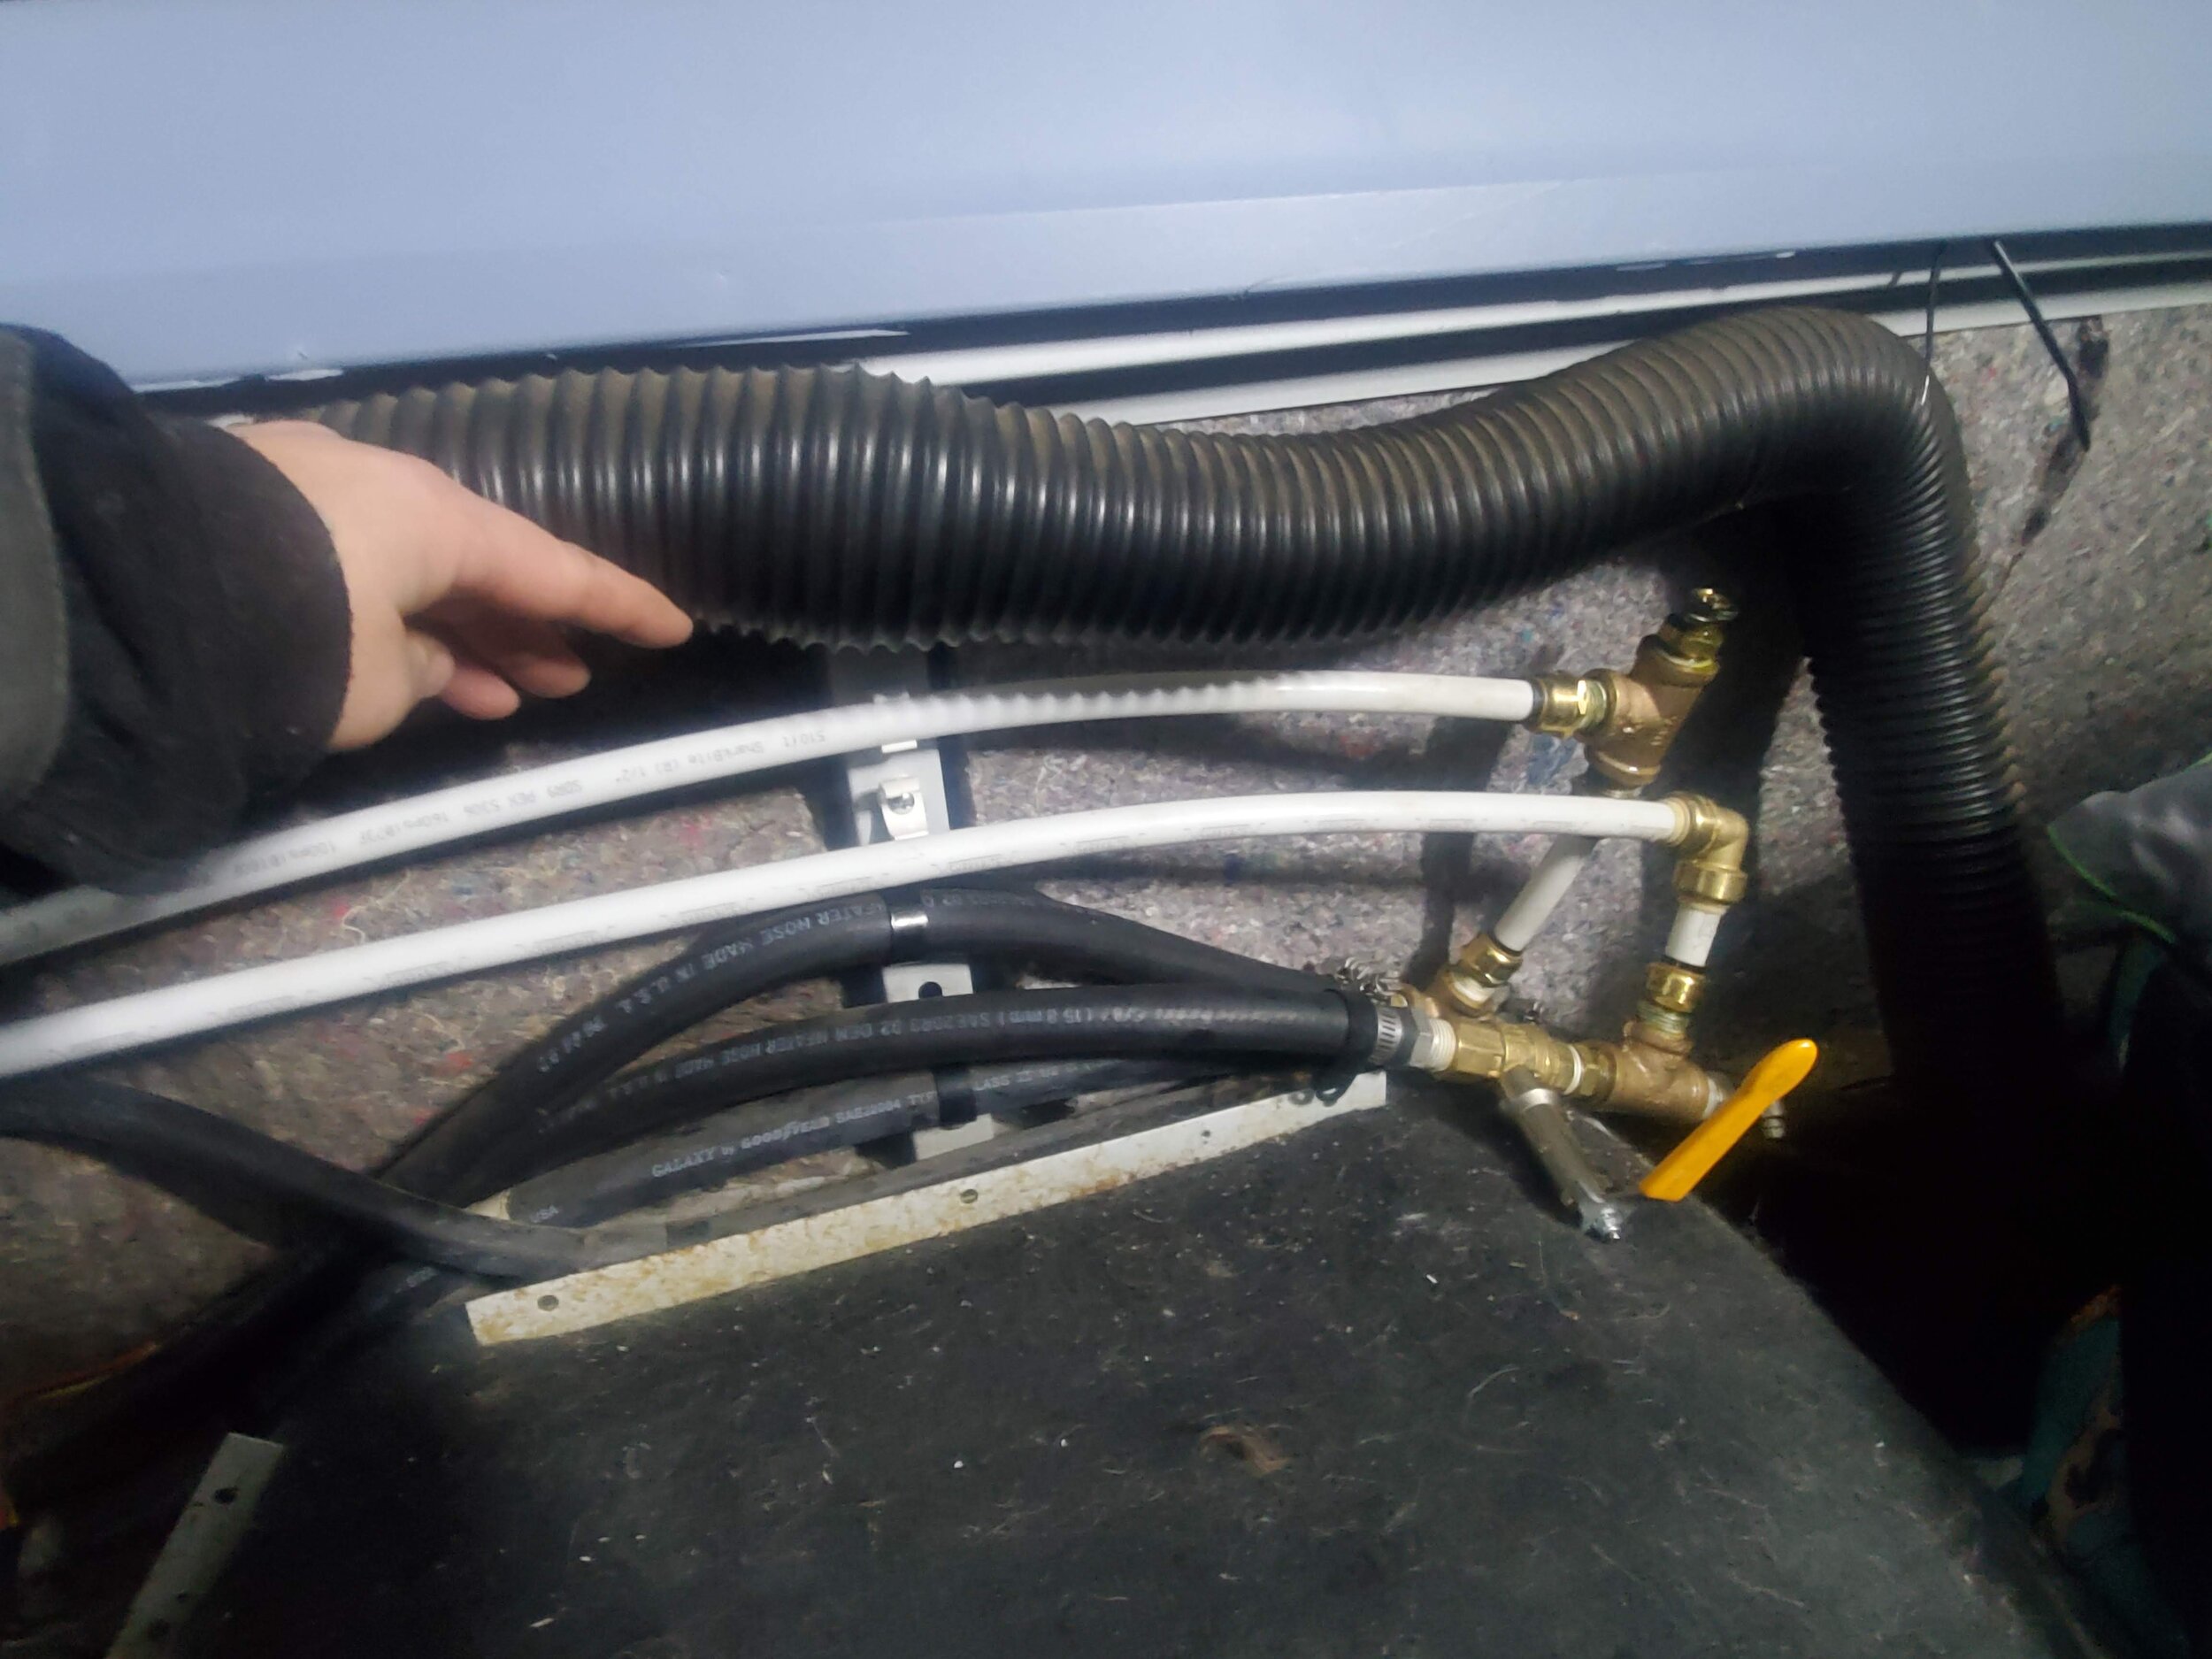
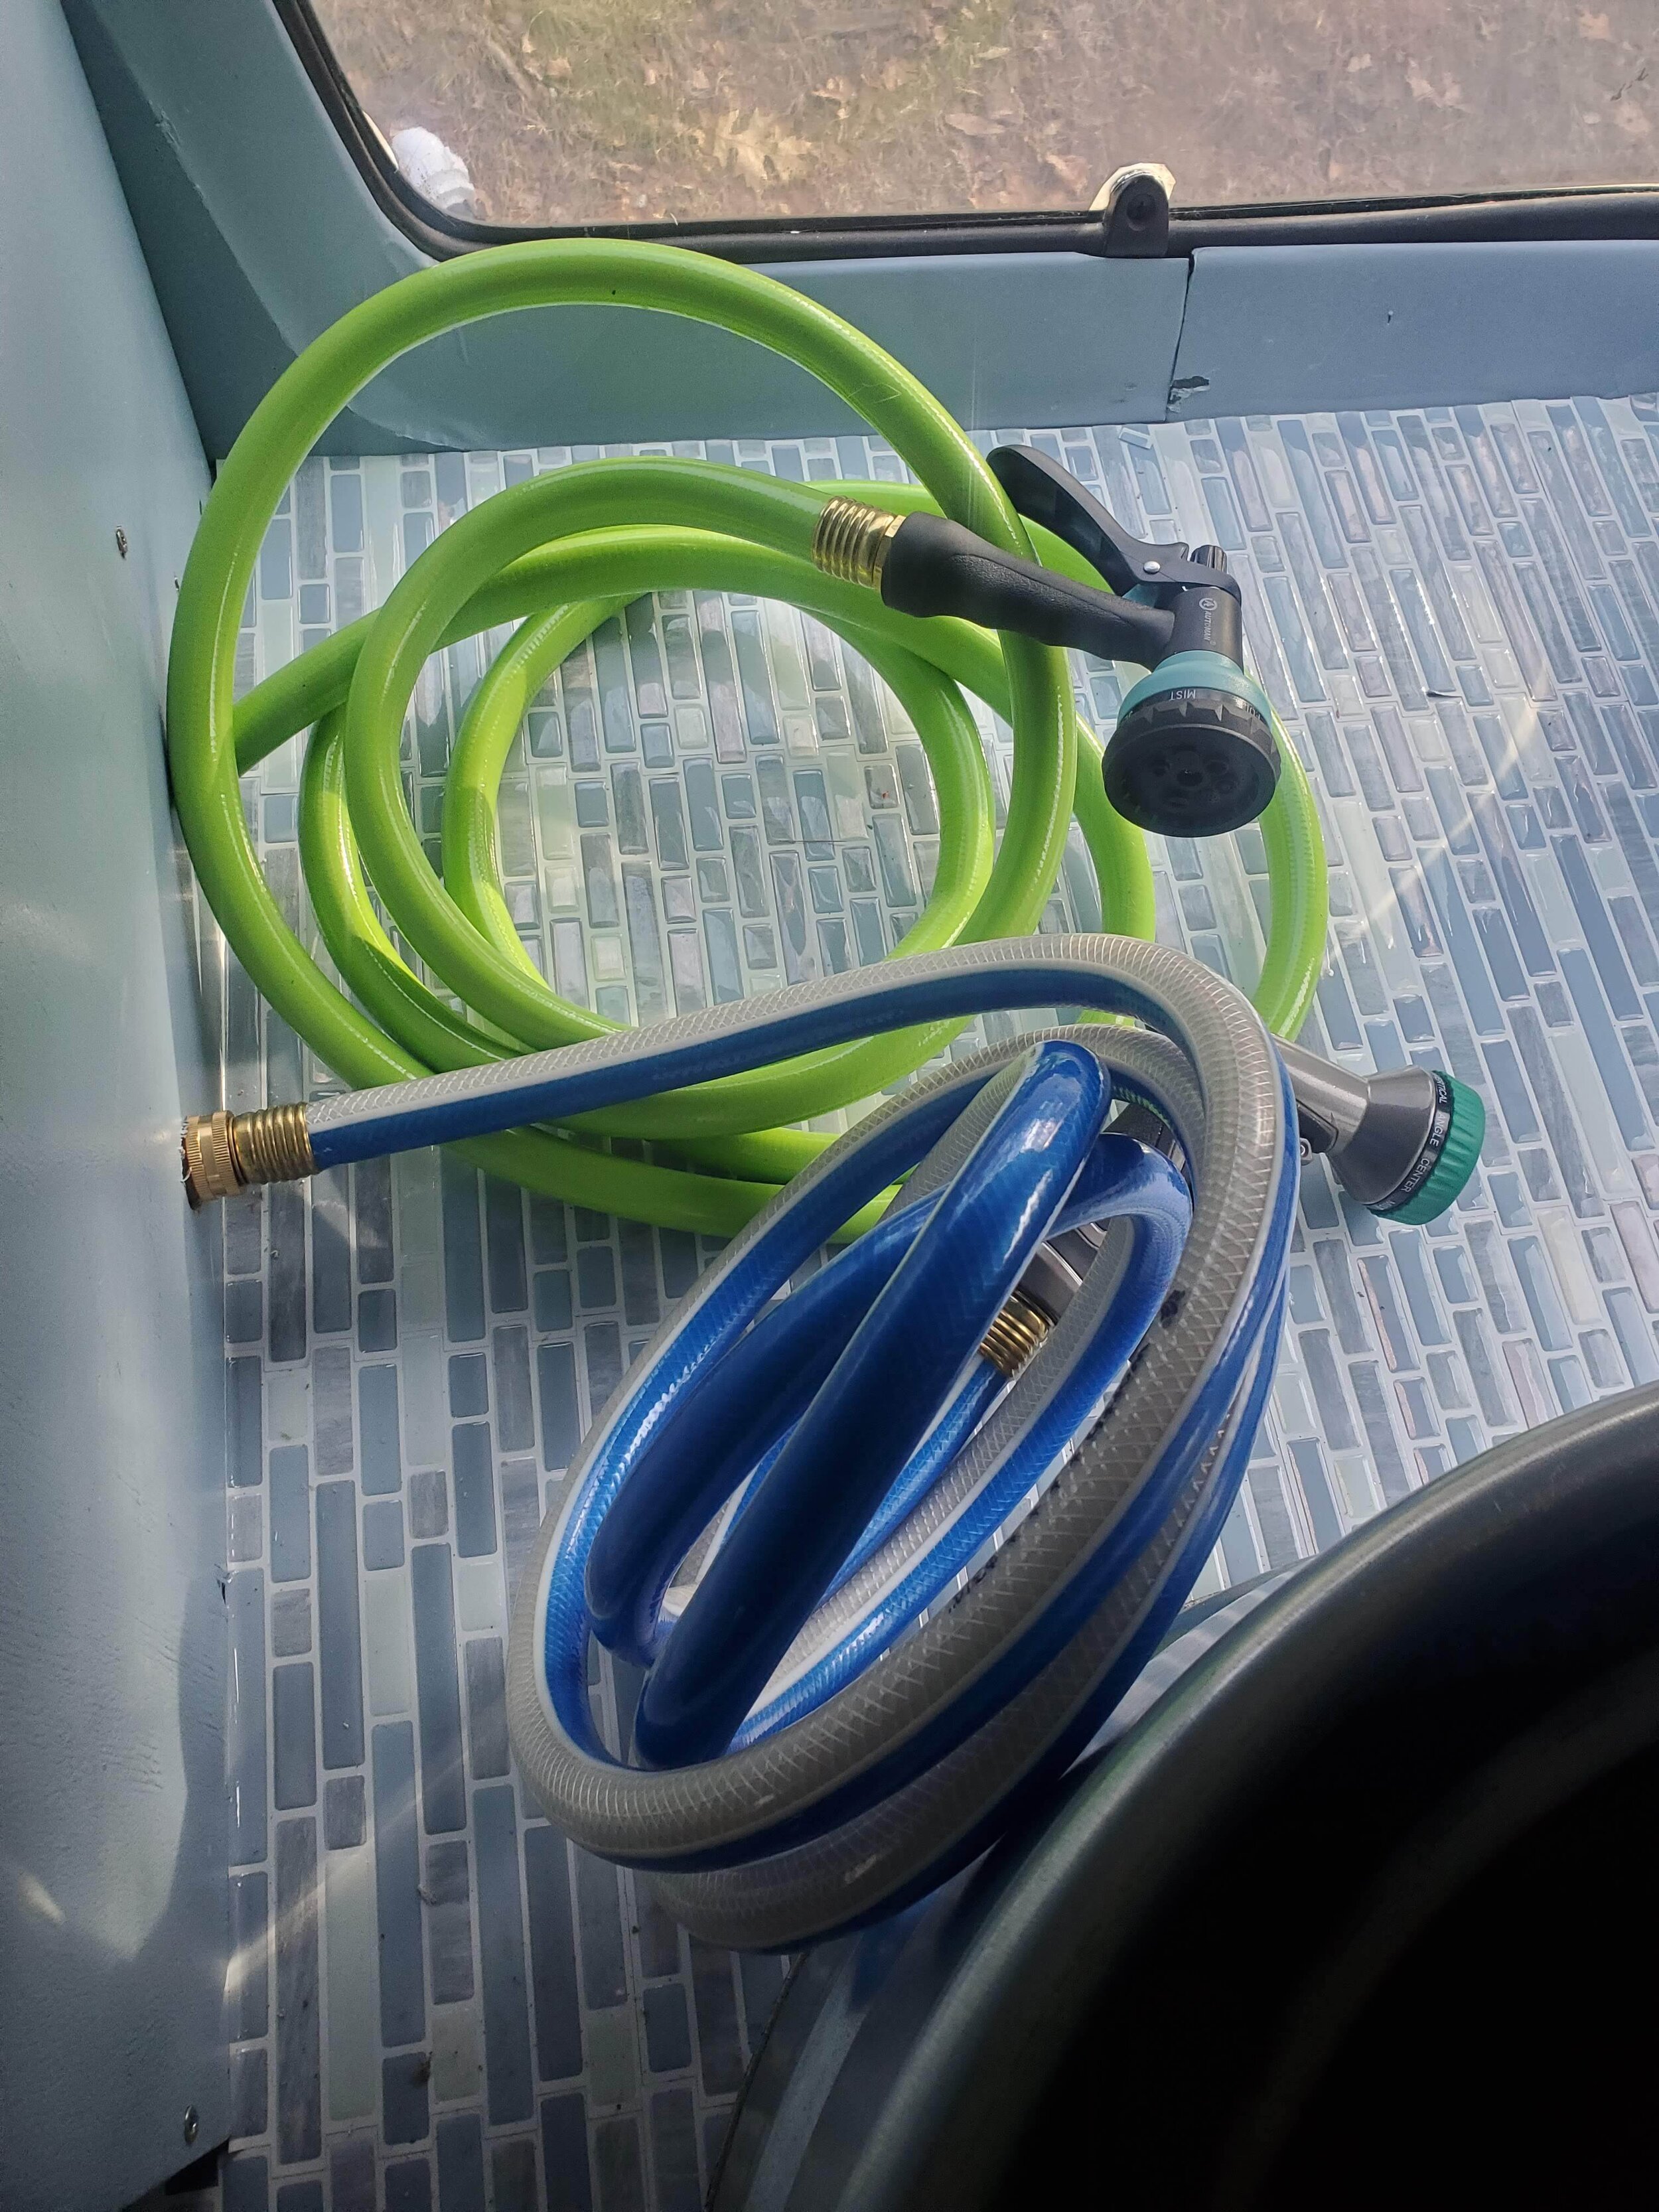
There are basically 4 separate systems involved to make this all happen. The “rinse” system (blue line) goes directly to a filter and pump mounted underneath the tank and then strait through the tank cabinet to a hose in the tub area. Right now this is one of the systems that I have had to manually disconnect every night to drain, so I am adding a valve for easier maintenance. The “wash” system (green line) involves the recirculating pump. Before each bath, that tub is filled with fresh water from the tank and a mixture of shampoos. The process of spraying a dog with premixed shampoo and water makes for a much more effective bath. A long hose is connected directly to the recirculating pump and runs under the table through the tank cabinet to the tub area. The “heat” system (red and purple pipes) has several components involving a heat sensor positioned in the water tank and a pump and electric valve that are activated if the water is cooler than our set temperature. This is another system that is being slightly re-routed and having some drain valves added in order to maintain it in freezing weather. I was nervous about connecting this heating system up to the heater hoses of the car, but my partner luckily had the wise idea to not only drain what coolant we could out of the system beforehand, but then we backed the van up onto a steep slope of our yard in order to shift as much coolant forward out of the hoses I was about to cut into. And it worked! I won’t say there was NO mess, but it could have been significantly worse. It all went much smoother than I expected - even figuring out the directions of the heater hoses, which I was dreading, was pretty straight forward with a helping hand to turn on the car and then off again as soon as I saw which hose was going to start spewing coolant. One other small complication I ran into was that there was not enough pressure in the heater hose to keep everything circulating efficiently. This was temporarily fixed using clamps to apply pressure to the heater hose after the PEX intersection. I have since replaced this set up with a flow control valve and an air valve to help clear any air out of the coolant system. I also have had to make several adjustments to the various spigots attaching the piping and tank to attend to leaks, and have added a small tube on the outside of the water tank to make monitoring the water level much easier.

Once the heat exchange was mounted and all the PEX piping was in place, I could figure out where to place the tub drain. This drain is far from perfect and made up of some very mismatched parts in order to create something that would work for our very hairy circumstances. I used a large drain specific to grooming tubs and then attached a large additional hair trap. I used a split for a garden hose in order to manually switch whether we are draining into the recirculating “wash” bin or if we are draining into our grey water bin. Placing the drain I had to keep in mind that I still needed to be able to slide the bins out from the back of the van as well as needing to access the manual drain switch from the inside of the van. I first cut the hole for the drain in the plywood of the tub table and then used a giant metal punch to surprisingly easily cut a drain hole in the tub. I adhered a pvc shower liner to the plywood table and cut the drain hole out before gluing the tub in place and installing the drain. At the same time, I finally closed up the remaining back wall panel. I had to custom cut this piece, add supports to the side wall pieces as well as anchoring to a ceiling frame bar, then used the remaining pvc shower liner to cover the plywood in order to make a much sturdier and water resistant panel than what was there originally. I covered the wall panel with matching decorative vinyl to the other walls and covered the exposed pvc of the tub table with an additional protective layer of decorative adhesive tiles. I also cut shower tiles to fit the bottom and make for a more comfortable bath floor for little pup feet.

20210108_190652.jpg

The next major hurdle was the electrical system. In figuring out what I would need in order to run all our equipment, I had to take account of every single device aboard that would require electricity. I kept this in mind as much as possible when choosing equipment like pumps, trying to choose 12 volt products when possible (I have decided to replace one of our pumps for this very reason of drawing an excessive amount of energy). Not only did I need to know the energy usage of everything in the van, but I also needed to account for how much time everything would be in use in order to have a large enough battery bank to last us through a full work day. If this is something that you ever need to do, I strongly recommend getting your own meter to measure wattage used since specs written about products are notoriously inaccurate.

Volts

Amps

Watts

Min watt-hr

Max watt-hr

Heat exchange pump

12DC

0.7

8.4

8.4

16.8

Tub pump

12DC

7.5

90

90

90

Recirculating pump

115AC

5

575

862.5

Dryer

120AC

8.5 (11.3 startup)

1025 (1350 startup)

1550

1550

Clipper vac

115AC

0.8

92

368

Fridge

12DC

3.75

45

45

225

Light strips (3)

12DC

1.5

18 (54)

270

Light bars (4)

12DC

0.5

6 (24)

120

Thermostat

12DC

3

36

36

72

Fan

12DC

0.27

3.24

18

18

Shut off valve

12DC

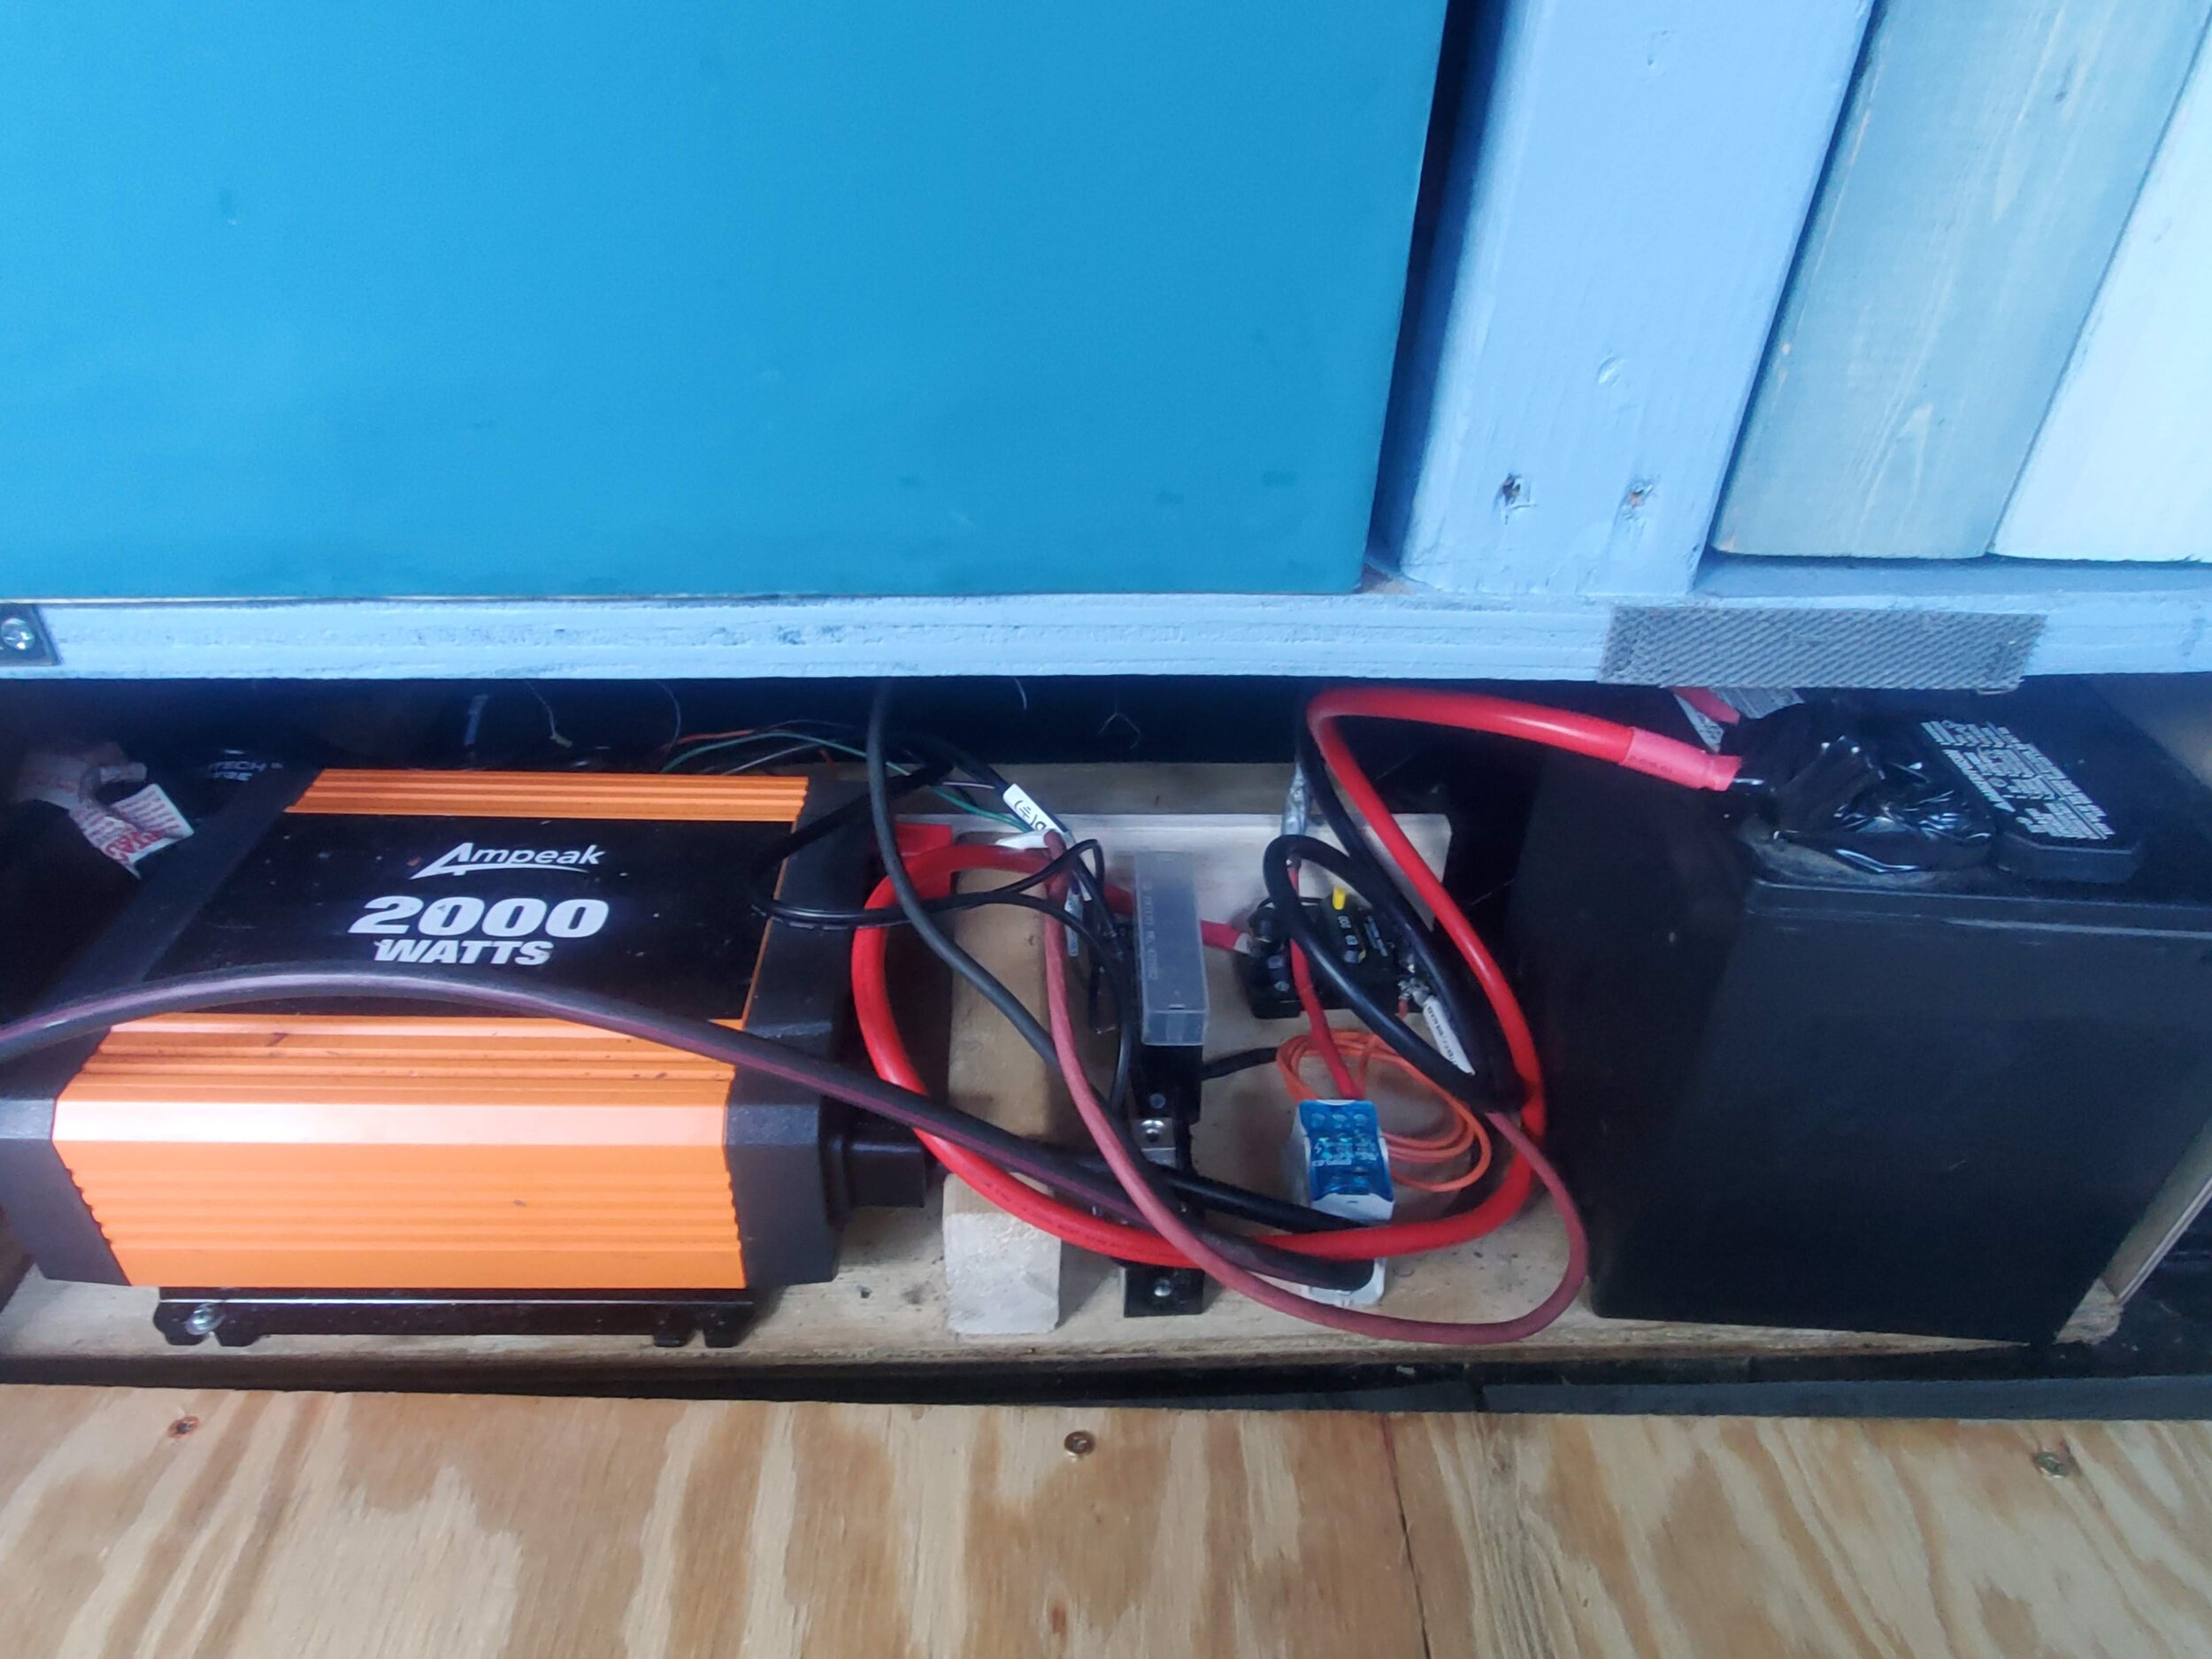
In order to decide on what we needed in terms of batteries, I recruited help from my resident engineer. There are LOTS of options for this, and all are very expensive, complicated, and potentially dangerous, so I pulled the expert in to the purchasing process to figure out what would work best for us. We ended up ordering the components needed to build our own battery system. This is only something I could do because I have the help of someone who knows what they are doing. Buying the components individually means that it is ultimately easier and cheaper to repair should one component fail as well as gives us a bit more flexibility in future expansion. However, these really need to be assembled by an expert as the lithium phosphate batteries we went with (ultimately the best choice for a number of reasons) can be extremely dangerous if not handled correctly. Because of this, our final on-board battery assembly is not yet complete. In the mean time, we are using an old car battery we had that does not really hold any charge, but we have it hooked up to the van battery. So for now, we need to run the van in order to operate any electrical components. This is a perfectly fine temporary solution for us as in this cold winter weather we are happy to have the van’s heat on throughout the day.

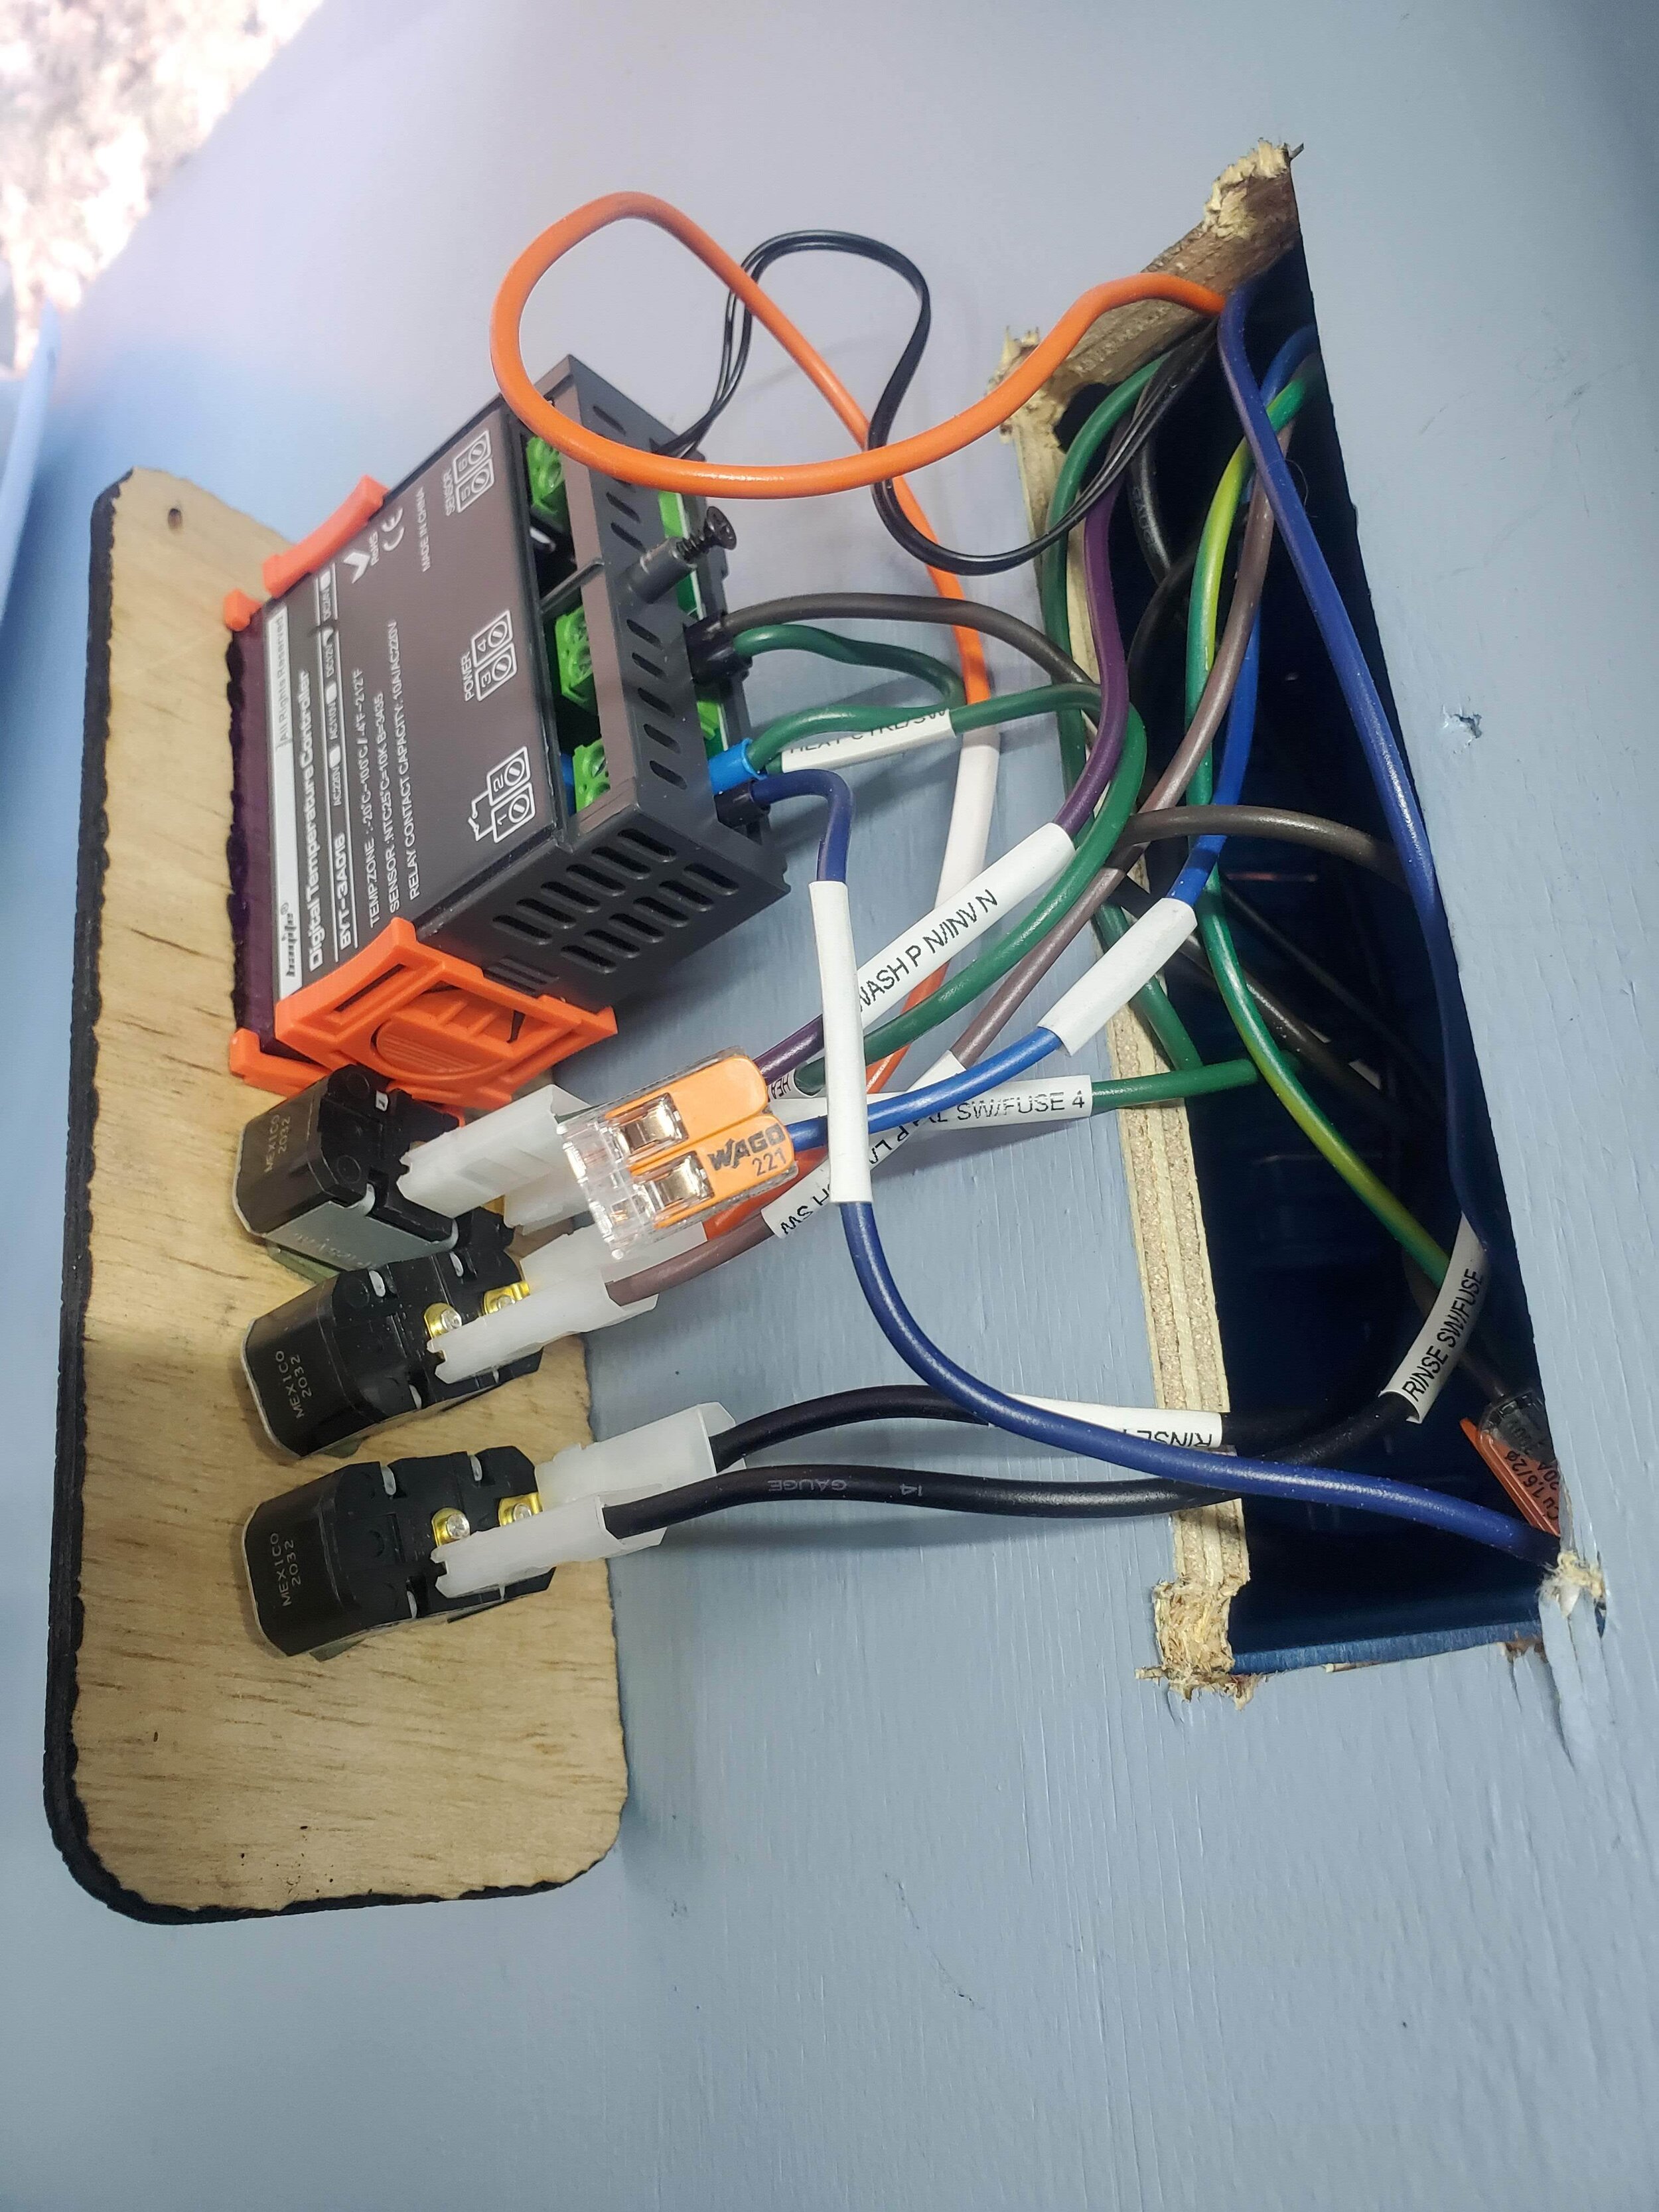
After making sure we would be able to run everything, I needed to actually wire everything up so it would work! With some guidance, I planned out a wiring diagram connecting all of my components to their corresponding switches and then to the fuse box/battery/inverter (there are also several circuit breakers involved in this system and it’s connection to the van battery for safety reasons).

WIRING DIAGRAM.jpg

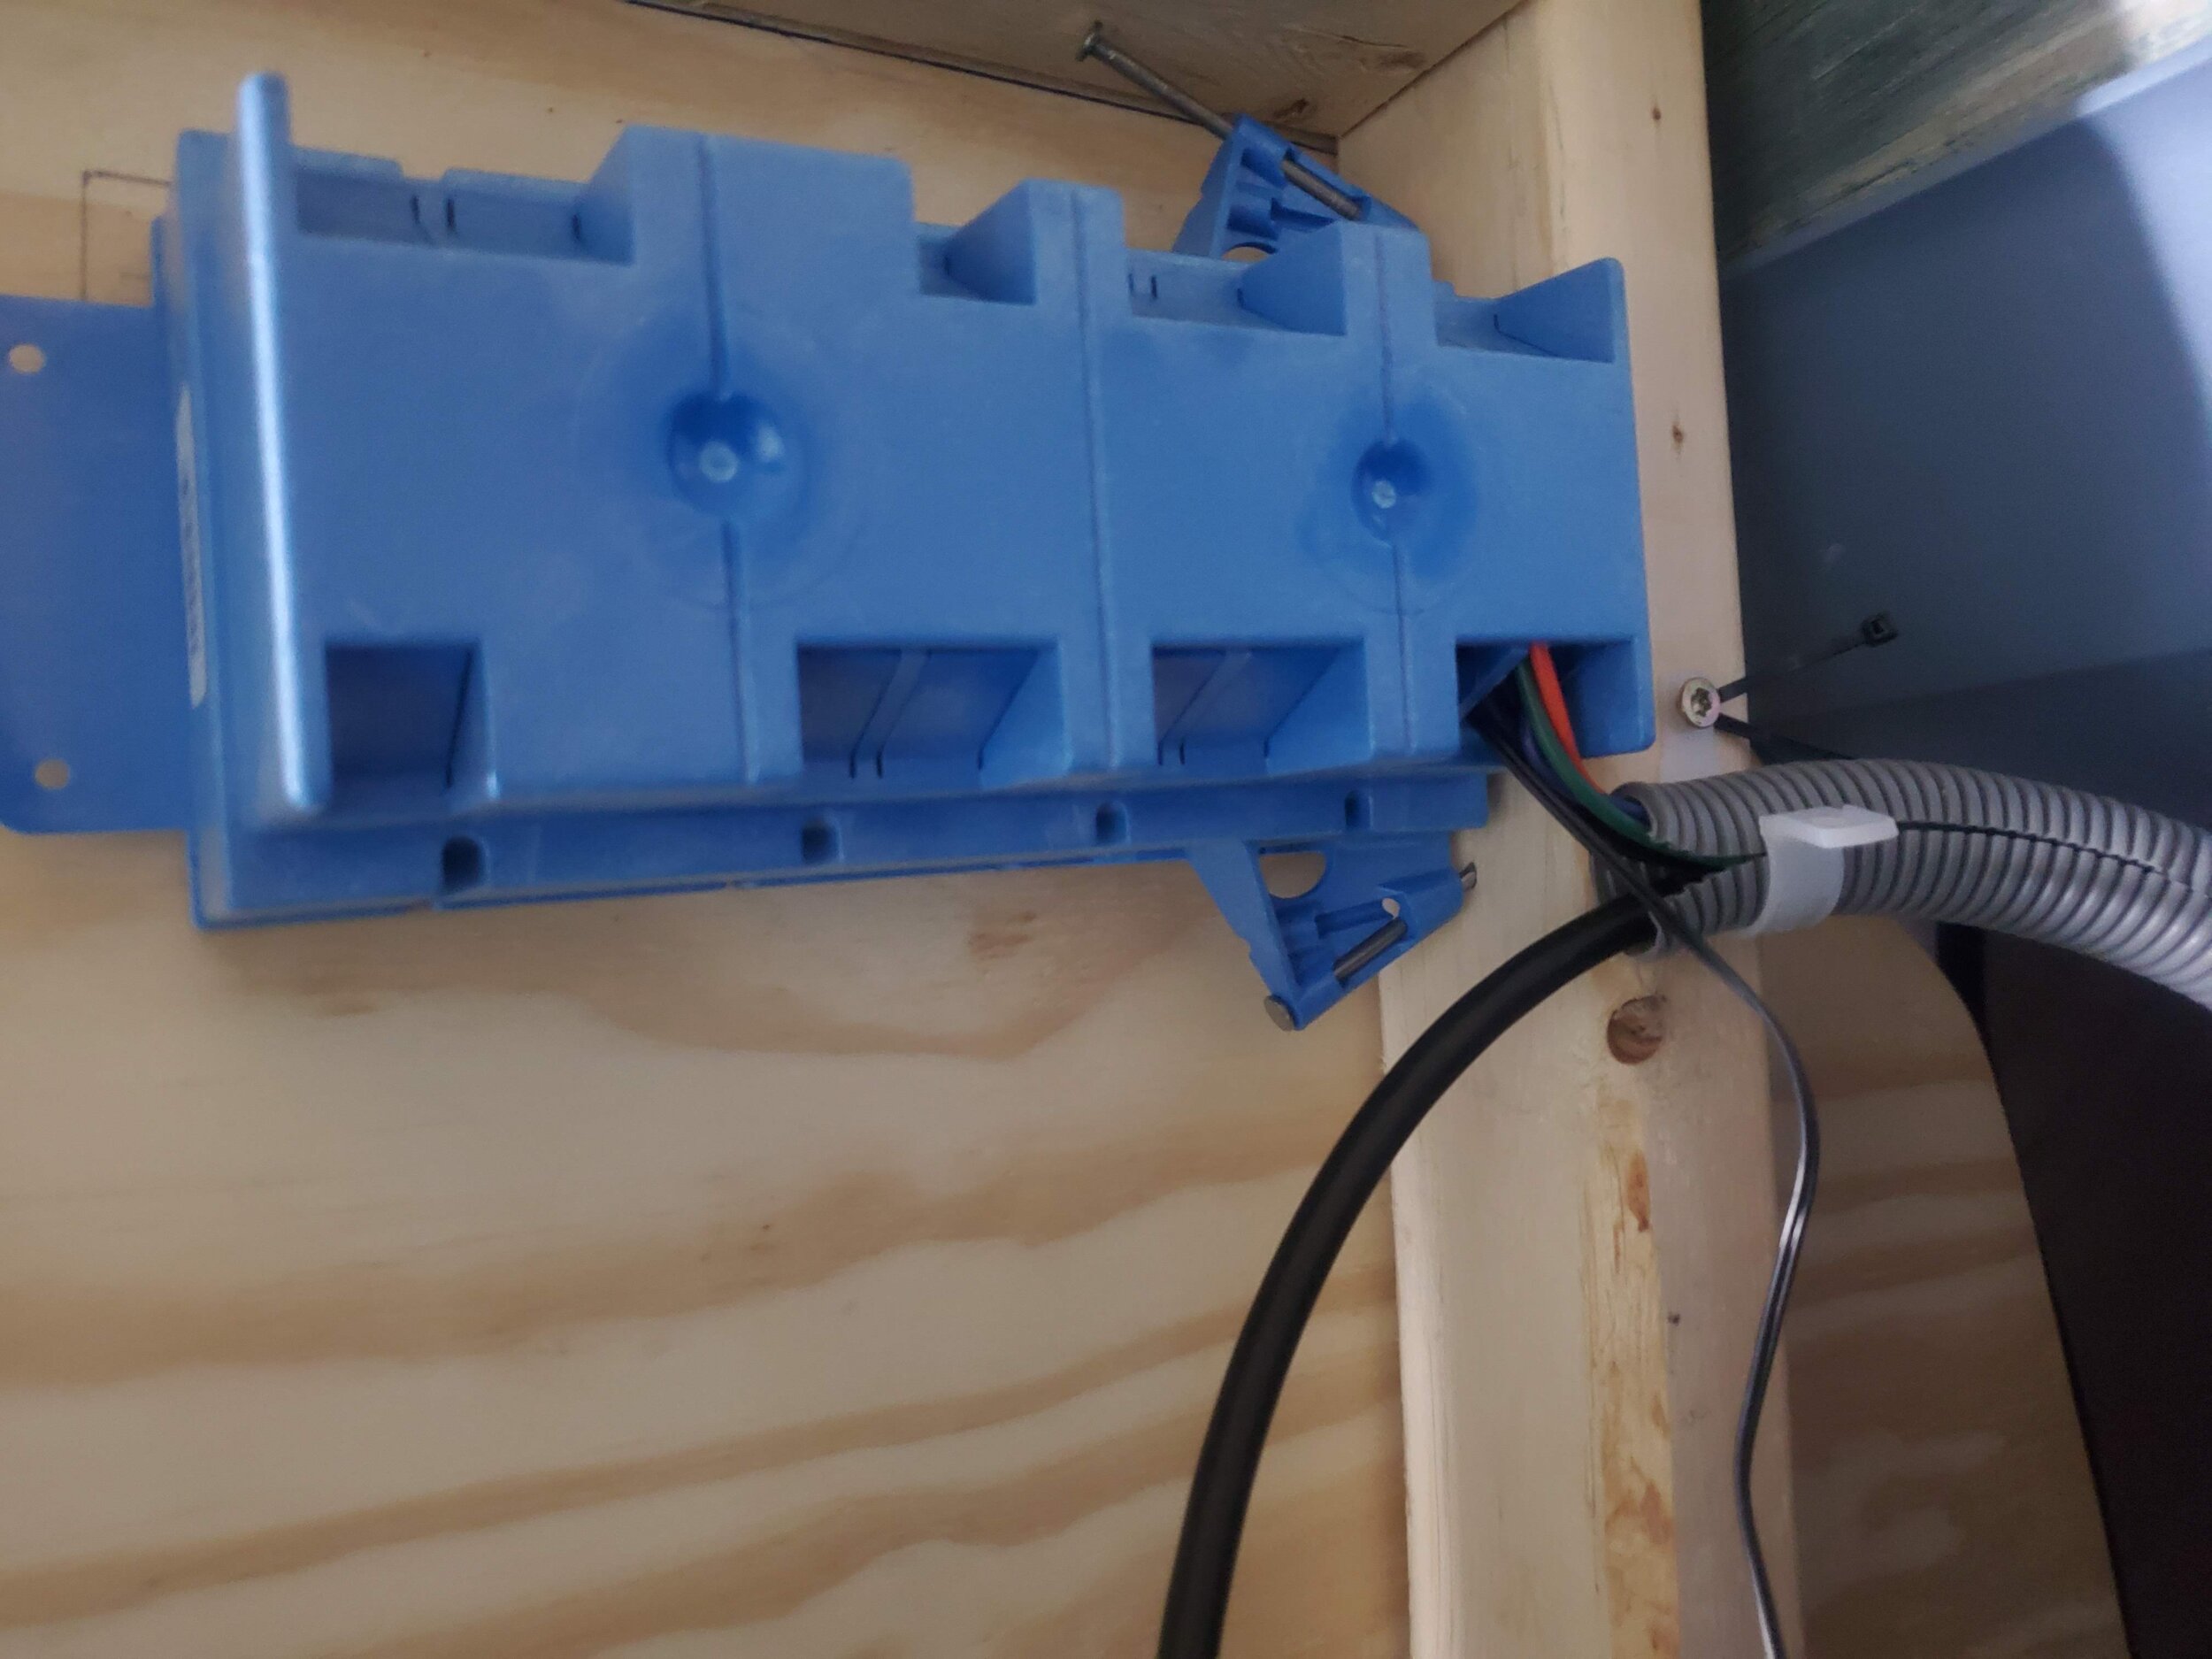
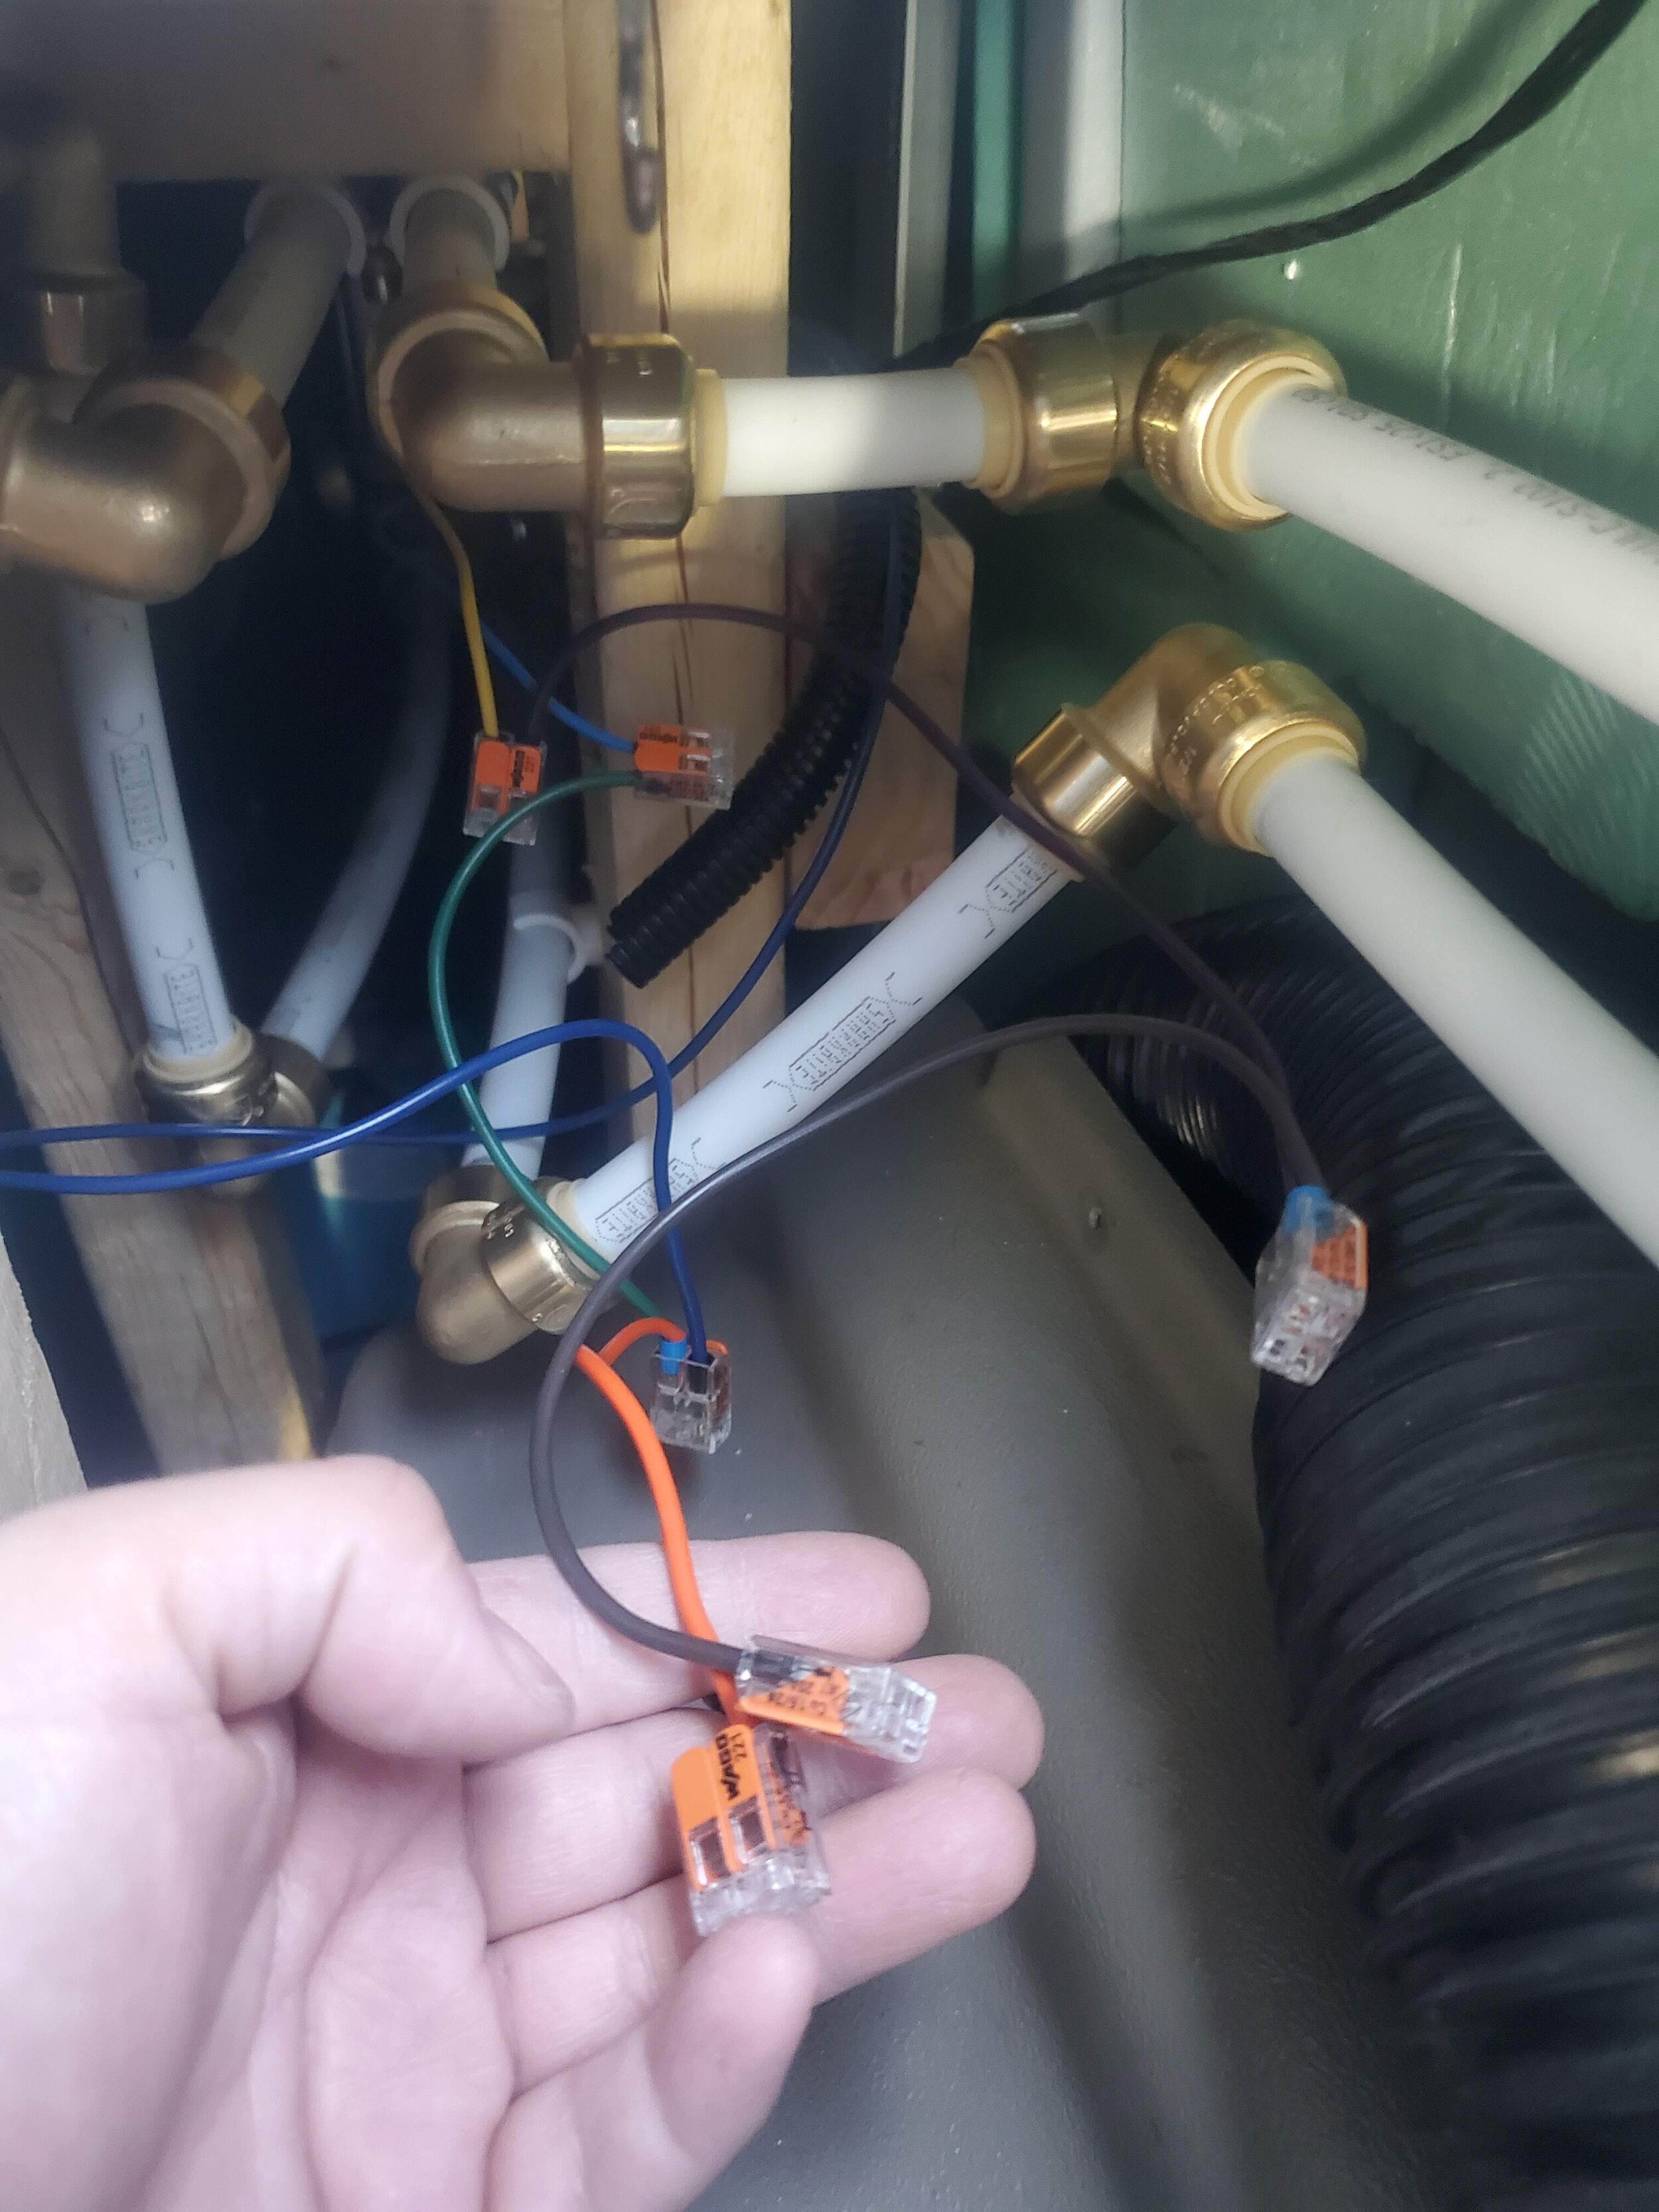
Once I understood everything that needed to be connected, I was handed a pile of novel tools to me and proceded to learn how to make appropriate electrical connections. While I was able to do most of this work on my own, it would have been impossible (and unsafe) without heavy guidance from someone who knew what they were doing. But, once I felt confident that I was using the appropriate gauge wire and knew what connectors needed to be on which wire ends I was able to pull most of it together pretty smoothly. At this point, I also took advantage of owning a laser cutter to design custom switchplates. Once I found a way to sneak a wire from inside the van to the battery (I squeezed behind the glove box and drilled a hole through the van hidden by a panel) I got help on the final few steps to get everything all connected to the battery.

While it’s certainly a huge sigh of relief to have everything up and running, there is still an enormous amount of pressure on my shoulders to keep everything running smoothly. There are a lot of things that I would have done differently if I had the luxury of time…or, you know, help. There are things I am still hoping to be able to improve to make it work better for us and there are a number of finishing touches that still need to come together. I also have a growing list of “things to ask for help with” that I am putting off until spring when I can recruit help with things like replacing the van’s rusted out steps. So for now, it’s not perfect, and it’s not done - but it’s alright and it’s working.

DIY Mobile Grooming Van Conversion - Completing the Build

Grooming Van ConversionMichela Mastellone-SchottmanComment

It has been a busy and tough month. The arrival of winter and excess amounts of cold and rain and snow has not only made working on the van more challenging, but also more pressing as the cold weather is also coinciding with an alarming rise in local COVID numbers so I’ve really been feeling the weight of the van’s necessity as a workspace pressing down on my shoulders. We are now able to use the van as a usable workspace, but my anxiety and stress around finishing the entire van in the next few weeks just keeps building. The construction part was the easiest - not easy by any means - but far more within my wheelhouse of skills. What is left is the plumbing and electrical system, of which I’ve spent hundreds of hours researching and planning. I have said from the get go that I don’t know anything about this yet it is still all on me to make sure it all works. So needless to say I’m exhausted and frustrated and panicked that I won’t be able to make this aspect of the business work that has unexpectedly fallen solely to me. BUT from the outside - yeah I guess it’s coming along.

20201110_192256.jpg

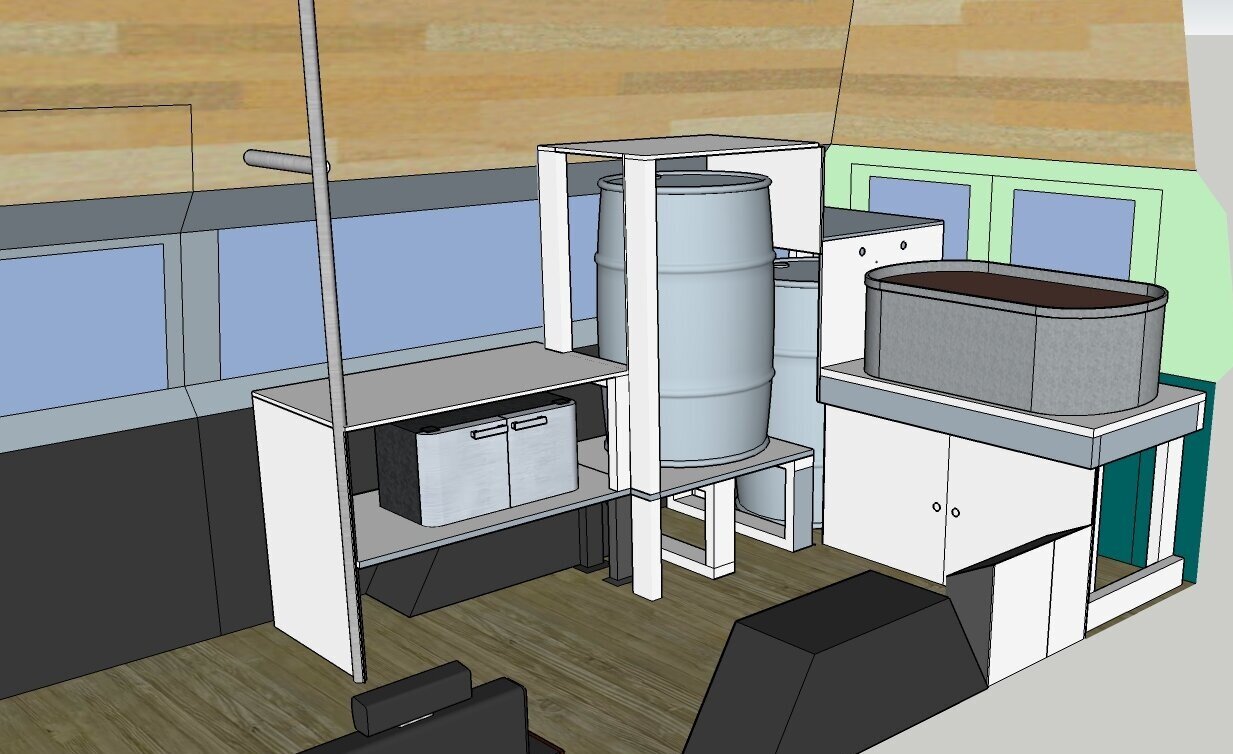
In the last update, I had completed framed out most of the build. It was at this point that I really had to give a LOT of thought about the order of operations to what was left to do. I had to figure out what sections needed to be fully finished before another piece was attached, as well as the added challenge of needing to have the space as a usuable workspace before finishing everything - which ultimately makes more work for me, needing to dismantle some things again in order to access behind some panels. Because I needed to finish components in a weird order, I went ahead and figured out a basic plan for what would be the finished look in the van.

20201116_111833.jpg

We decided it was important for us to have a fridge on the van in order to store the cheese and peanut butter we use as treats for many of our dog clients. I ordered a 12v fridge designed for use in campervans and built a drawer to fit it (and yes, this required some forthought to make sure I left enough space to accommodate this). In the future perhaps I will add drawer slides to this to make it a proper drawer instead of just a crate we slide out, but this will work fine for now.

20201116_164227.jpg

I started to complete what I could before needing to close up all the paneling (which I needed access to in order to decipher all the wiring). First thing to tackle with color was the doors for the cabinet under the grooming table and the water tank cabinet. These needed to be painted before being assembled.

20201120_203729.jpg
20201121_180048.jpg

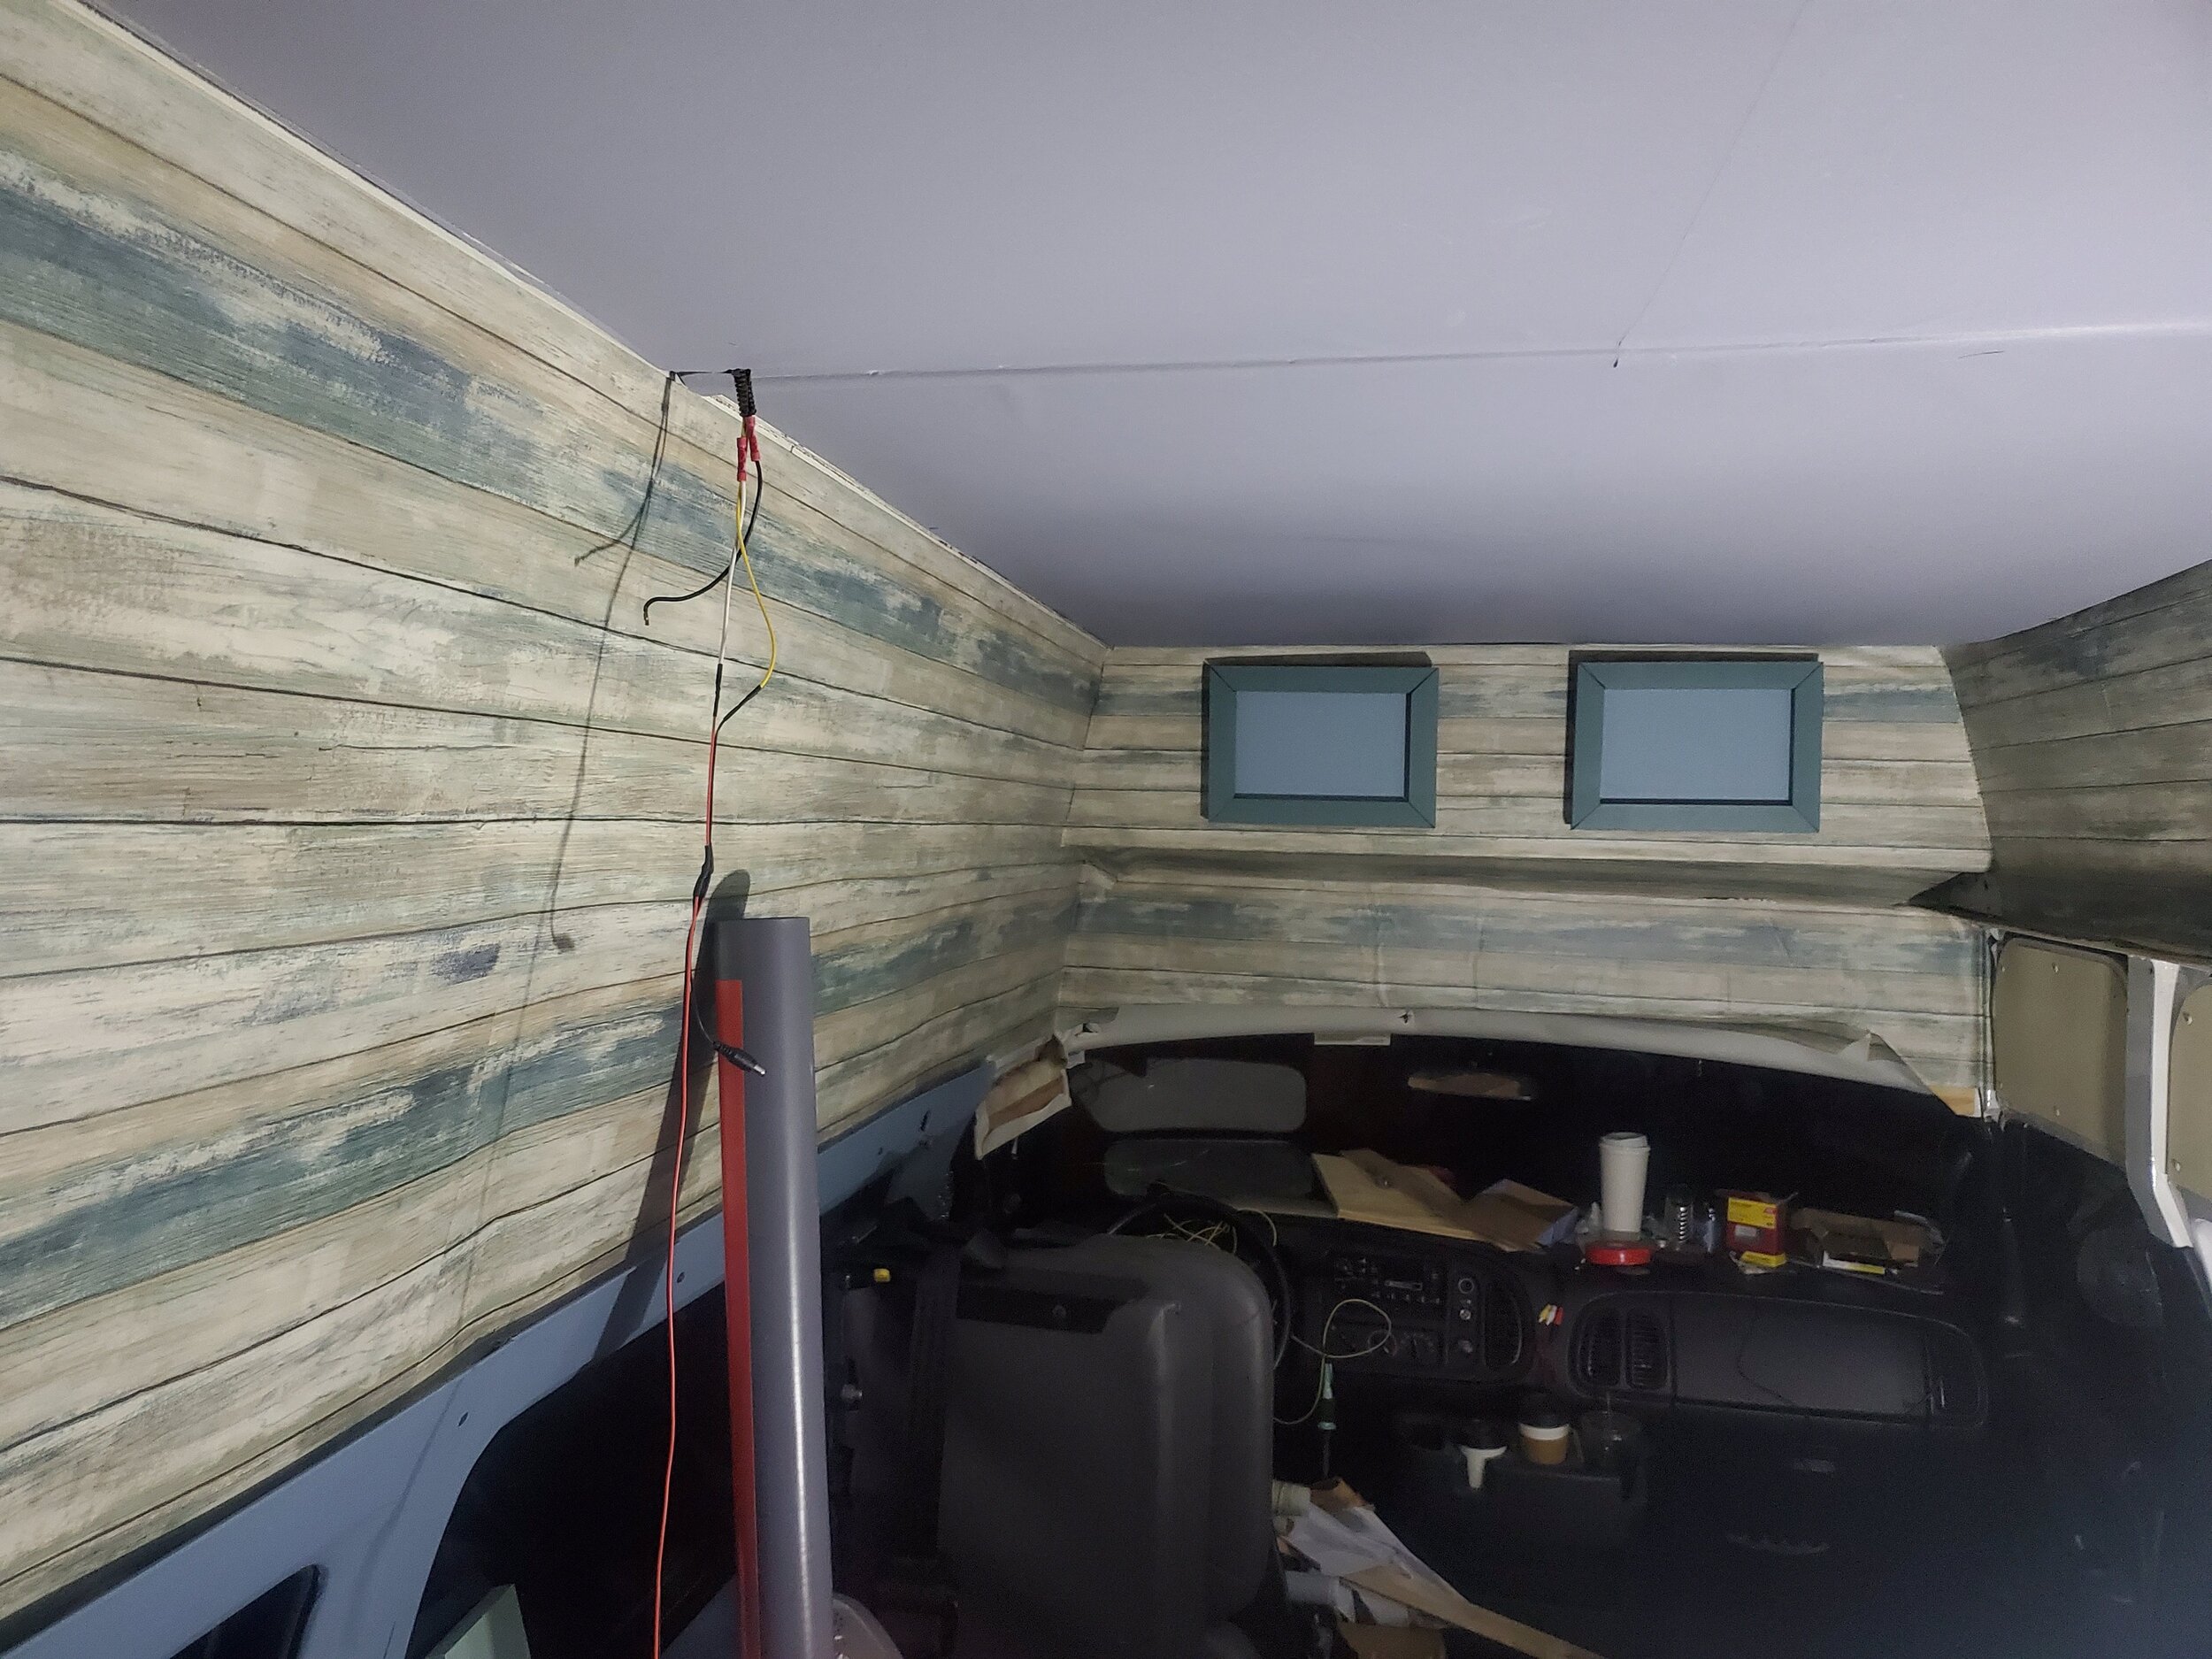
Once I ran the wire needed for the backup camera I installed, and identified which wires I needed to reroute and reuse for the lights I will install, I was finally able to put back up all the interior panels: first the ceiling, then the upper walls, then the custom cut lower wall panels, then finally the refinished window frame panels that trap everything else in. Once the panels were up, I was able to attach and finish the grooming table, and could finally tackle the bulkhead cabinet (which like everything, couldn’t be finished until the wall panels were back up, and proved to be exceedingly difficult to build in the put together then take apart again style in which everything else was built).

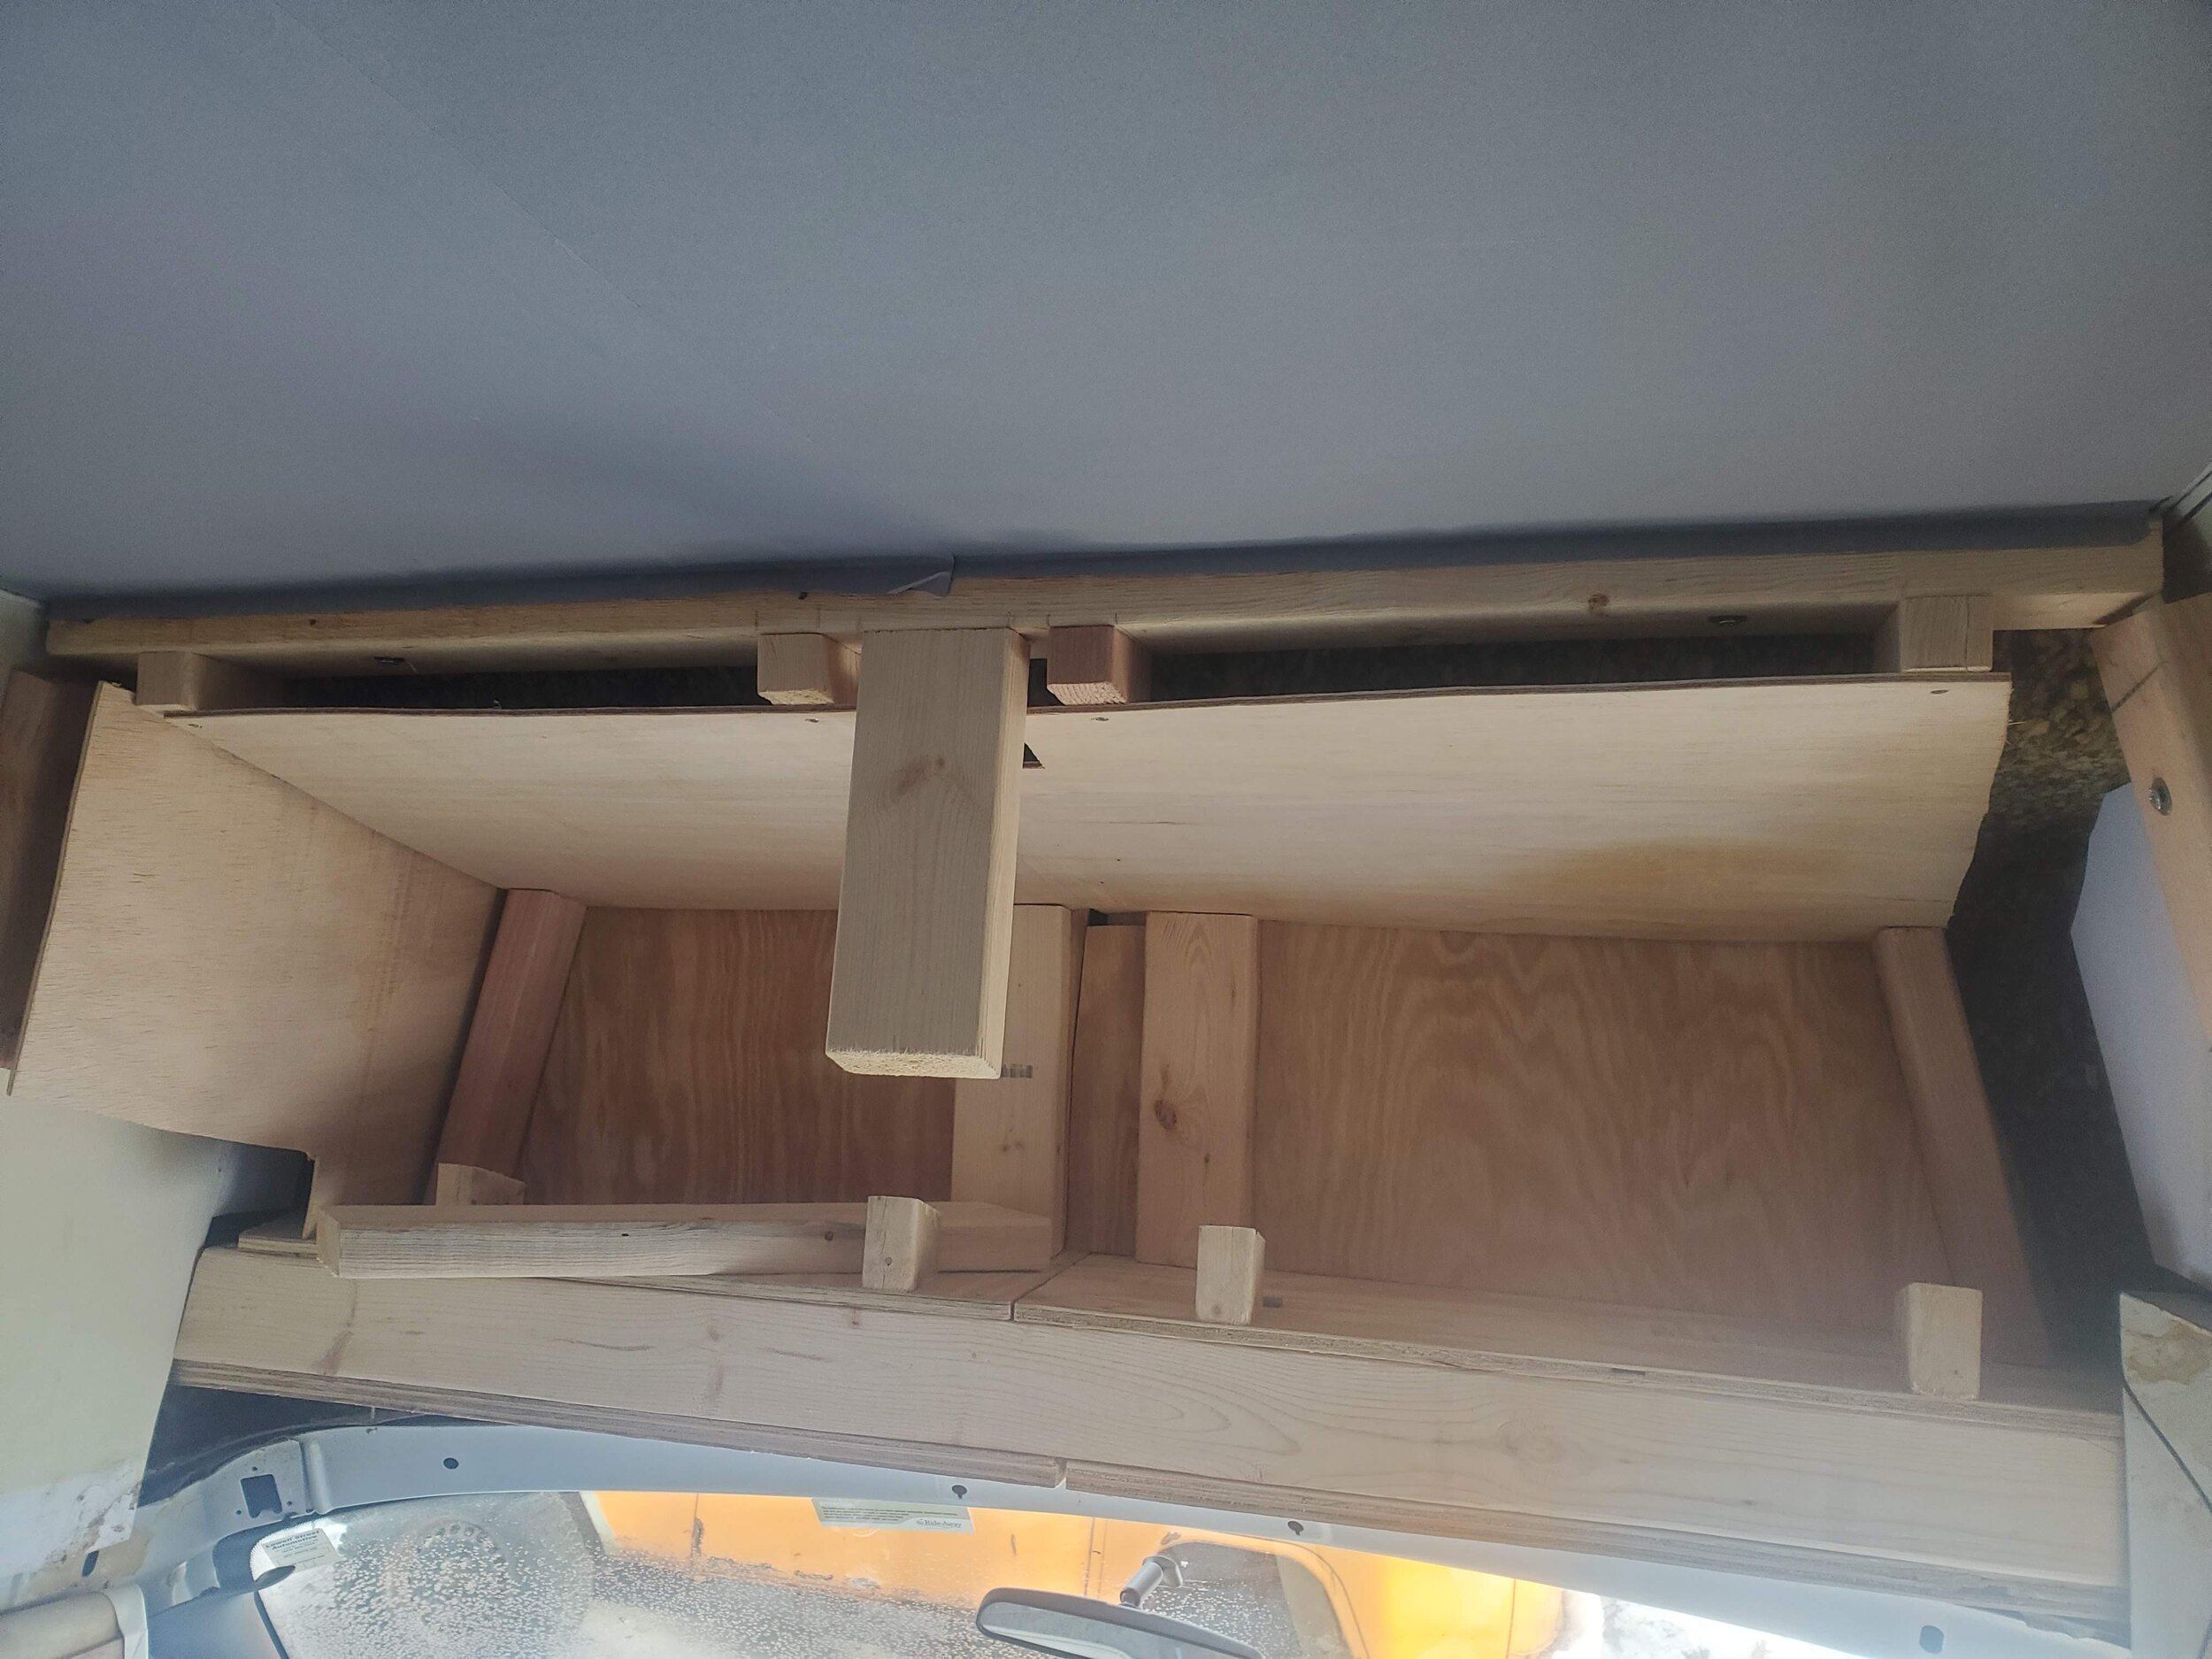
Let me just say: I hate this cabinet with a passion. It is hands down the worst thing I’ve ever built and everytime I look at it I see all my frustrations with it. Every inch of it screams “I DON’T CARE”. The space is a weird shape. Beyond there not being a single right angle (or straight edge), it is also asymmetrical in every direction. So I just sort of gave up and built it as I went, installing rivnuts on the closest frame support I could find to attach it to and then just shrugged as I walked away from it, too overwhelmed with the rest of the project to care too much about this ugly cabinet. It’s fine. It will hold things. But I hate it.

I got some help installing the bench seat that we had removed from the back of the van. This provides a passenger seat in the van as well as a nice additional work space for us (yes, we often groom pets in my lap).

20201213_132052.jpg

With the seat installed I was able to tackle installing the floor and did a few other things to make a usuable work space for us.

20201214_151649.jpg

I can’t even express how much I wish this were all done, but it’s not - I have the most difficult and nervewracking parts left. My last 6 months have been taken over completely by this project that I had no intention of having solely on my plate and did not exactly volunteer for. Everything else in my life has been forced to the backburner until I get through building this van. This is not something that I’ve known how to do or have some magical innate skill or knowledge of. I have put in the effort, the time, and the struggle of taking on this challenge single handedly. Fingers crossed the next steps go smoother than I’m expecting as I work through the holiday, and we will have our promised bathing services to the appointments that are already filling up the books.

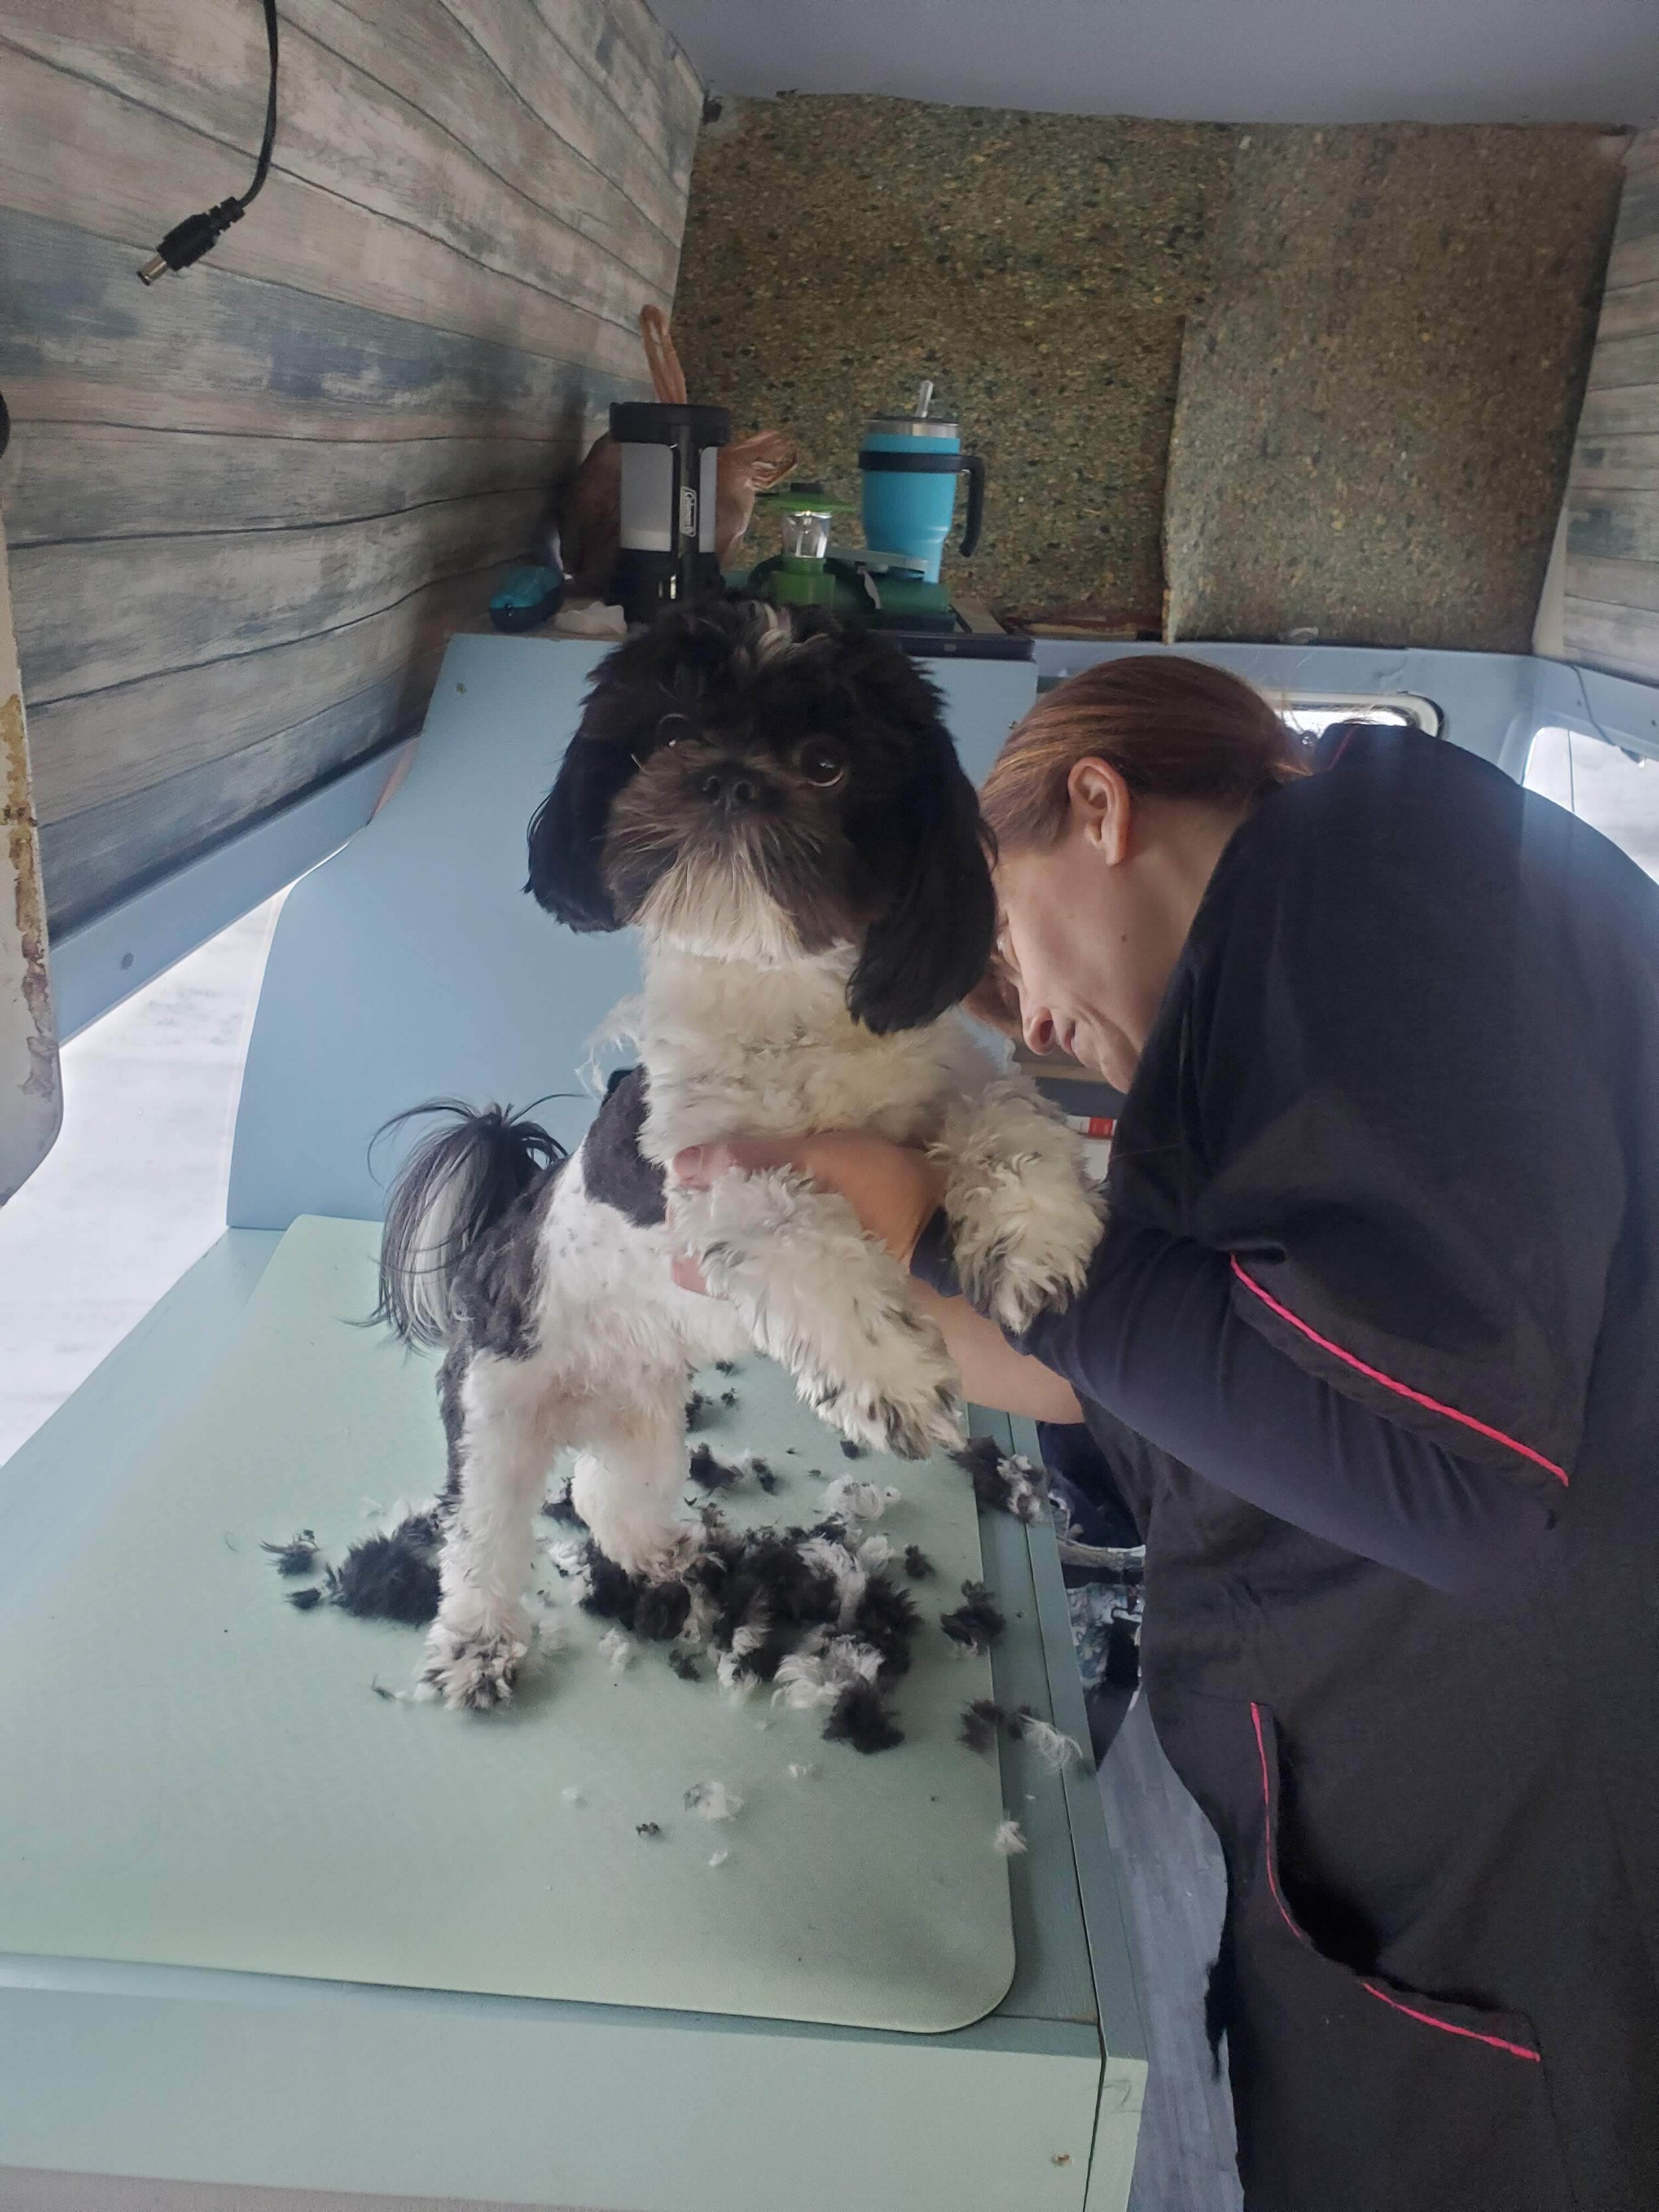
We have, of course, already hosted some pretty excellent and very adorable clients of ours in our cozy van space.


DIY Mobile Grooming Van Conversion - Starting the Build

Grooming Van ConversionMichela Mastellone-SchottmanComment

So it’s been a hectic few months. There have been all sorts of ups and downs the last while, from politics to pandemic to weather. Throughout all of it I’ve been hard at work pulling together this van as quickly as I can. In the last few weeks with unusually early snow and cold weather to an increasing number of local COVID cases, I’ve really been feeling the pressure of needing to get this done. Luckily there was small relief with beautiful weather and a light work schedule lately and just recently I’ve finally been able to feel like our future work station is coming together.

The process of the van build itself has been interesting and slightly overwhelming. I have been glad that I have spent all the time I have coming up with plans for every aspect of the van since the build is turning into far more of a puzzle than I would have expected.

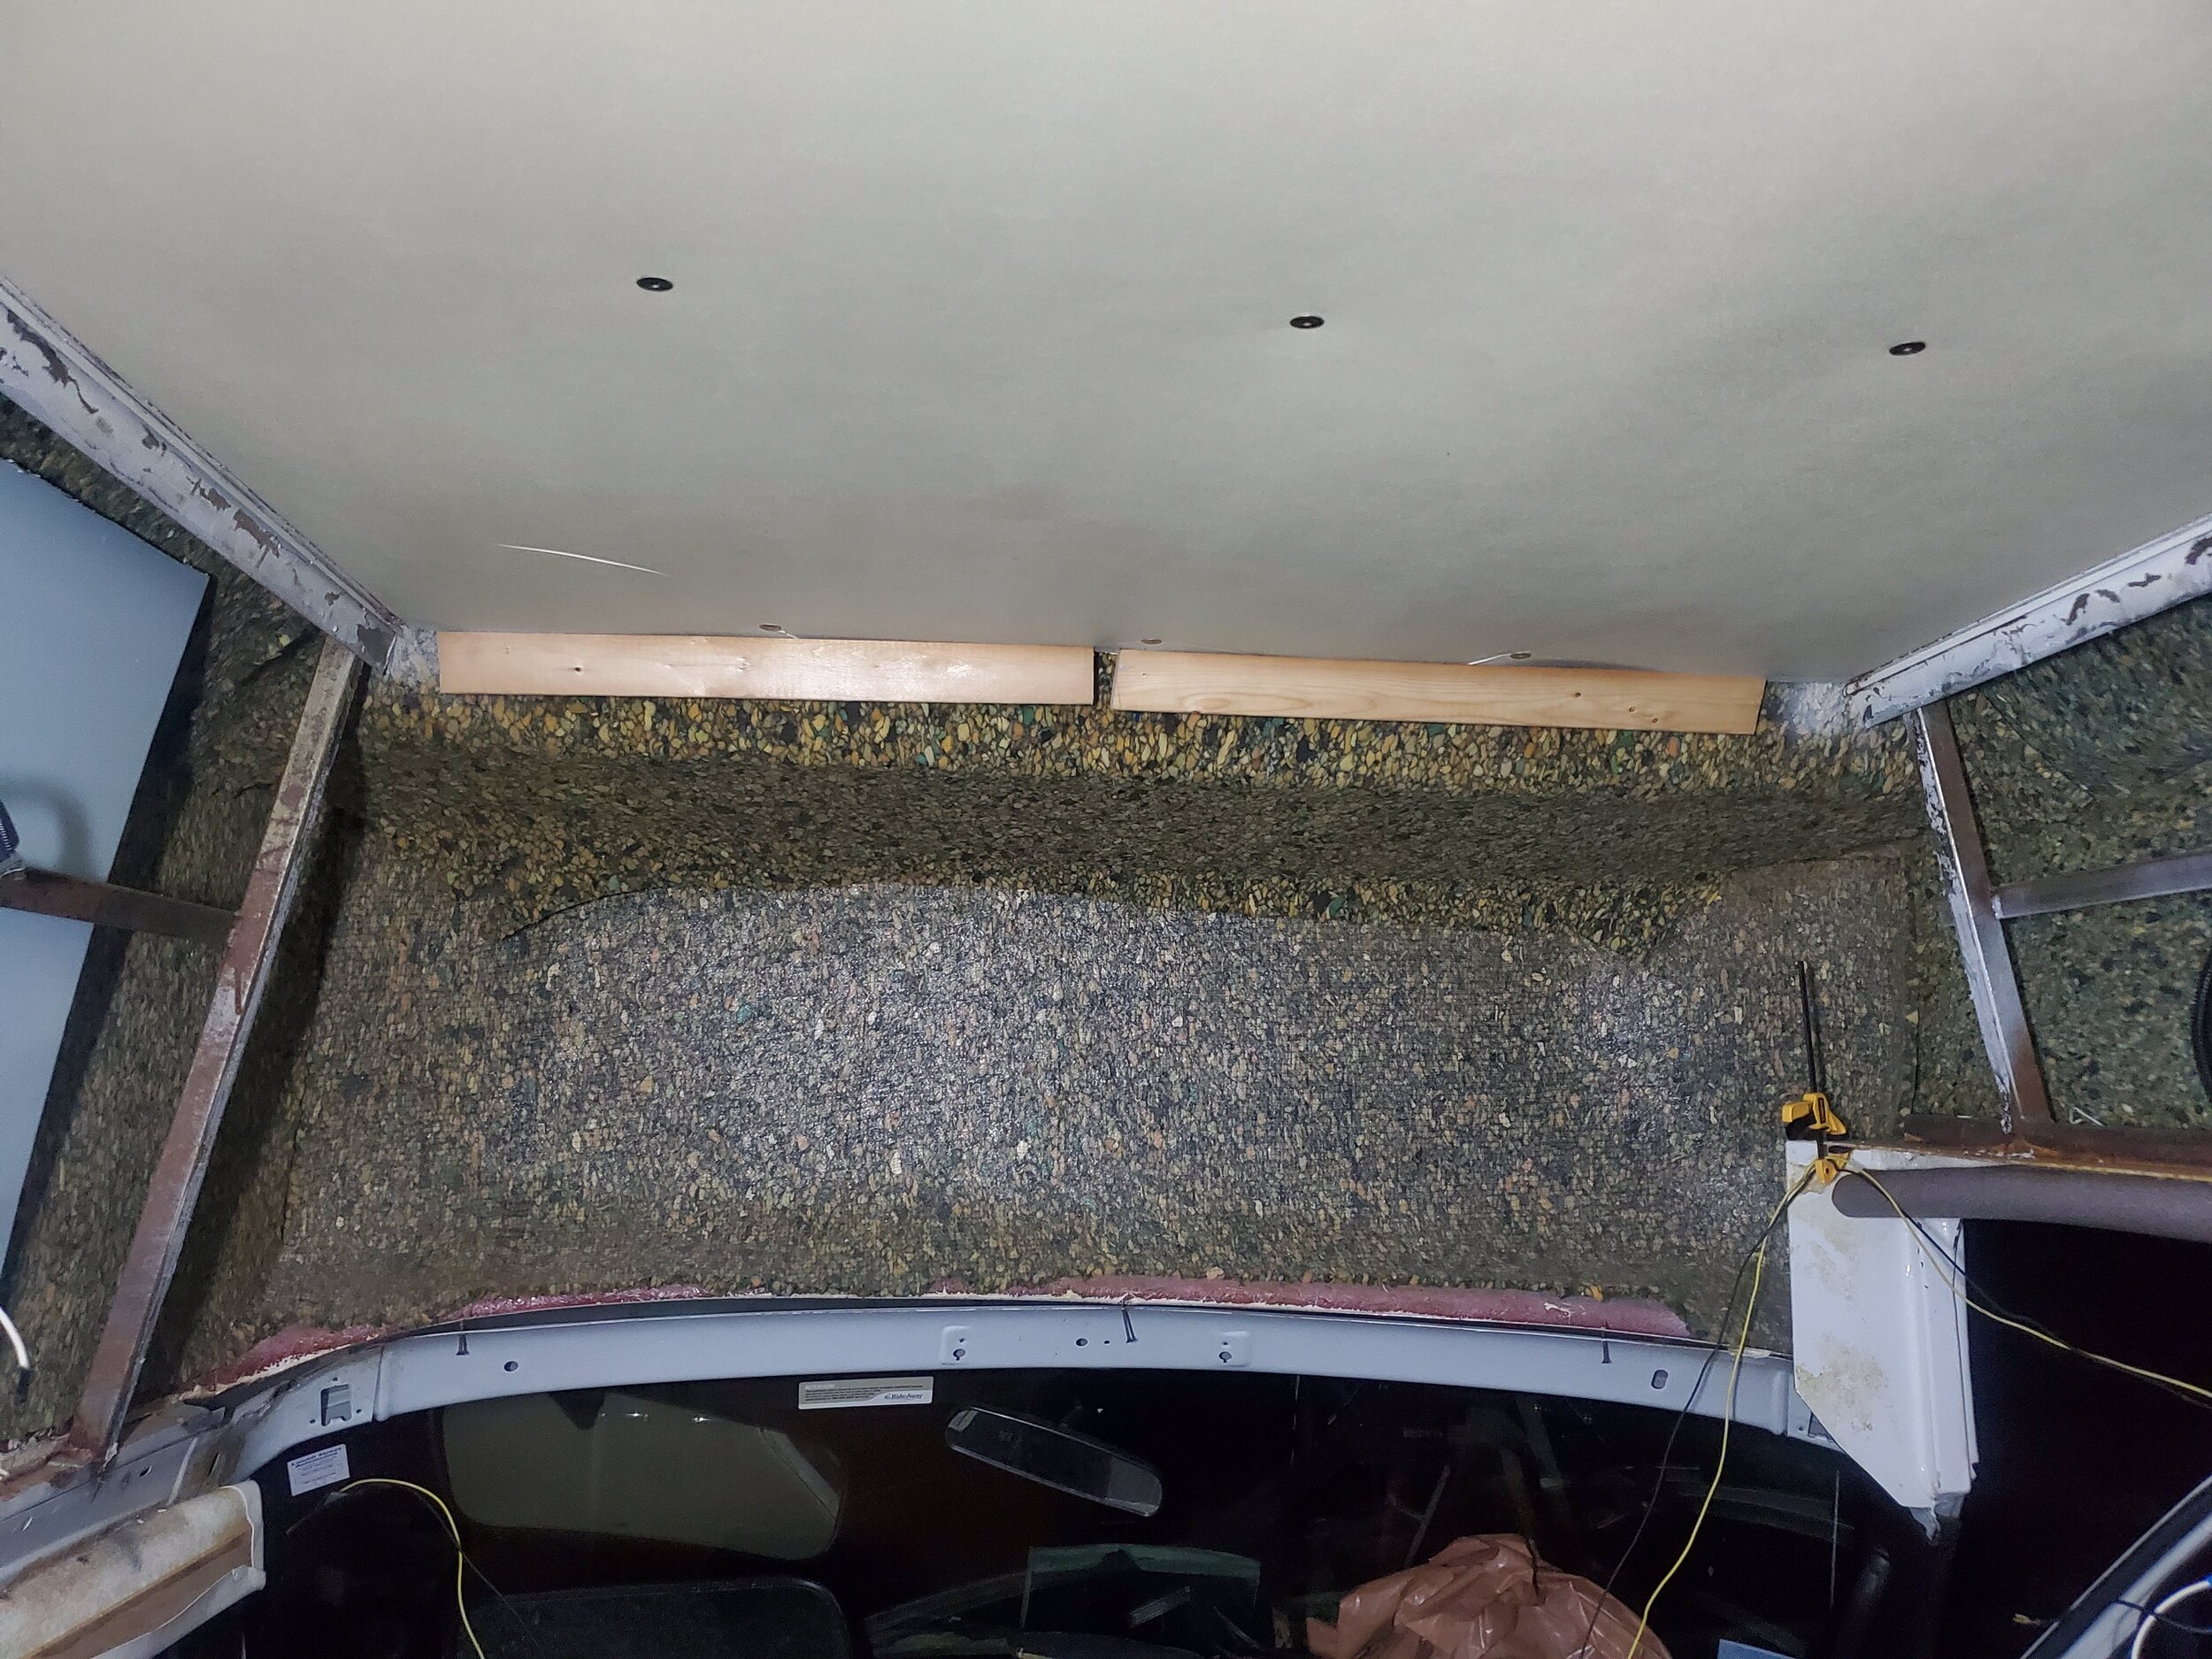
I had help getting the chairs and seatbelts and wheelchair lift removed (not an easy job). I removed all of the interior panels and upgraded the insulation. I then started to construct the interior work space. Even though I am pretty comfortable designing and building custom pieces, even this step has come along with surprises.

20200918_090736.jpg

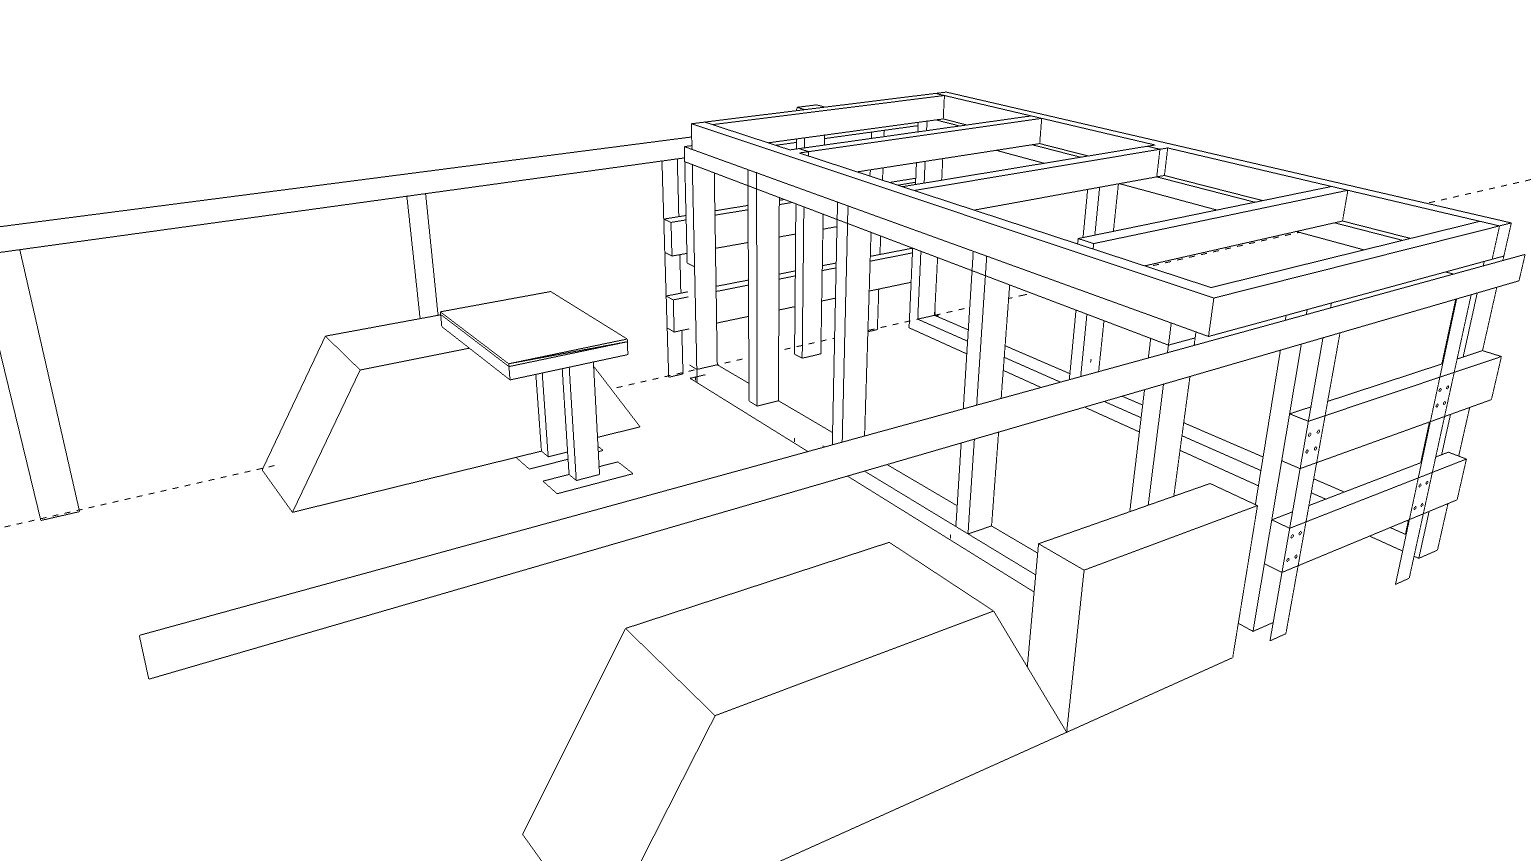
I started by constructing the table to set the tub on. This is primarily supported by wood struts I bolted directly to supports of the van body. While building the framing for the tub table I had to account for the doors that will be added to access underneath the tub from inside the van. I also had to make sure to keep enough space underneath the tub to house the drain plumbing as well as the recirculating bathing system and gray water container. The back supports also need to allow enough space to pull those containers out of the back doors from outside for maintenance. These may ultimately need to be down sized if I need more space when setting up the drain plumbing and the water heating system, but that’s a hurdle to jump when I get there.

20201024_165221.jpg

I made a cardboard template for the piece of plywood to make the tub table top so that it fits snugly against the curve of the van walls. Because I was building the cabinet to house the water barrel simultaneously with the tub table, I needed to cut the plywood table top in half in order to put it in place (the van walls slant in so the width of the table is not able to go over the height of the water cabinet). Ultimately this worked out best anyways for several reasons. The cut down the middle will be irrelevant once the table is fully assembled with a layer of PVC shower liner adhered to it and it made the table much more manageable for sanding and fine tuning the curve for a perfect fit. It also makes my life easier because the table top can not yet be fastened down since it traps in the plastic framing pieces around the windows which can’t be fully fastened back into place until I’ve finished wiring that will need to be tucked behind the framing.

20201101_133538.jpg

The framing around the windows and the upper wall panels have proved to be an annoyance to have to consider in all of this: I am not yet ready to do all the wiring that will need to be hidden behind the panels and I don’t want nicely finished panels to risk getting damaged during construction. This means I need to construct everything in pieces so that I have everything all ready to come together at once after all components are complete.

The window frames dictated the shape of the framing for the water barrel cabinet, so that they were still able to be removed after the cabinet framing was constructed. My main concern for this cabinet was the weight of the full water tank (over 400 lbs), so it was important to make sure I could attach as many points as possible directly to the van. The water barrel has to sit over the wheel in order to maximize our usable floor space and luckily there had been a chair mounted over the wheel, so I removed the chair from the mount but left the mount in place in order to offer a great structural support to bolt the plywood base of the water cabinet. I inserted some rivnuts into the van frame so both sides of the cabinet frame are attached directly to the van. I still need to figure out a way to strap the barrel to the van - conveniently there is a nearby seatbelt bolt so I may take advantage of that.

20201110_192256.jpg

The grooming table takes up the rest of the space left between the water cabinet and the large side doors. Because this whole van build is a puzzle, I constructed the frame for the table and then clamped it in place temporarily in order to cut the piece for the grooming table top. I thought I might need to make a type of PVC pipe bumper along the back edge of the table along the window to prevent fur from falling behind the table into the area in which we will house our fridge, batteries, and inverter. But I was able to cut the piece precisely enough to have a pretty tight fit along the window, so the bumper may be unnecessary.

All of these cabinets will be closed in with access doors that I need to finish constructing and I still need to tackle building the bulkhead cabinet. I have a pretty clear design in mind but won’t waste my time trying to come up with a drawing of it since it is an extremely weird and asymmetrical shape and I am not that great at drawing programs. I have spent a ridiculous amount of time though just staring into this odd space and I think I have a good design that will utilize as many points as possible to be attached to the steel bar frame of the van top. The design for the bulkhead also has to incorporate a way to re-attach a vinyl piece to finish off the interior of the van along the top of the windshield.

20201110_192451.jpg

There are lots of other components to the van build that I am simultaneously working on. I am putting together all the pieces of the plumbing and electrical systems. This has involved lots of research and learning on my part - but I guess now at least I know how to identify and measure different thread types? I’m gathering everything I need to make it all work - all the way down to switches for the LED light strips, but I think these are all things I will cover more once it’s closer to being complete - hopefully soon!!

DIY Mobile Grooming Van Conversion - PLANNING

Grooming Van ConversionMichela Mastellone-SchottmanComment

It’s happening!! Our kickstarter is up and running and we are in the process of raising our goal of $10,000 to accomplish this conversion. While this is going on, the plans are well underway. This has been a somewhat overwhelming, but very exciting project to fall into my lap.

For a very long time I have been extremely interested in tiny homes and other small and or/mobile dwellings. I also have a good deal of experience designing and building my own furniture. Throughout this past year often in my workday I have pondered the possibility of a fully functioning grooming van and felt like that was probably something I would enjoy/be capable of tackling.

I did NOT expect it to actually happen. This entire van opportunity has been a whirlwind. I couldn’t be happier with the vehicle parked next to my house, slowly being gently dismantled and altered and upgraded, but it’s been quite a learning process.

Turns out, tiny houses, RVs, and campervan resources, which I was largely counting on, are not actually that helpful in this project given our unique needs:

  • We need a decent amount of water on board to give multiple baths in a day. This water must be somewhat heated (not hot, but a heating system is still necessary).

  • We need a considerable amount of electricity available to run our grooming equipment.

  • We are traveling from place to place throughout the work day

That’s not to say I was not able to find very helpful resources, I just had some special considerations to keep in mind. I especially found the youtuber, Greg Virgoe, extremely helpful with posts from several years ago detailing a sprinter van conversion. He has a background in engineering and is very skilled at breaking down complex systems into understandable terms. I also conveniently live with a partner who is an engineer with a passion for VW campervans (and has an awful lot of relevant know-how, skills, and useful tools). With a great deal of time utilizing all of these resources, I've come up with a PLAN!!


To start: PRIORITIZING. The most expensive part of the entire conversion is the electrical system. I was very surprised doing research into different options for mobile grooming units to find that many utilize standard propane generators. I’m really not sure how they are able to incorporate enough ventilateion to feel comfortable with that. I knew that I did NOT want to have to rely on a propane generator to function in our van. We will be running our system off a battery bank that will be charged as we drive/overnight at home (or perhaps with an extra alternator to independently charge the batteries as we drive/solar panels mounted on the roof). I did some rough estimates of what our electrical needs would be so that I could get an accurate budget and sense for what our grand plan was to make sure we could accommodate everything we need.

At this point, now that the system is generally planned out, it is being deferred until later on in the conversion process. The batteries and inverter system are the bulk of the cost so will have to wait until our kickstarter is complete and those funds are available. I am also going to need to recruit help from my resident engineer to get everything safely hooked up, so it is a project to tackle at a later time.

In deciding how to be able to run our entire system off solar energy - the water heater was a bit of a challenge. Water heaters obviously draw an enormous amount of energy. As a more sustainable option, that works given that we generally are driving in between appointments: we will be utilizing the heat generated by the car engine. Conveniently, the van’s radiator is easily accessable from the interior of the van, close to where the plumbing system will be established. I will divert the radiator hoses to a plate heat exchanger which will heat our 50 gallon water tank to the temperature that we set, automatically shutting off the system once the water has reached the desired temp. I will talk more about the details of this system later as I set it up.

van plumbing.jpg

There are a LOT of moving parts in this conversion. For the most part, I feel confident that I have a well thought out plan. I can tackle the majority of it on my own and have a small list of tasks I need some more knowledgeable and skilled help with, but luckily I have those resources available to me. I won’t bother discussing some of the more straight forward alterations (like installing a backup camera and monitor), but I am gearing up to start insulating behind all of panels I have removed and then to start some actual construction!


Before our kickstarter is complete, I am beginning to tackle the parts of the van that are relatively inexpensive but very time consuming. I have taken a lot of time figuring out the plumbing system in the van that will work best for us and now that I feel confident that everything will fit in our confined space, I can start some of the construction!

I removed all of the interior panels from the van to see what I was working with. This has opened up the van to not only allow me to insulate better and close off the interior to better suit our needs (keeping in mind that we will have a tub in the van so water damage is a concern) but also let me clearly see the van’s internal structure and areas where I am able to secure materials. Removing the panels also allowed me to see that a standard roof vent/fan will not fit our van and I will need to come up with a creative solution (more on that later).

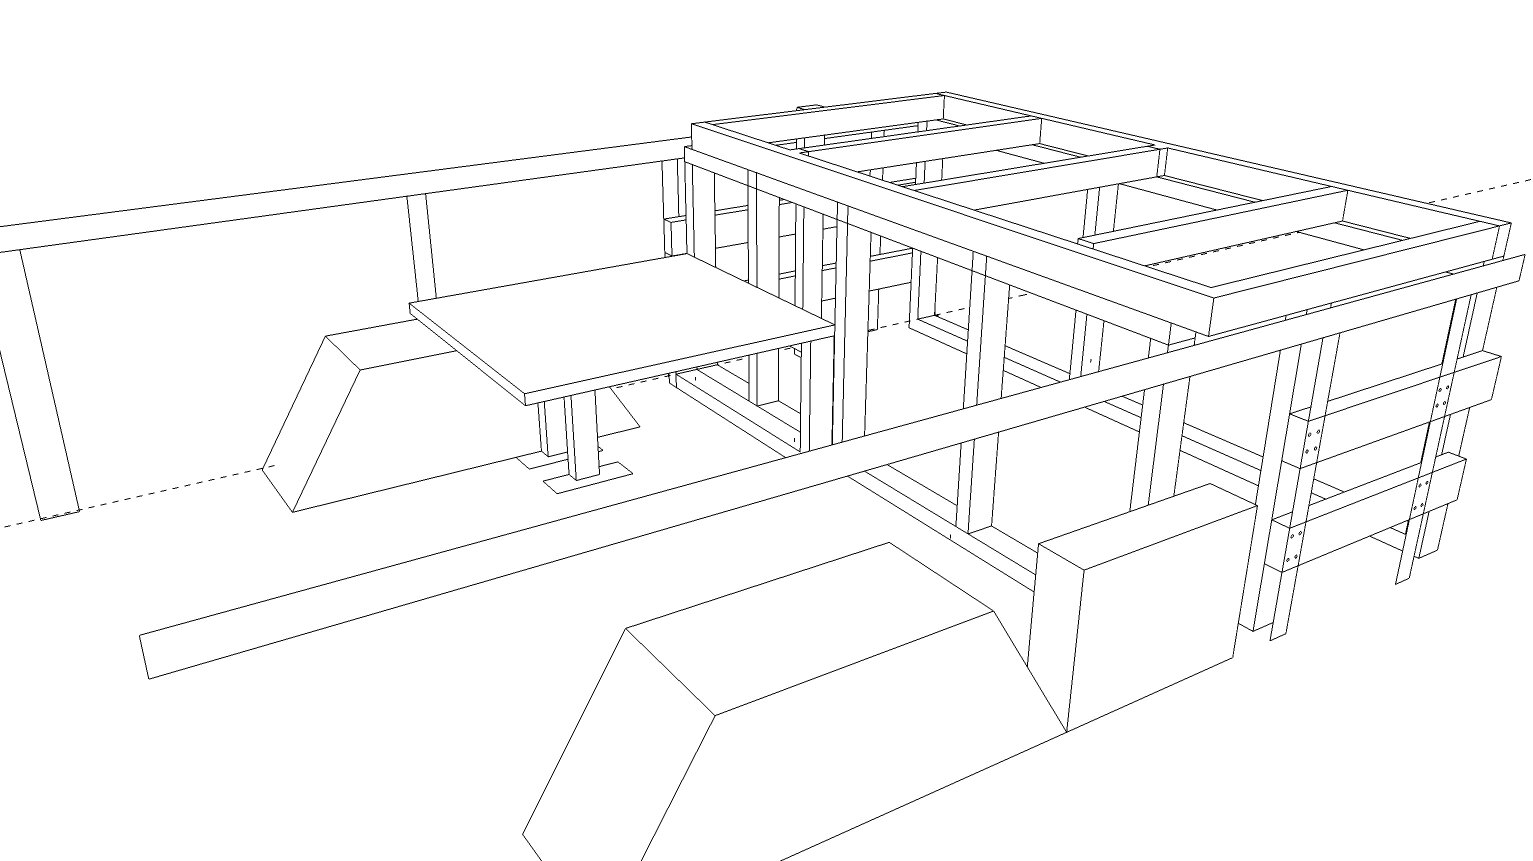
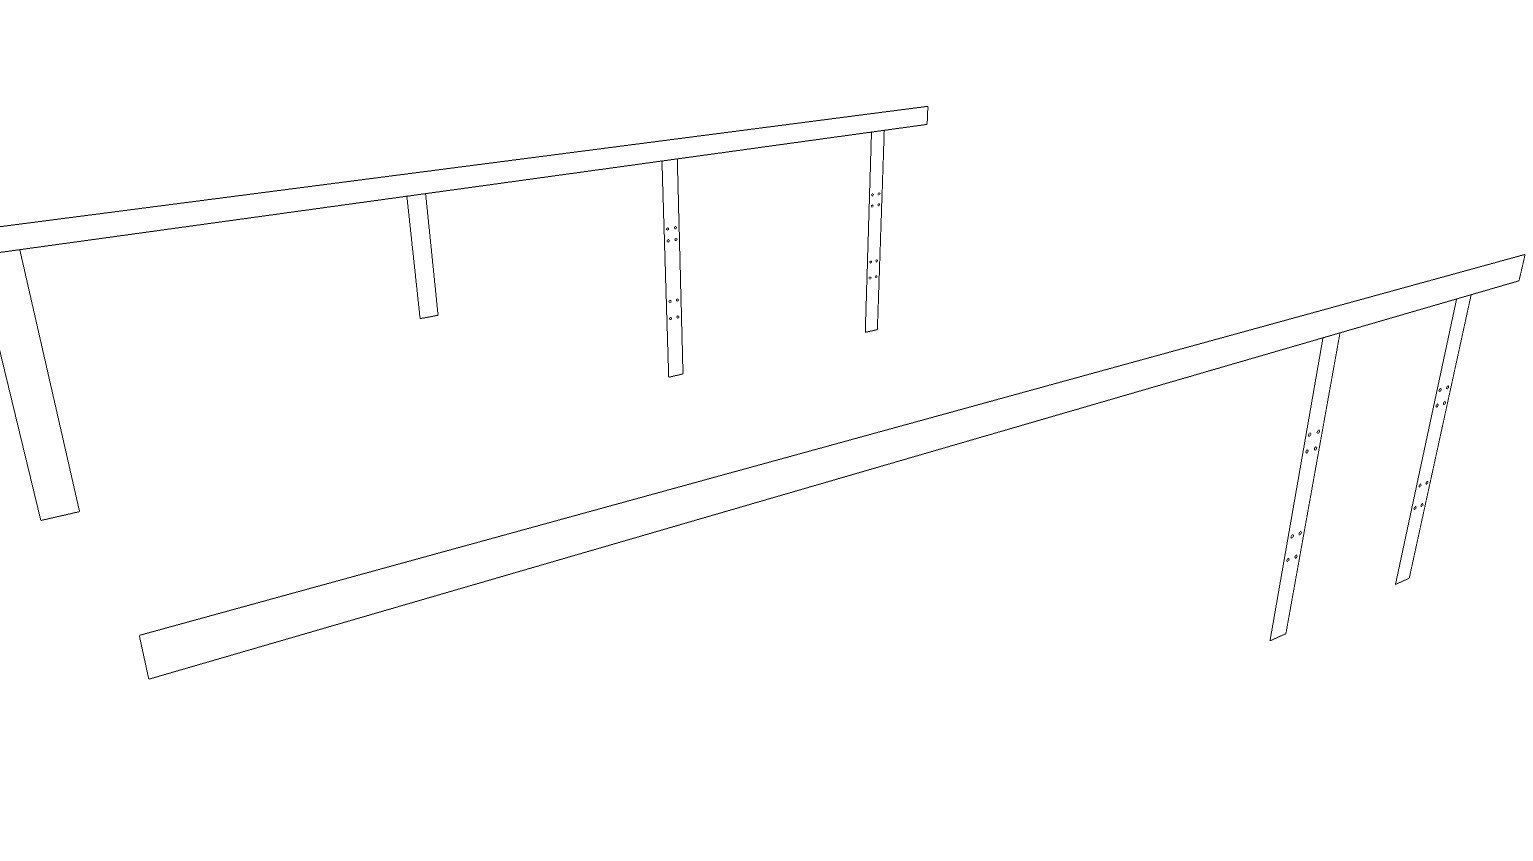
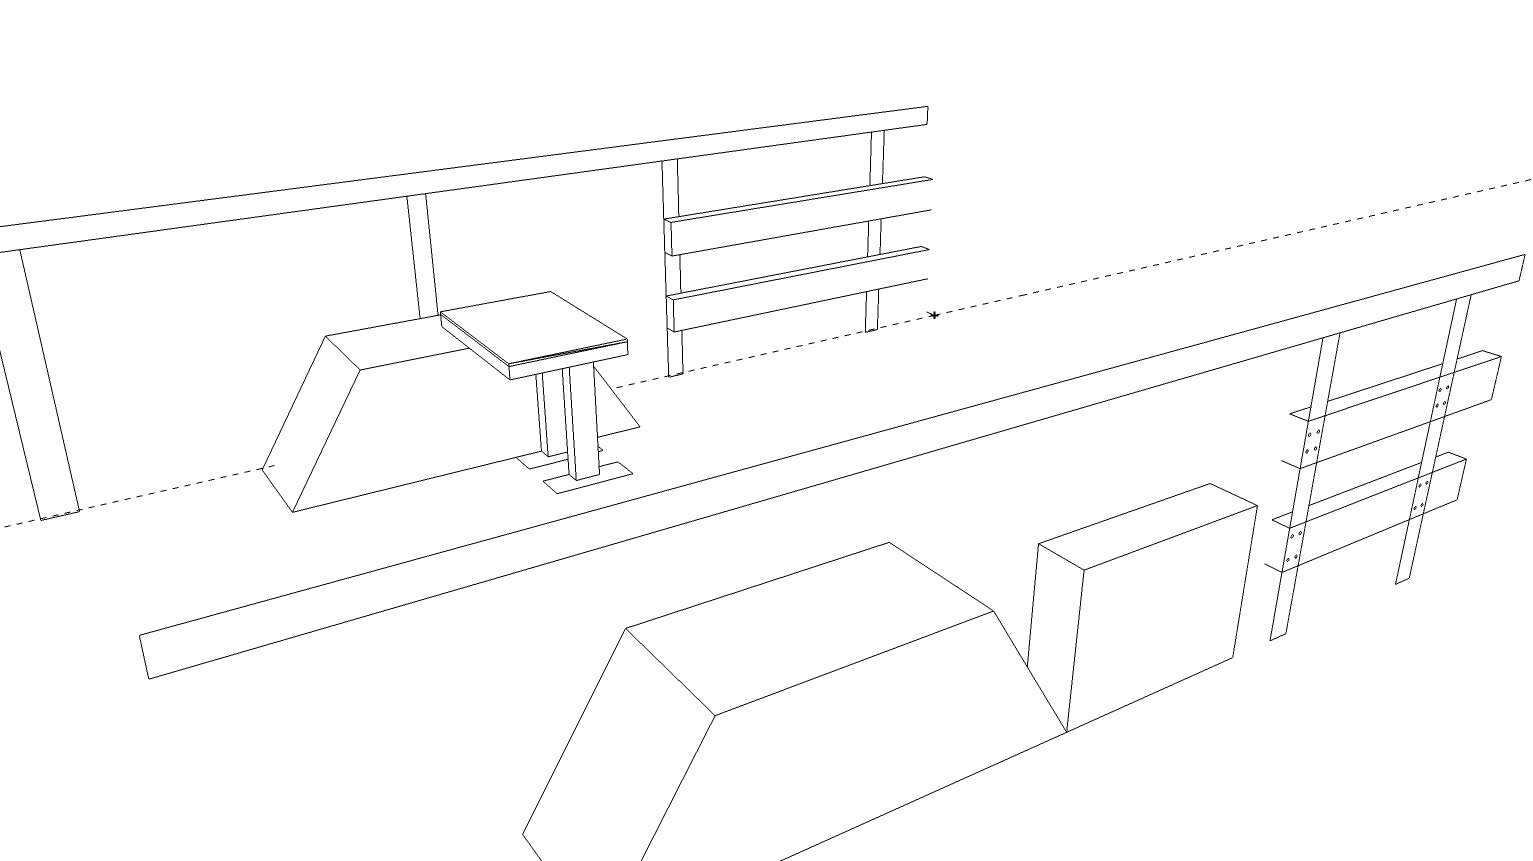
I made a detailed model including the internal metal ridges in the van and points at which I can attach wooden struts. I then came up with a rough idea of what the table to place the tub on will look like (with space underneath to accommodate our bathing system and grey water tank).

This is different than any other building project I’ve done before. I generally plan, plan again, then do another plan and have basically all the details figured out before I even purchase materials. This time, that is not the most practical way to go about this. I’m primarily going to build directly in the van and adjust and figure things out as I go. This is mostly because the van is a weird shape (working around curved walls, windows and wheels) and I have some strange shaped things that need to be accounted for, like our large water barrel. I am taking advantage of one of the old chair mounts that I left in the van in order to have a sturdy platform for the heavy water barrel to safely sit over the wheel.

Okay - with all this planning done, it’s time to start some building! Updates to come!

Don’t forget to check out our kickstarter if you are able to donate any to this exciting project!!

DIY Mobile Grooming Van Conversion - The Beginning

Grooming Van ConversionMichela Mastellone-SchottmanComment

About a year ago, I began a big new adventure: I started a mobile pet grooming business with a close friend of mine. She has been a talented groomer for the last 17 years, and with my 15 years of animal care and expert handling skills, we make a pretty phenomenal team.

I was hesitant at first, starting this journey, as I never had much interest in grooming and was coming out of a toxic work environment in which I repeatedly had drilled into my head that my experience and skills are worthless and my personal integrity was attacked. Deciding to continue in the animal care field was difficult, even though I have enormous skill and passion for it; I felt so defeated. Quickly though, with the support from my friend and business partner, I realized that finally I had fallen into a job that felt like the right fit. I have yet to say that I have any sort of passion for pet grooming, but I do have a skill for handling all sorts of animals (especially “difficult” ones with less than perfect behaviors) and I have been able to experience for the first time a relaxing, stress-free work environment, where I enjoy my entire day and my work ethic, skill level, and personality traits are recognized and appreciated.

Our business, Wild Rover Pet Grooming, has taken off faster than either of us expected. We have an amazing group of clients who are so supportive of what we are doing. In fact, the incredible support we’ve received from our Wild Rover family has encouraged and allowed us to take the next steps in growing our business: in addition to recently being able to hire on my best friend part time to assist us with administrative work we are drowning in, we were also able to get a VAN!!

20200723_193706.jpg

Having a full functioning mobile grooming van means so much to us. It will allow us to offer more services (like baths) and to have some of our favorite products available for sale, and perhaps most importantly, our OWN SPACE. Until now, we have been reliant on the generosity of our clients to help find a quiet space in their home where we can set up our grooming table and plug in our clippers. Since the dawn of the COVID era, this has become increasingly more uncomfortable and challenging for everybody. Not only are there benefits to our health to have a designated work space of our own, but I’m excited at the idea of feeling slightly less scattered and transient (not having to throw all our tools in a bag and sort through everything again at the next house is going to be an enormous sigh of relief and huge time saver).

20200725_192206.jpg

So a little more about the van: we love it. We found a van that fits our needs perfectly - super high ceilings comfortable to stand up in all day, and plenty of windows that open to put my slightly claustrophobic mind at ease. It is an older vehicle that has been maintained meticulously with very few miles put on it. A very kind gentleman was selling it for a wonderful price, and even more amazing - one of our favorite clients was incredibly generous and covered the cost of the van for us!

Now that we have the perfect vehicle - we have to convert it to fully function as a mobile grooming unit. That project is primarily falling on me, which is exciting but also a little overwhelming. There are lots of different things that must be tackled - beginning with dismantling seats and the currently installed wheelchair lift, to installing a tub with a working plumbing system and an electrical system that allows us to run all of our necessary equipment while parked at a clients house. I have spent countless hours researching different systems and am lucky to have access to tools and some expertise to help me sort through some of the logistics.

van+conversion.jpg

I started by making a scale model of the van (primarily to be able to help explain the picture in my brain to other people involved). There are going to be many steps of this project, starting with our Kickstarter campaign to raise money to fund the conversion.

This post has gotten longer than intended with all of my excitement about the thriving business and the upcoming changes. I will stop here for now with the promise of updates as the conversion progresses and the van gets even closer to being the work place of our dreams.

van+outside.jpg