If you’ve read previous blog posts of mine, you’ve probably noticed that much of it has been dominated with topics surrounding my friend’s recent wedding. That’s because many of the projects I've recently worked on have been motivated by it. Now that the main event is over, I can take a breather and start writing about some of the cool things that I made!
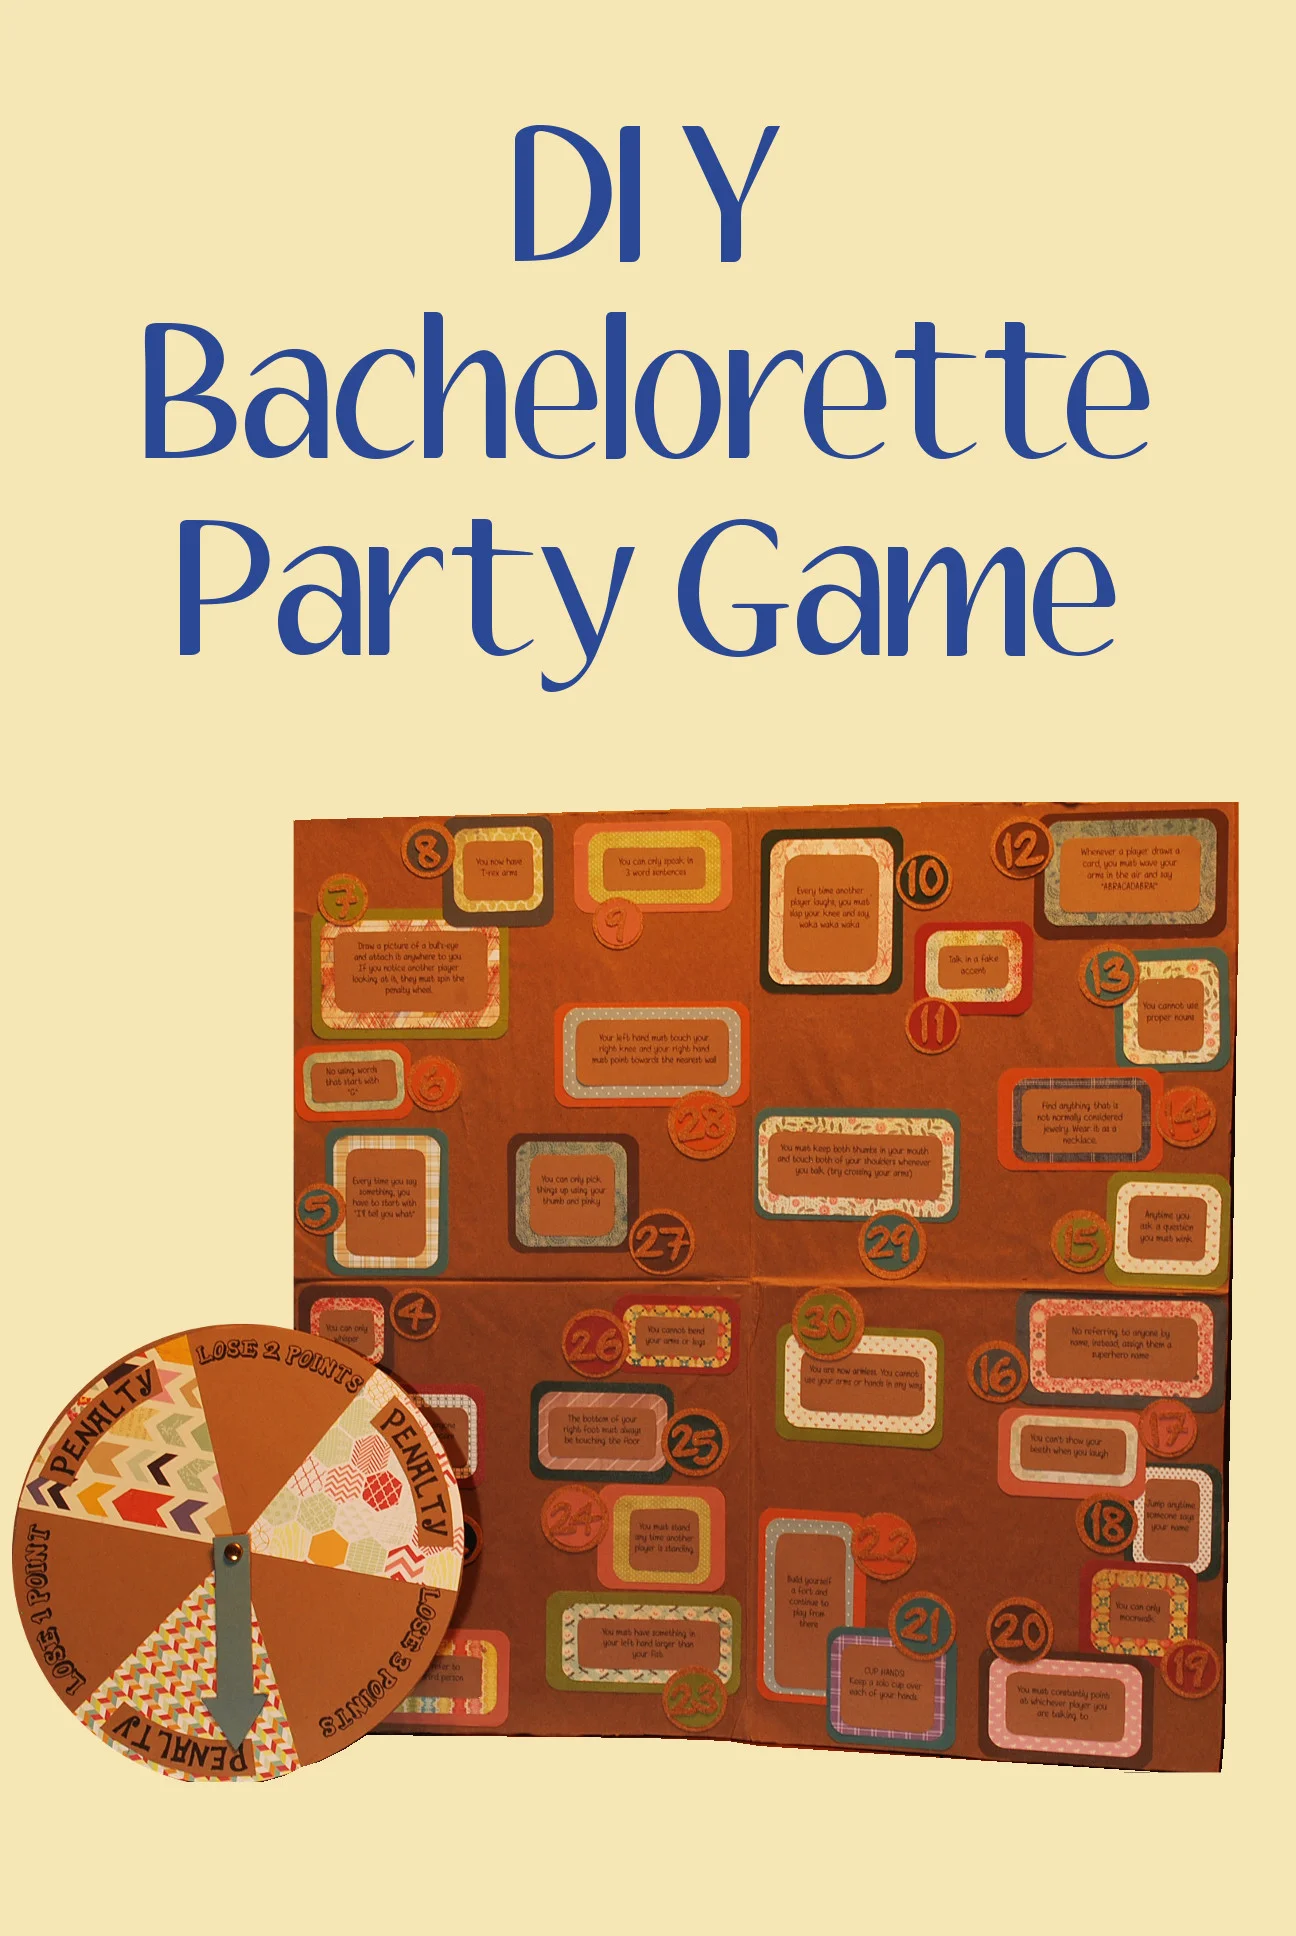
As soon as I started thinking about my friend getting married, I knew I needed to make her something INCREDIBLE. This is a friend of mine who has been the recipient of some of my most elaborate and outrageous gifts for many years and who I began my friendship with over a practical joke. So when I learned that the bridesmaids were planning a weekend pre-wedding celebration, this seemed like the perfect excuse to gift my friend a completely custom hand-made EPIC BOARD GAME. The best way I can describe this game is a combination of would you rather, truth or dare, minute to win it, and lots of ridiculousness. This is a game that must be played with fun spirited people who won’t hesitate to make fools of themselves. If you've ever played "Quelf" it's like that, but better.
I am thinking about creating pdf downloads of all the cards and the game pieces so that they can be purchased, but for now I will simply give a brief description and you can use your imagination to create your own version! (Or email me for some of my ideas!)
The game is essentially a card game with a scoreboard….and a penalty wheel. There is also a separate penalty deck. To make the cards, I drew unique borders and designs for the front and backs of each category. I drew them in pen on paper and then scanned them into my computer to resize and format for the cards. I printed the front and backs in coordinating cardstock and then glued them together before cutting the cards out and rounding the edges for a more finished look. Two layers of cardstock resulted in a nice card thickness, but you could easily make the cards a single double sided piece of cardstock to cut down on bulk and work.
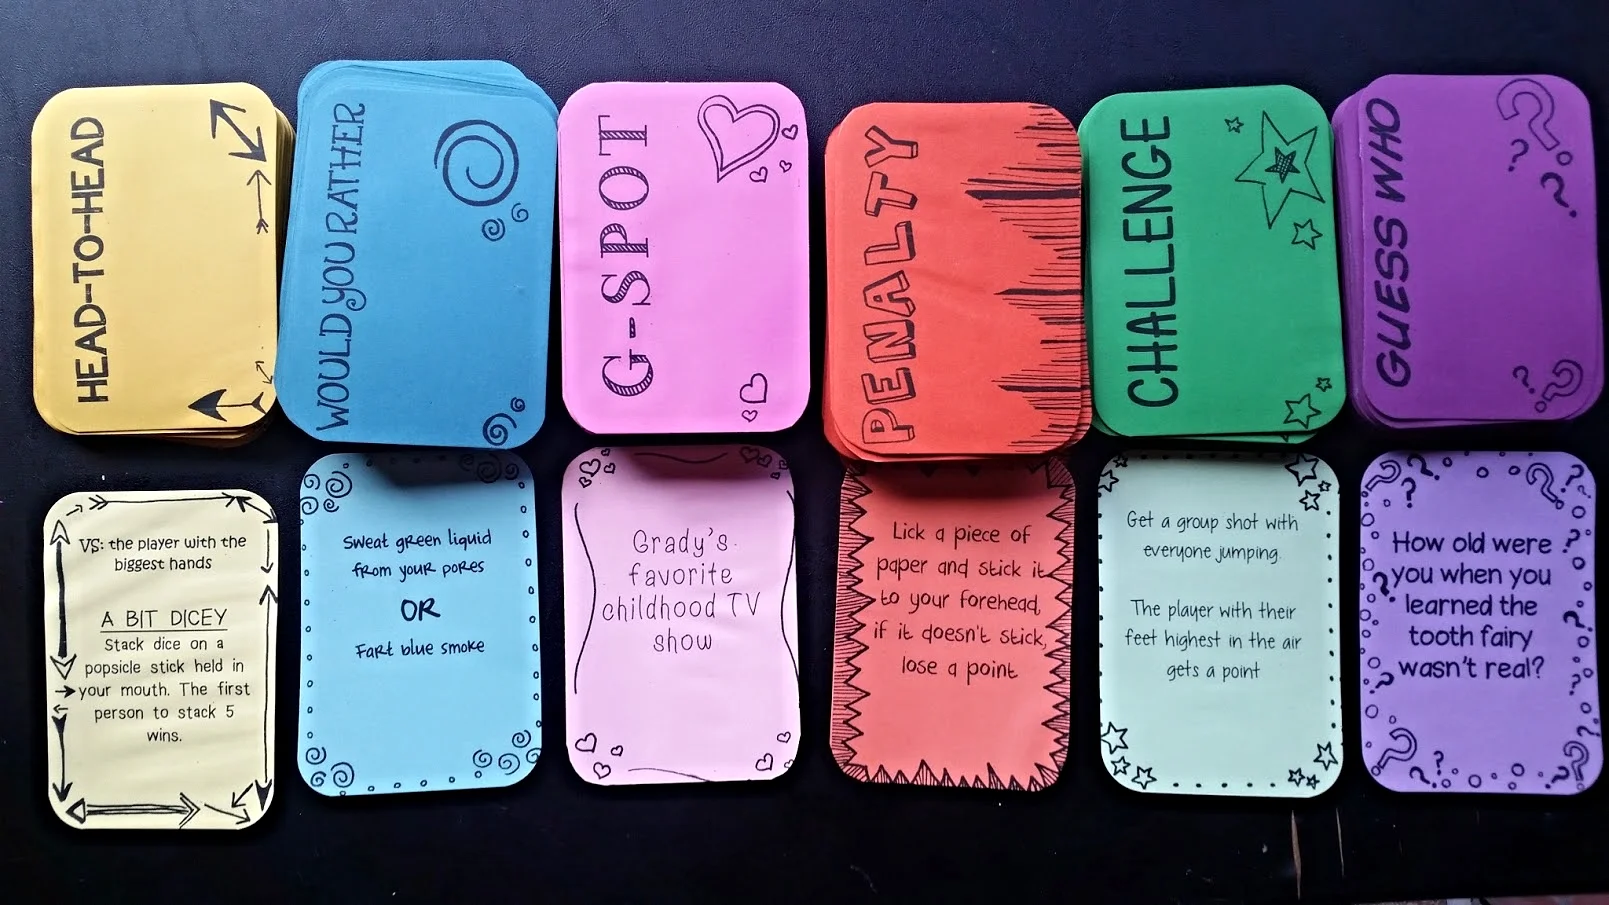
There are 5 categories in a mixed main deck: Would you rather, Head-to-Head, Challenge, Guess Who, and G-Spot. G-Spot is a category specific to my friend, Grady. These questions can be used for any person who is having a special day, but you might want to come up with another clever title if their name doesn’t begin with G.
The Would You Rather category is just that - hilarious would you rather questions that players have to guess what each other would rather. Healthy debate is encouraged.

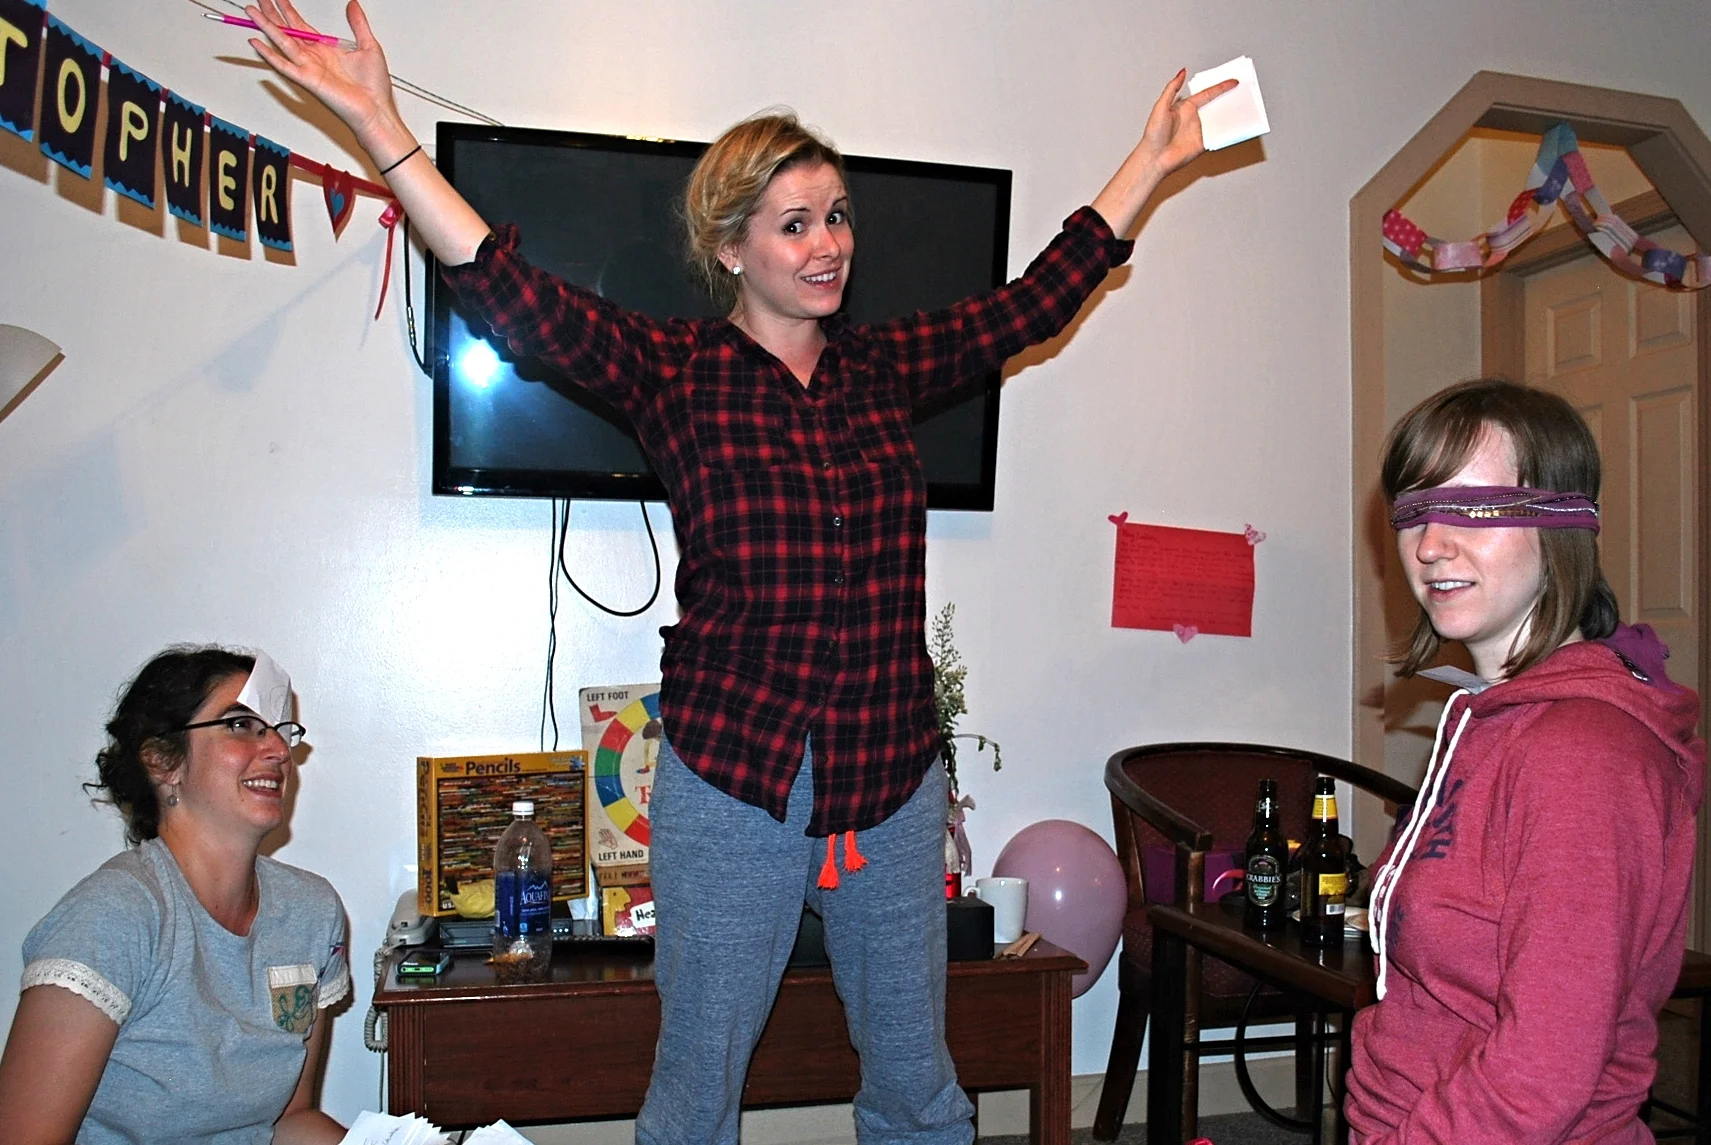
In the Head-to-Head Category, there are several adapted Minute To Win It style competitions. Each card specifies how to choose your opponent for the activity based on an arbitrary fact (such as the player who you have known the longest).

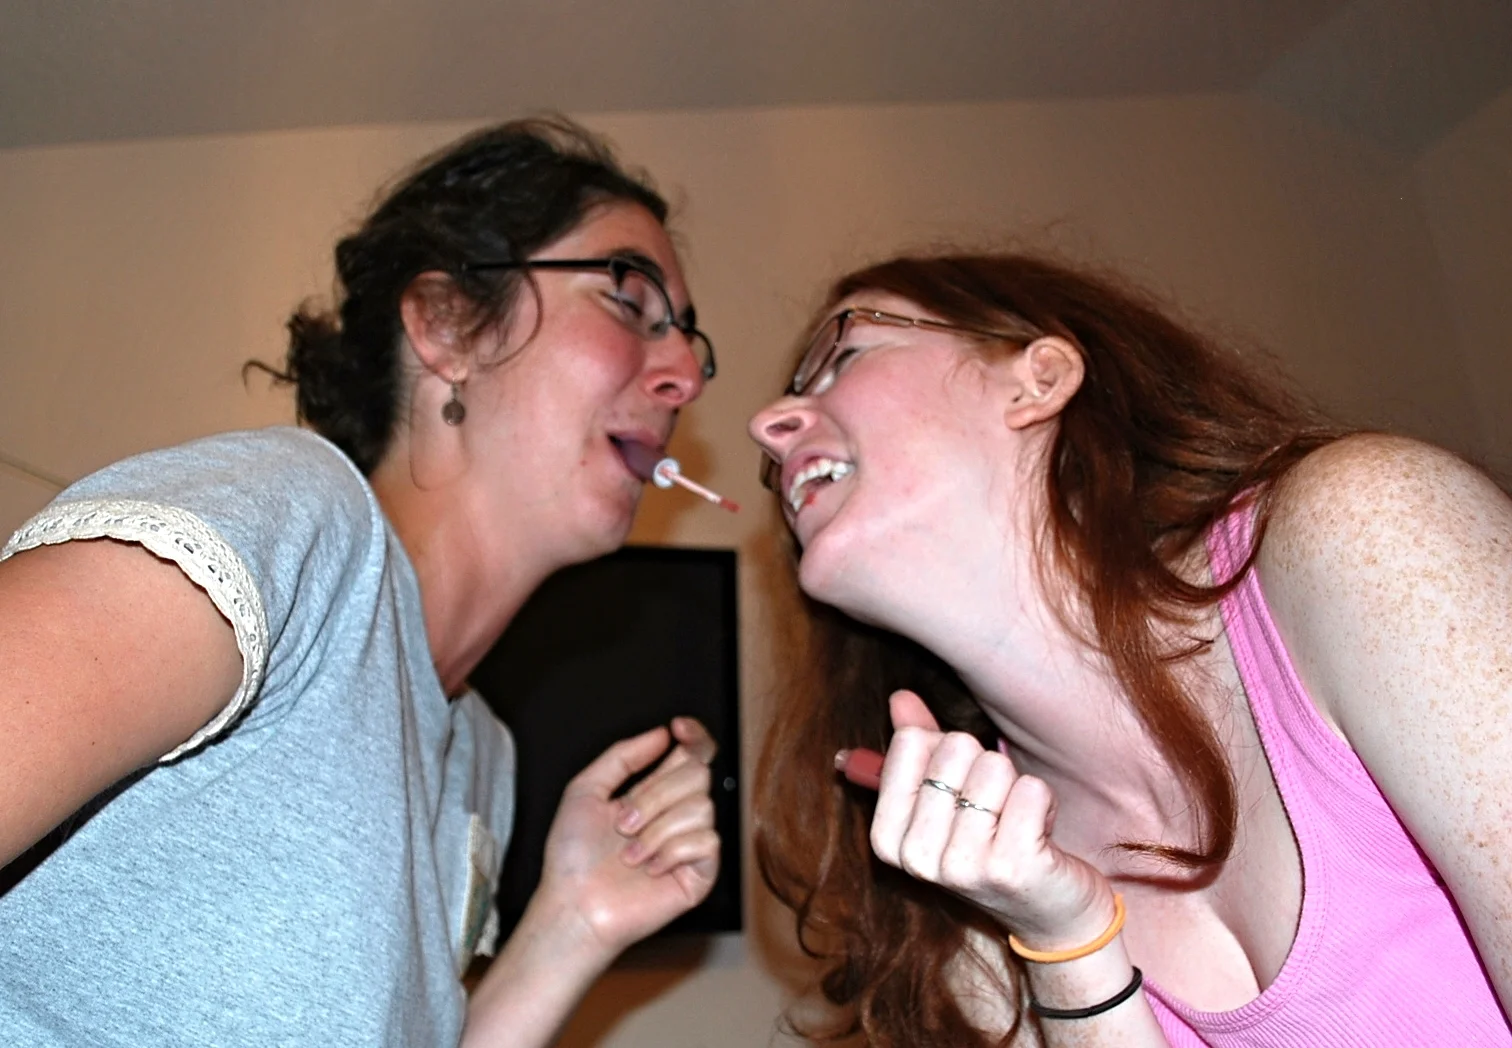
In the Challenge category there are different challenges that must be completed either by you or by the group.

The Guess Who category has questions to which all players have to write down their answer and then the cardholder has to assign the answers to players.

G-Spot requires everyone to try and guess Grady’s answer (the way I decided to do the scorekeeping, the bride definitely benefits….but I figured that was okay).

Everyone had an adorable game piece. I doodled some characters, scanned them into my computer, printed on cardstock, colored with colored pencils, adhered cork to the back and then made a chipboard stand!

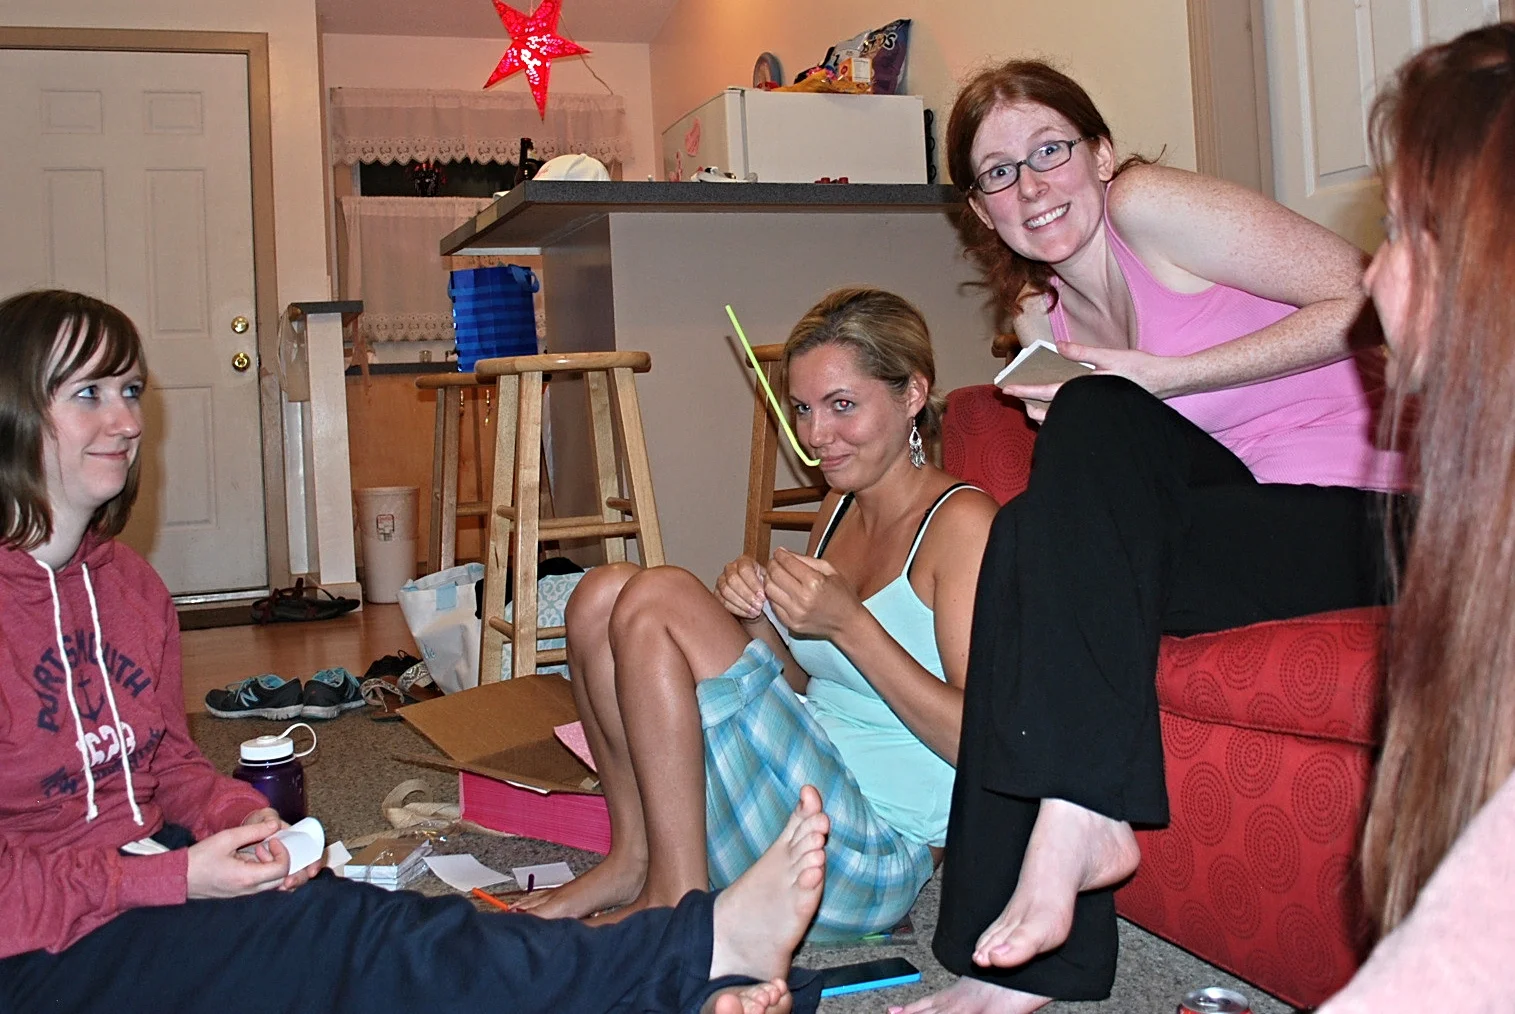
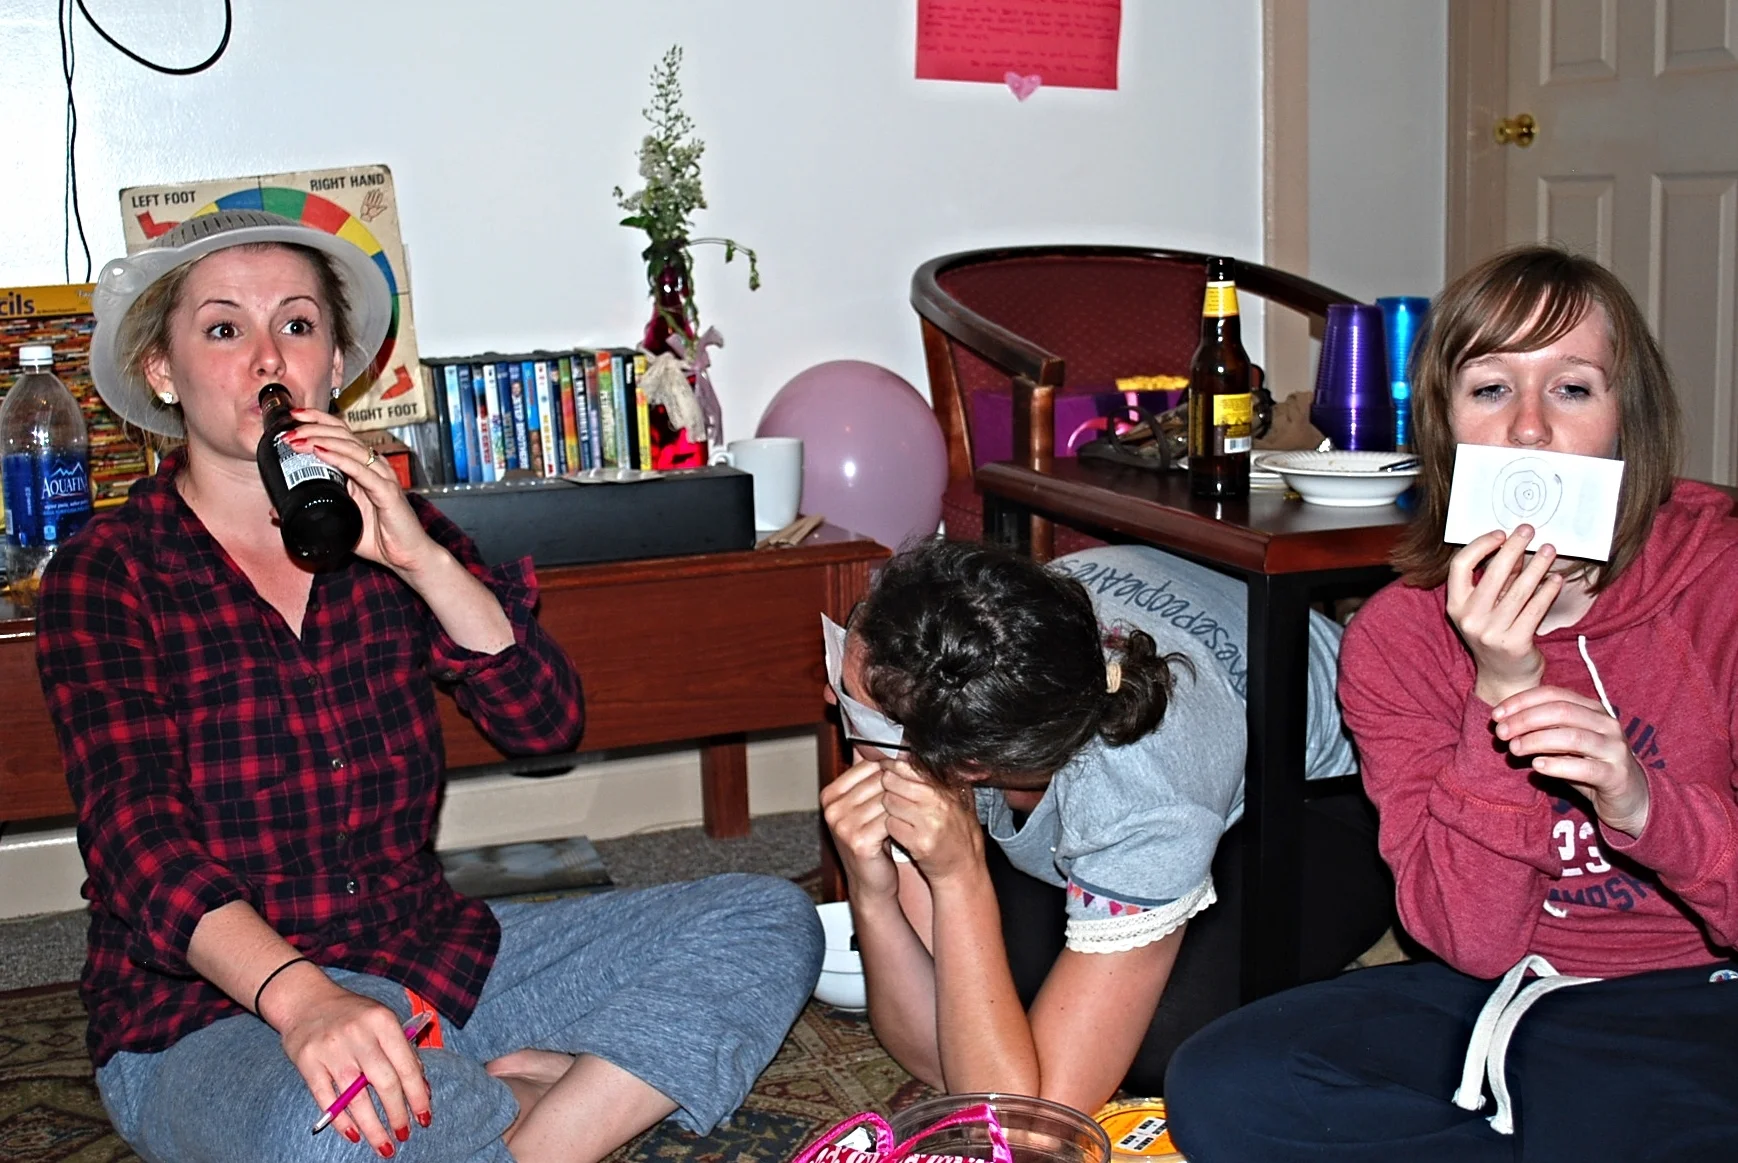
As players received and lost points, they moved their pieces around the game board. The game board has a total of 30 points (completely arbitrary). Each score has a rule associated with it that must be followed for the entire time the player remains on that space. This often makes game play pretty difficult, depending on the cooperativeness of the group playing. I made the board itself out of 4 pieces of chipboard duct taped together and covered with a single piece of butcher paper. The rules themselves were printed on cardstock and cut with rounded corners. I stacked the rules on coordinating patterned and solid cardstock and cut out cork numbers for the scores.


If at any time a player notices someone not following their rule, they may call them on a penalty. The offending player must then spin the penalty wheel and either lose points or perform a penalty card.

This game was SO MUCH FUN! We only ended up getting through about ⅓ of the cards and we had to adjust our scoring system half way through to speed up the game, because we played it all night!! I was careful to make sure that any inappropriate content was only printed on cards, so this is a game that can very easily be sorted through and made completely awesome for playing with all ages. I can’t wait to play this again!


I came up with a rule sheet complete with game supply list, so if you would like specifics about how I determined scoring, or you want help brainstorming your own game, just let me know!