Finally this monstrous undertaking in my life is finally starting to take flight. The Wild Rover-Mobile is up and running and fully functioning complete with giving our clients full bathing services! This means that yes, I’ve finally mastered (haha - not even close) the plumbing and electrical systems on the van so we are able to run all of our equipment (like a dryer) and have heated water to give baths with a recirculating bathing system. Unfortunately among the many “bad timings” this van project has had, in our first weeks of operating we had extreme low temperatures causing freezing I didn’t account for and burst a few of my plumbing components (luckily nothing too challenging to replace). But that experience led me to realize I had not properly accounted for needing to be able to drain the system entirely during the winter, so I’ve now made some design adjustments to add in what drainage valves we will need to keep everything running smoothly all times of the year.
Along with extreme freezing temperatures, we’ve also been hit with several storms and a good amount of accumulated snow. And of course, just to keep us on our toes, the van has had a few mechanical hiccups in the first few weeks of being in service. An extraordinary noise announced the development of a giant hole in our muffler that we had to bring in to a mechanic to be fixed. Less than a week later, we found ourselves broken down on the side of the highway. Ultimately we were able to get ourselves going again - with lots of help from family from troubleshooting over the phone to help me identify the problem, to roadside deliveries of transmission fluid. Long story short: I now know how to fix transmission hoses. We have had a pump seize up on us and stop working and the water heating system is still not working to the efficiency I had hoped, but luckily all of the “plan B” options I’ve come up with on the fly have worked out alright for us and we’ve been able to continue working. So needless to say - I am not yet fully finished, but the end is in sight.
We had about a month in which we caught up on appointments in our van though were not yet able to offer baths. A short break thereafter allowed me to buckle down, practically live in the van, and get us all set up to operate fully. The first major step of this: the bath. A huge component of this van is that it can give us the capability to offer full bathing services, something we were previously unable to do. This of course requires a LOT to make happen in the back of a van. In a previous post, I made this basic diagram to figure out how our system would work.
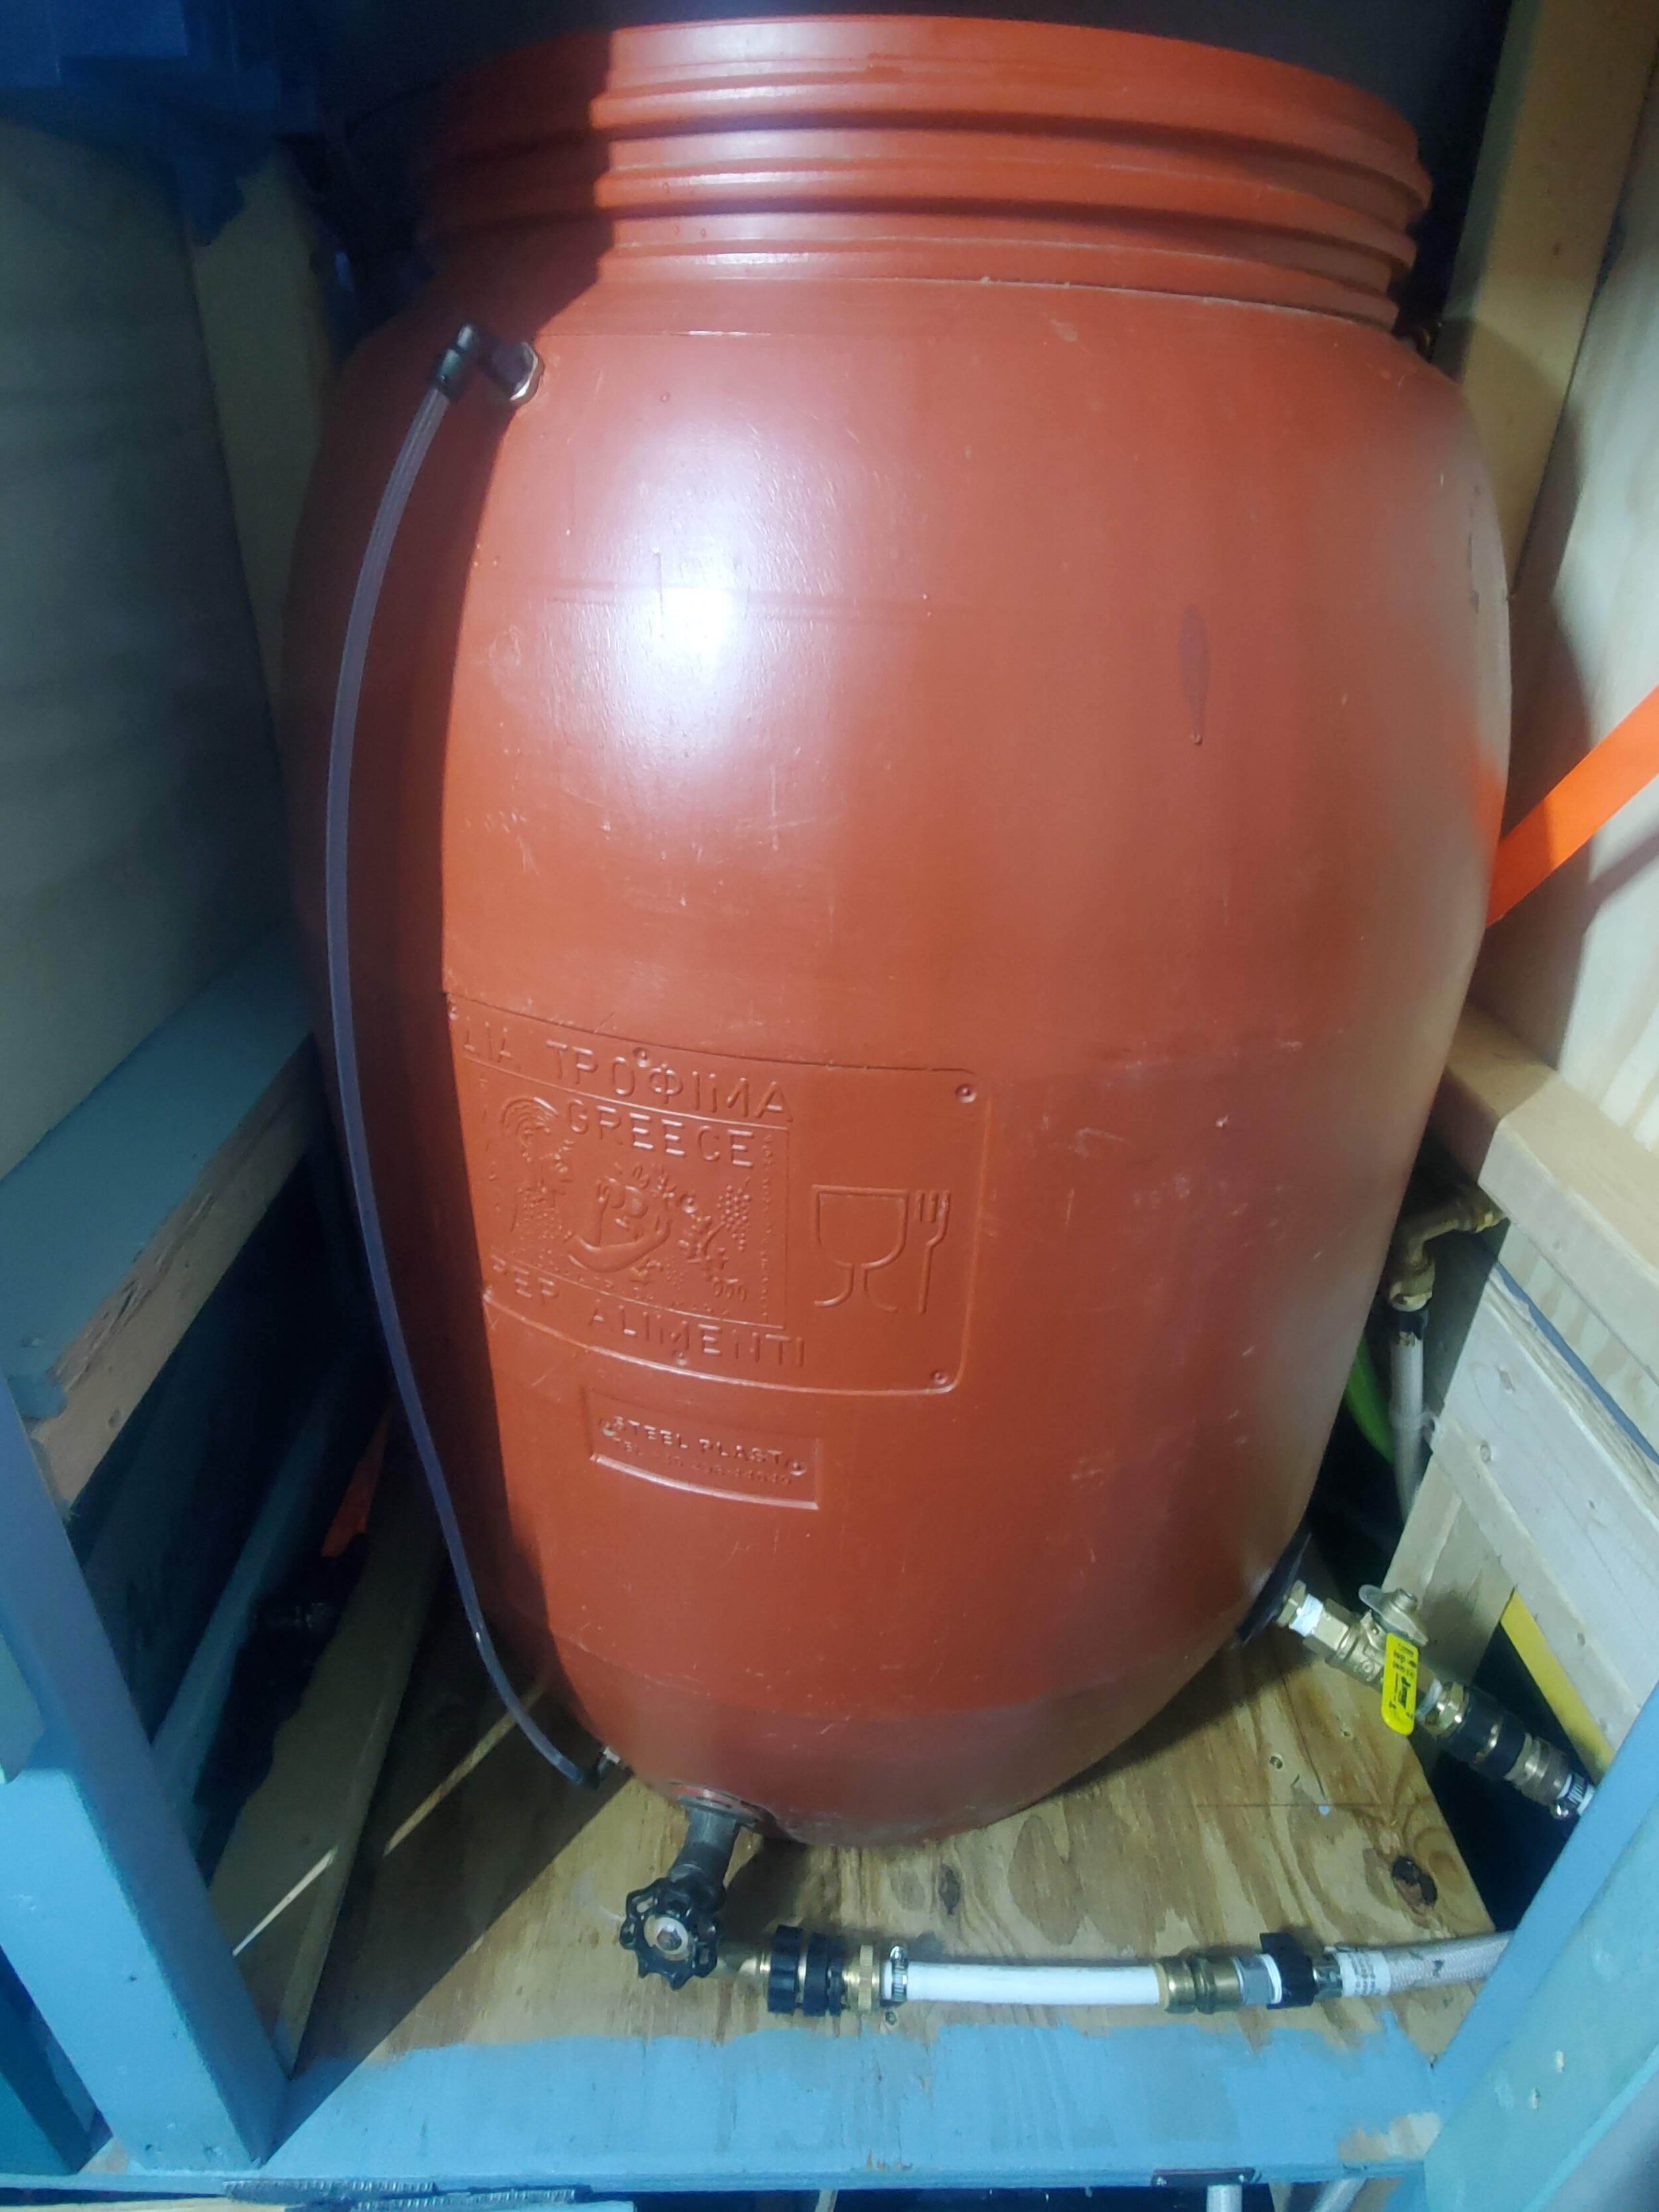
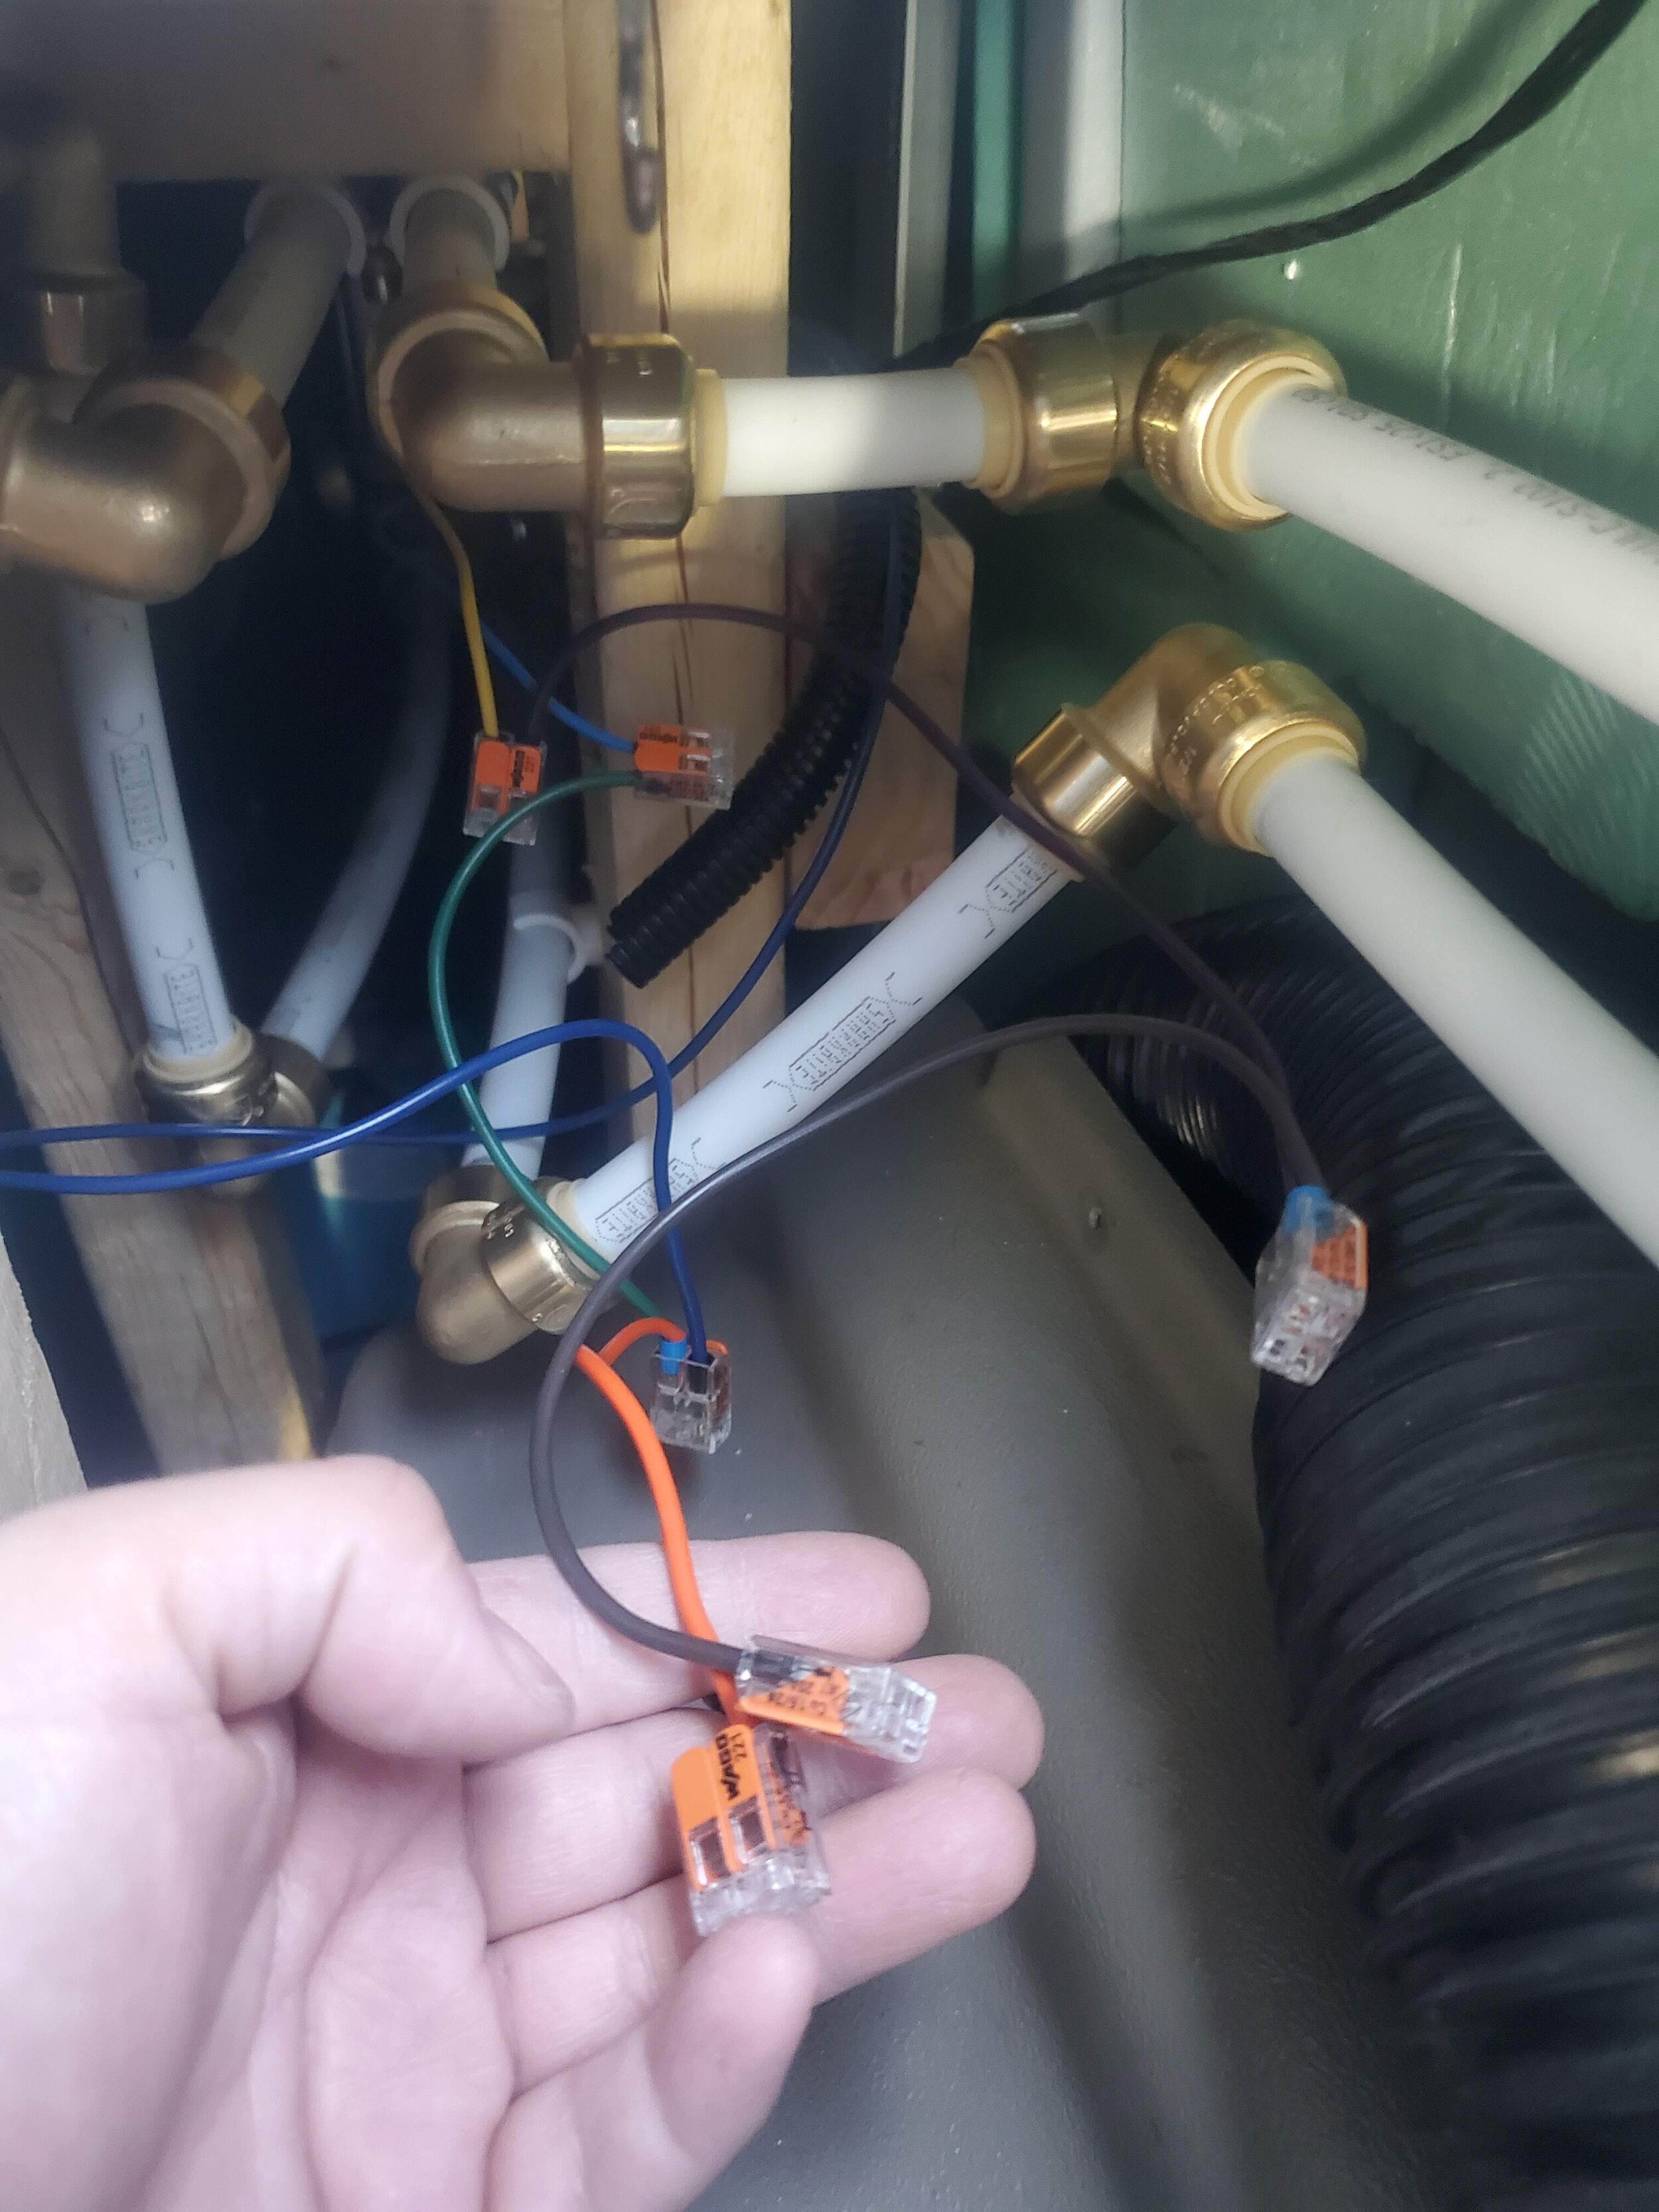
Now I just had to actually make it happen. First to tackle was the piping required for the water heating system. I chose to use PEX piping since sections of it would need to sustain high heat. It is also relatively easy to work with. I can’t even really explain how all of this came together. I spent a lot of time in awkward positions under the tub table, struggling to attach a pump under the tank mount and trying to figure out the most logical place to put things in order to still access filters that would need regular maintenance.
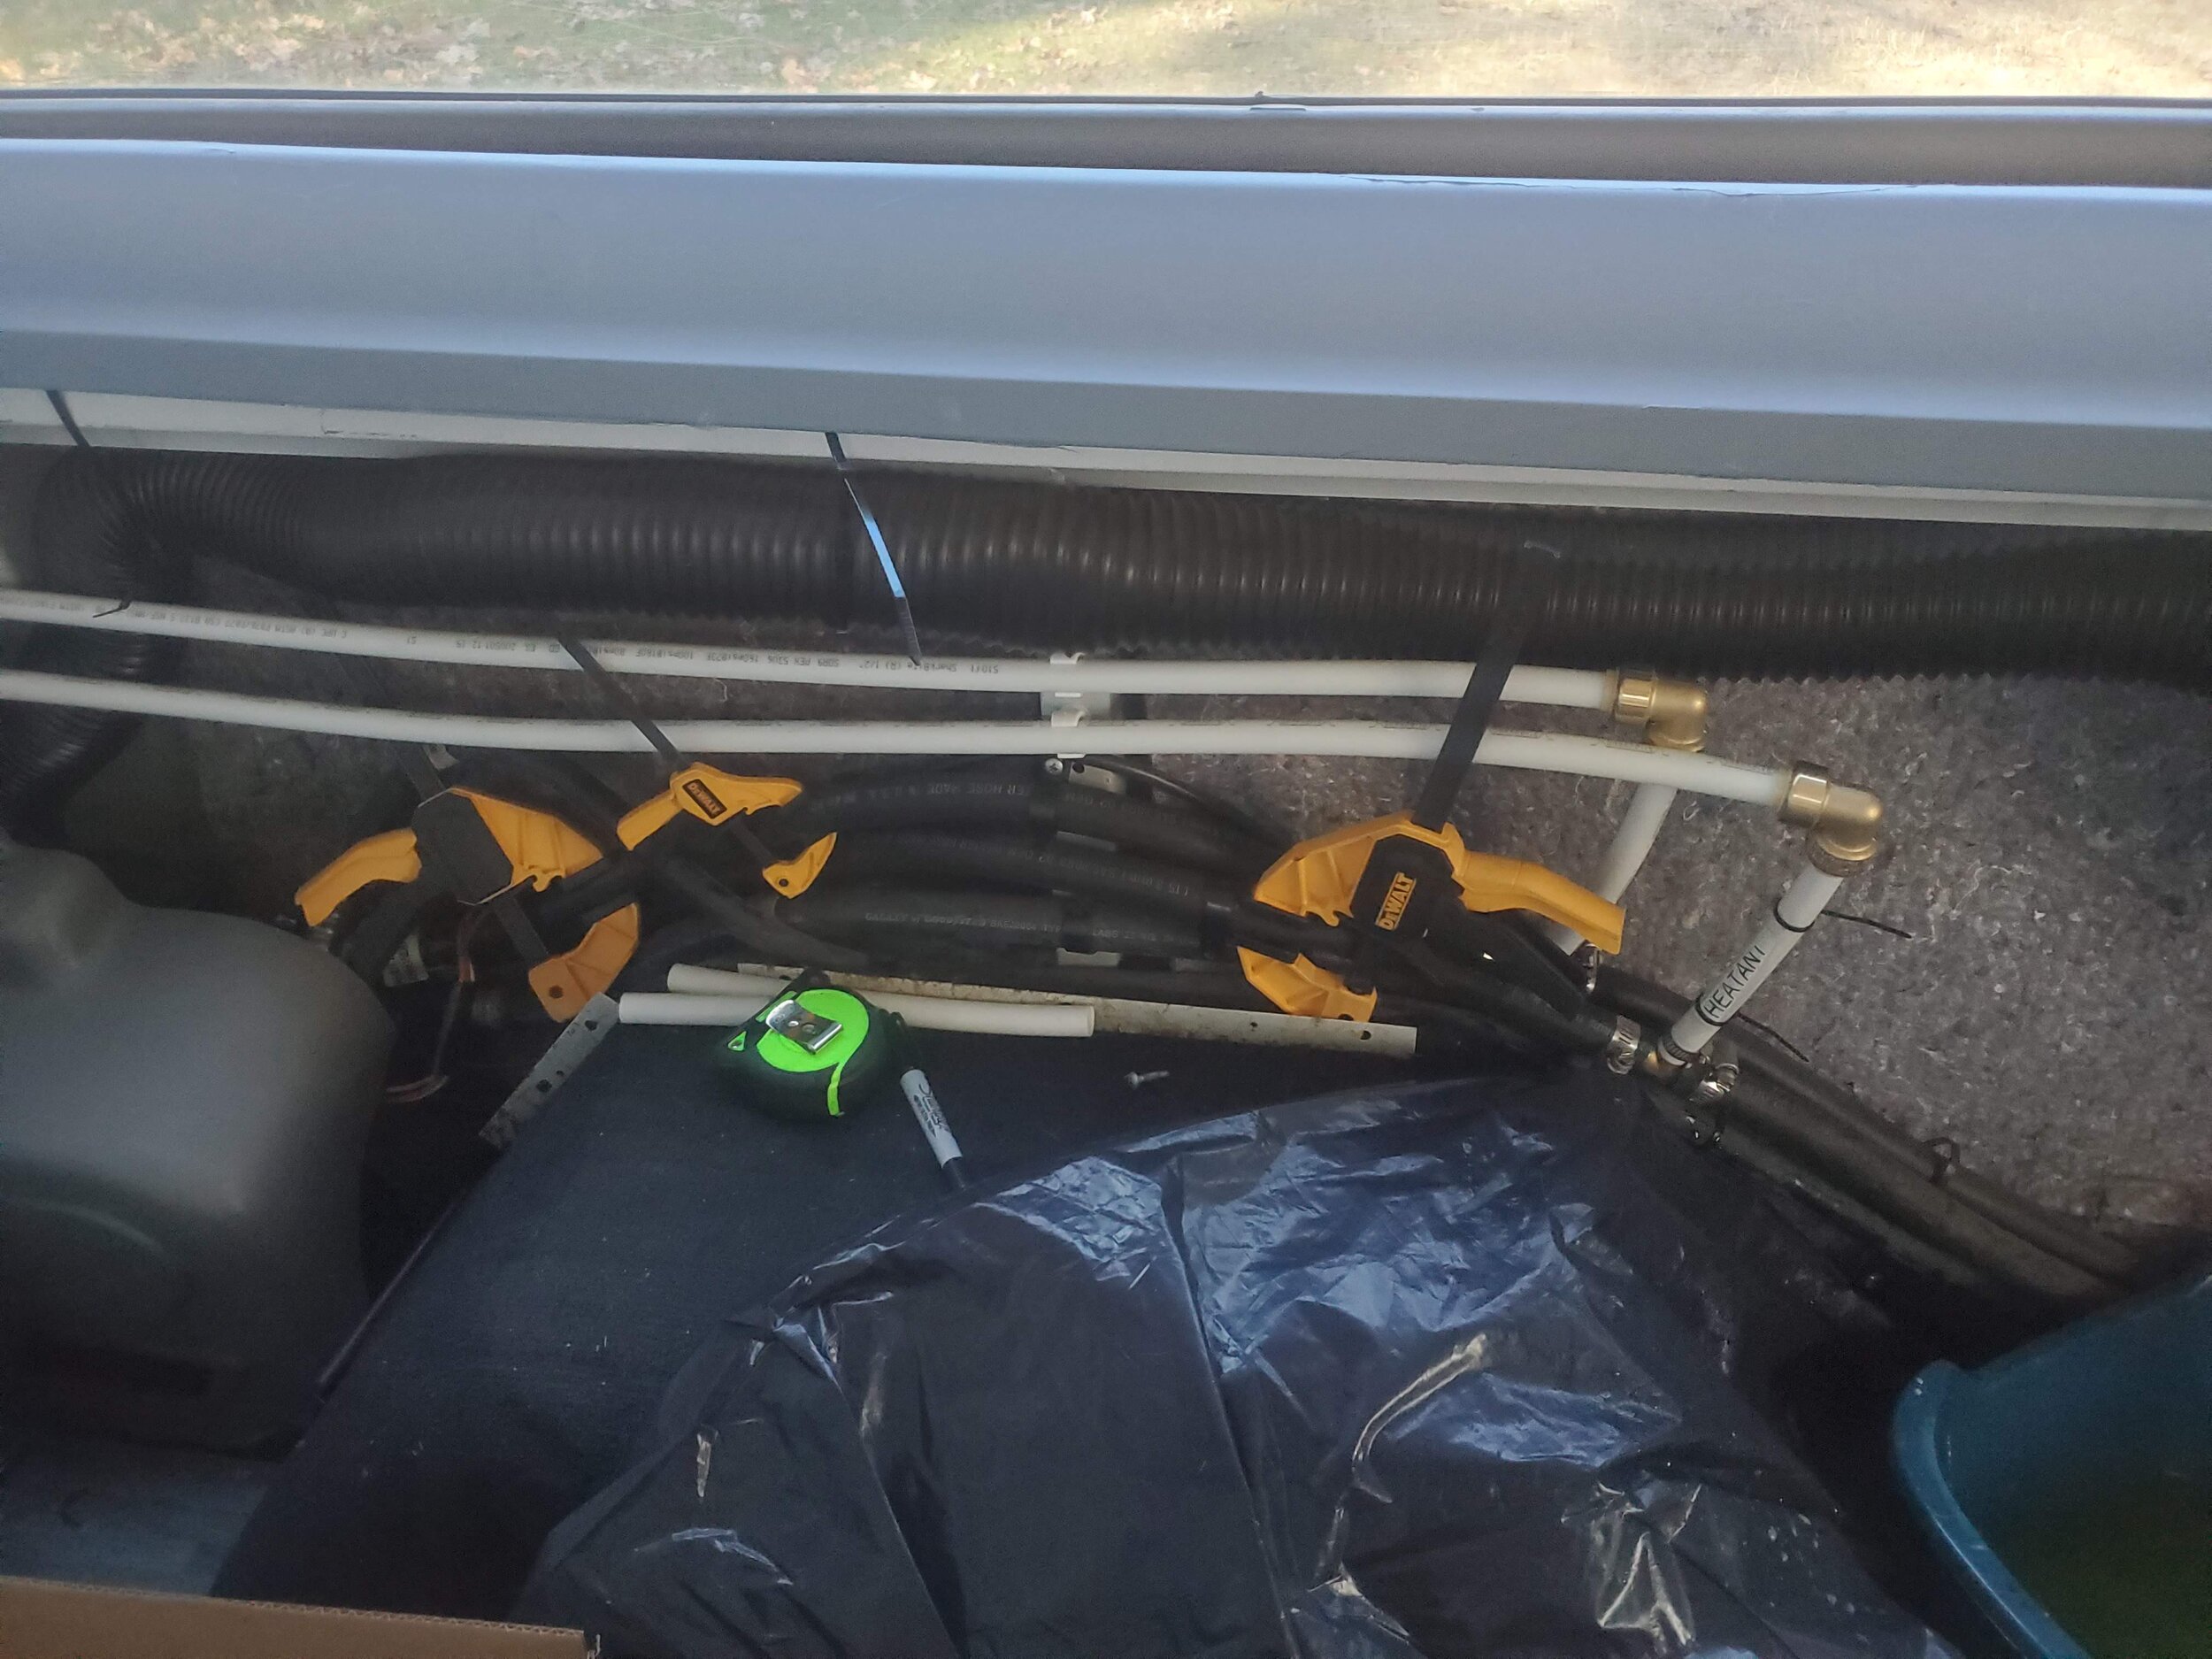
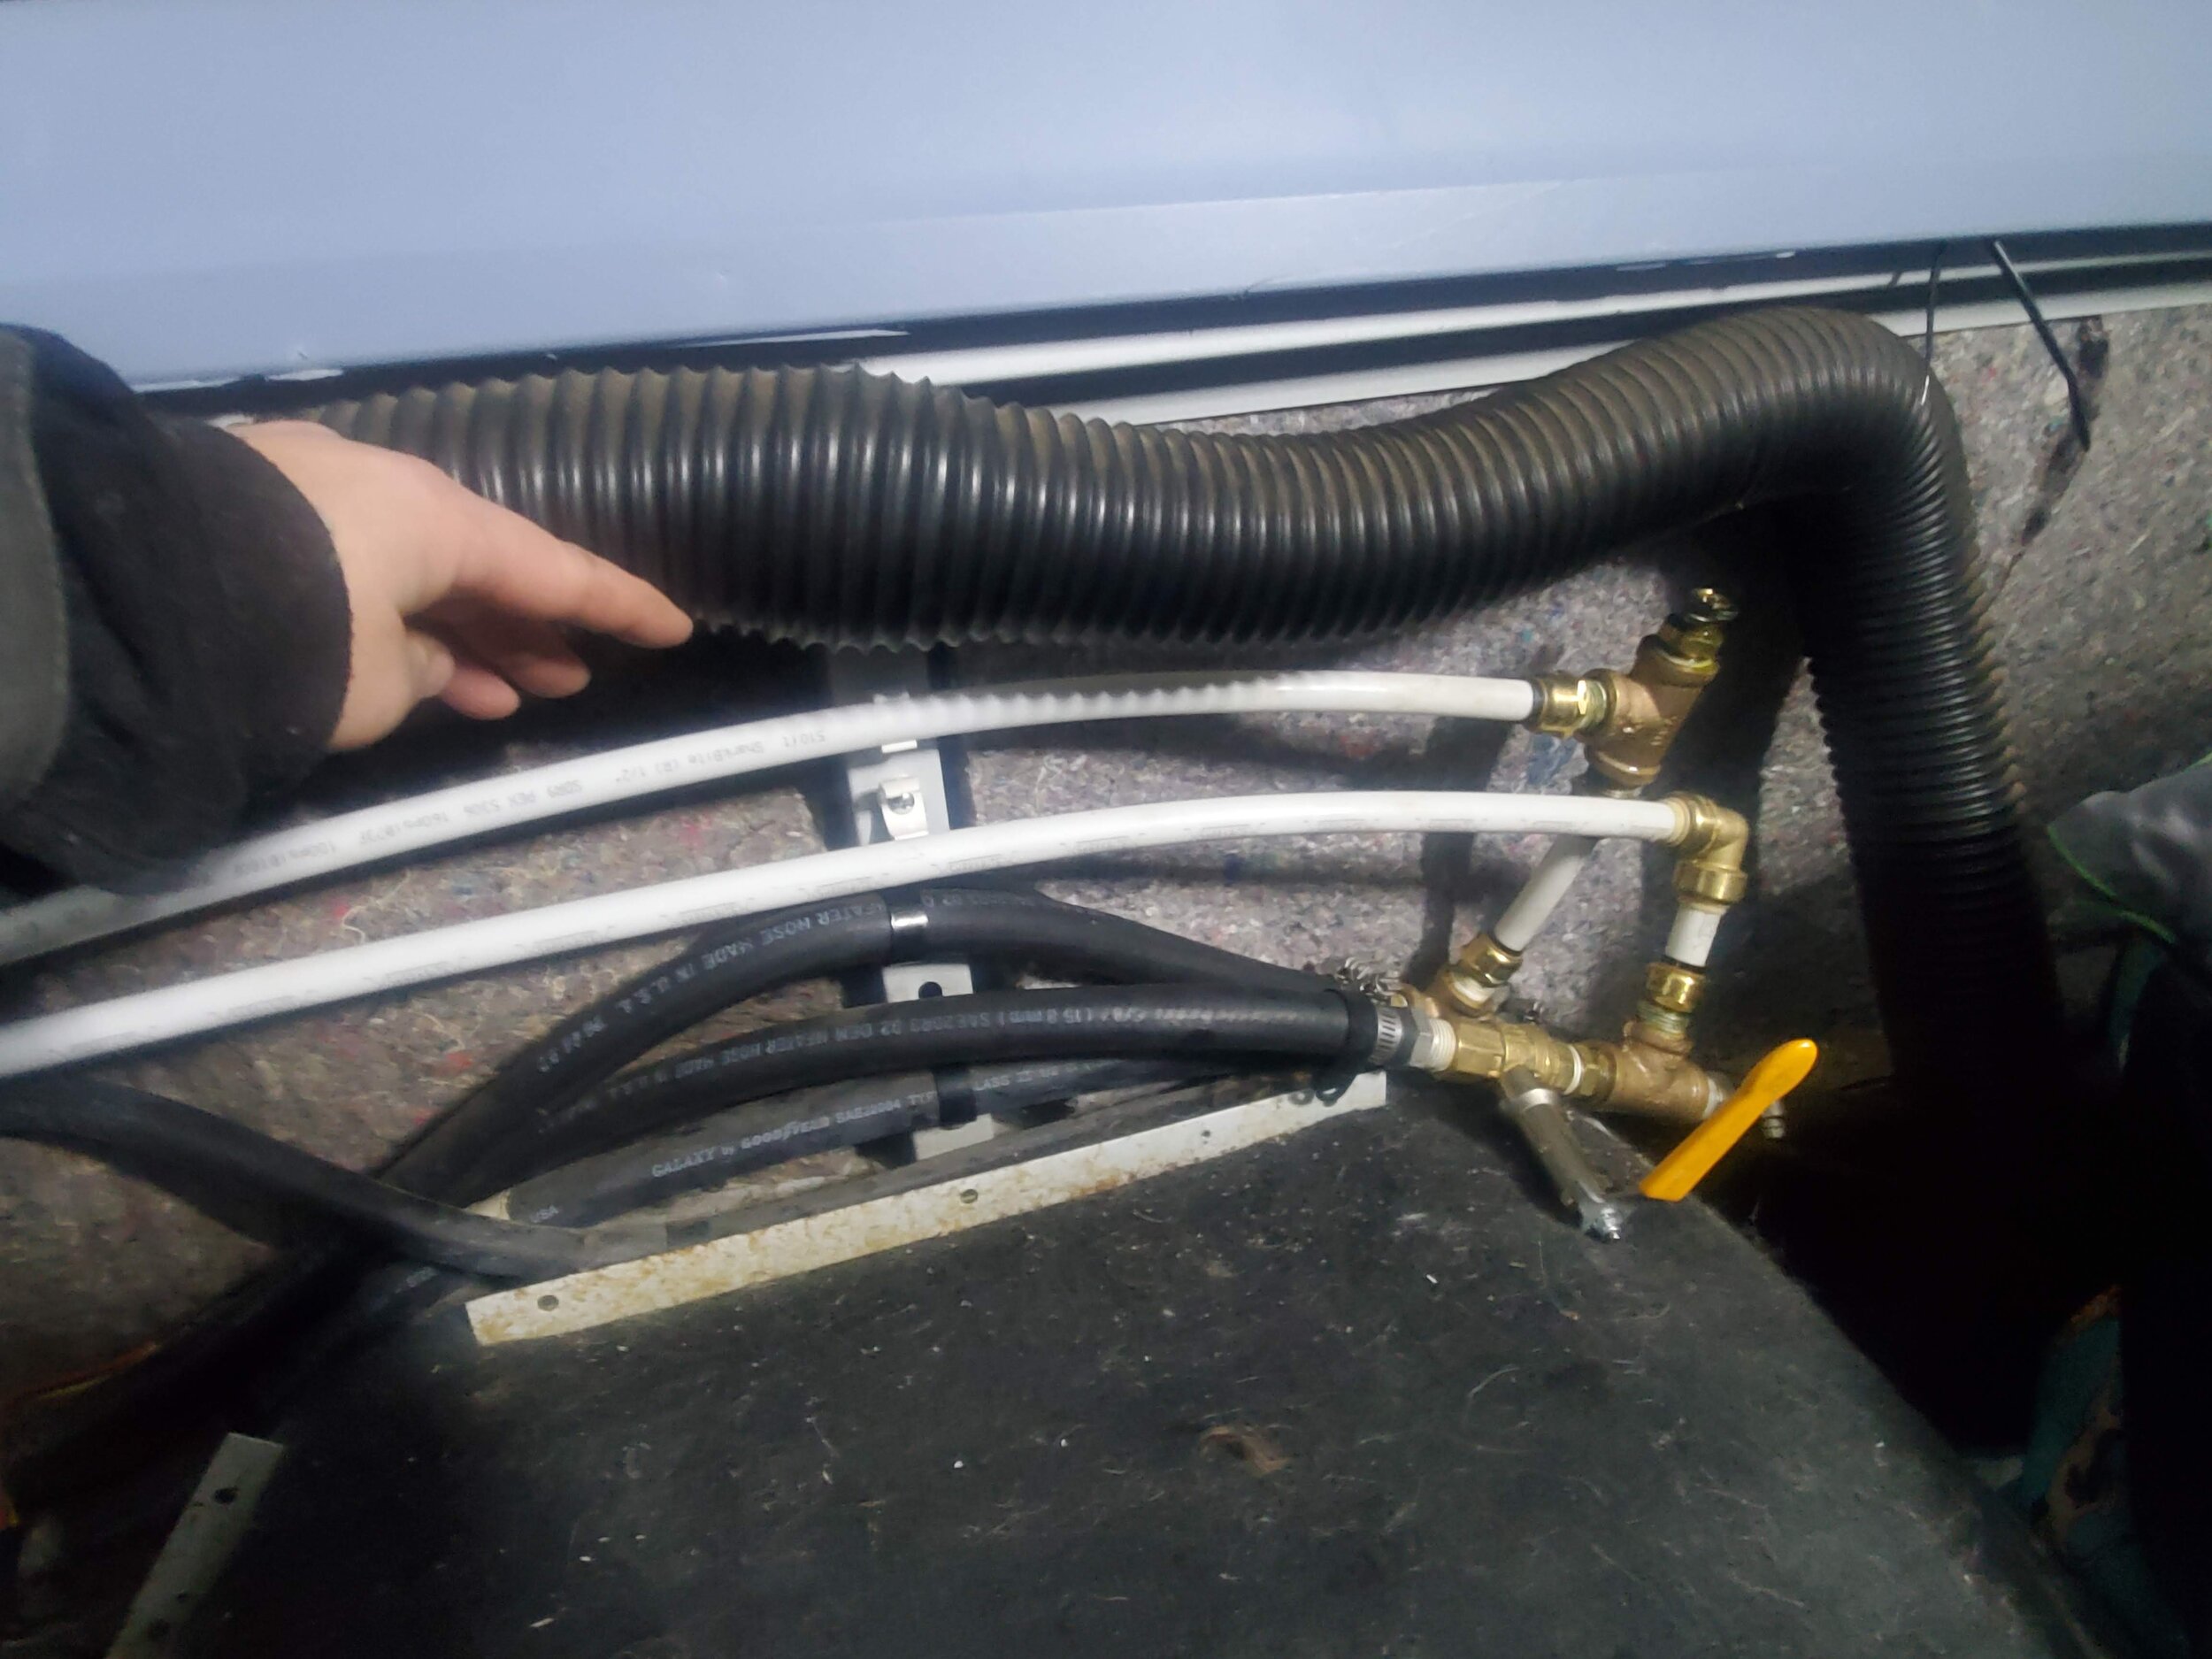
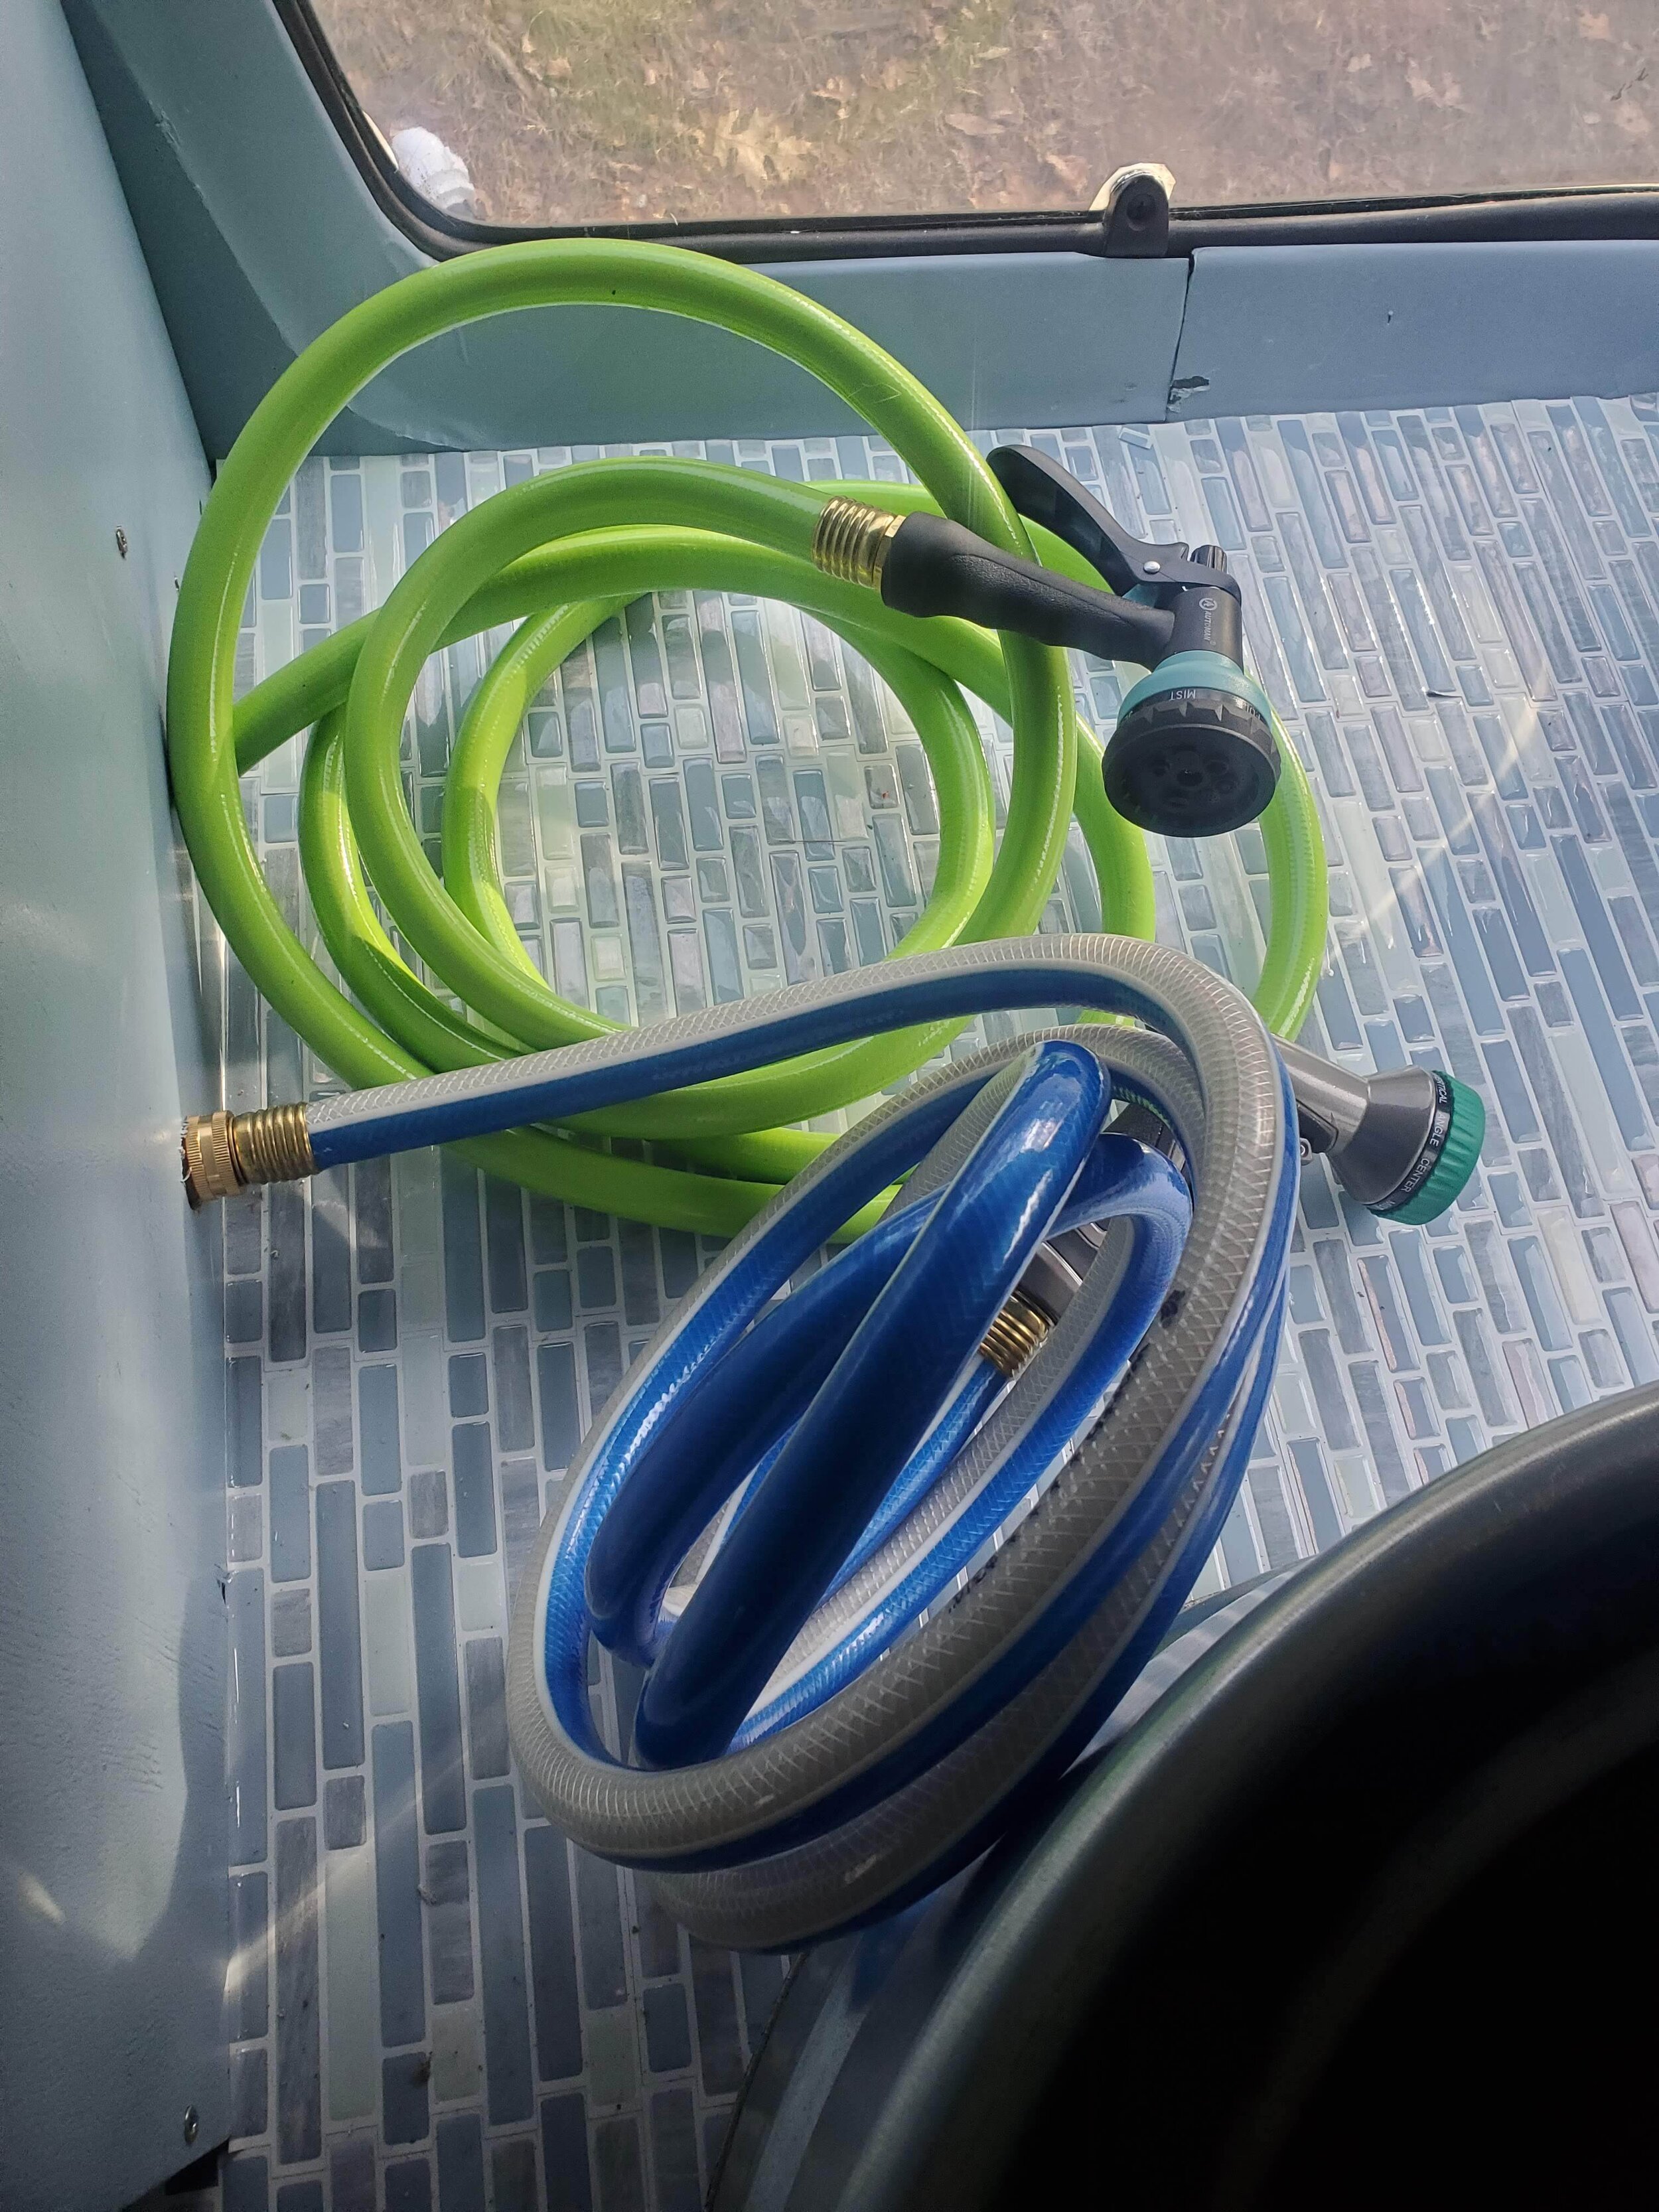
There are basically 4 separate systems involved to make this all happen. The “rinse” system (blue line) goes directly to a filter and pump mounted underneath the tank and then strait through the tank cabinet to a hose in the tub area. Right now this is one of the systems that I have had to manually disconnect every night to drain, so I am adding a valve for easier maintenance. The “wash” system (green line) involves the recirculating pump. Before each bath, that tub is filled with fresh water from the tank and a mixture of shampoos. The process of spraying a dog with premixed shampoo and water makes for a much more effective bath. A long hose is connected directly to the recirculating pump and runs under the table through the tank cabinet to the tub area. The “heat” system (red and purple pipes) has several components involving a heat sensor positioned in the water tank and a pump and electric valve that are activated if the water is cooler than our set temperature. This is another system that is being slightly re-routed and having some drain valves added in order to maintain it in freezing weather. I was nervous about connecting this heating system up to the heater hoses of the car, but my partner luckily had the wise idea to not only drain what coolant we could out of the system beforehand, but then we backed the van up onto a steep slope of our yard in order to shift as much coolant forward out of the hoses I was about to cut into. And it worked! I won’t say there was NO mess, but it could have been significantly worse. It all went much smoother than I expected - even figuring out the directions of the heater hoses, which I was dreading, was pretty straight forward with a helping hand to turn on the car and then off again as soon as I saw which hose was going to start spewing coolant. One other small complication I ran into was that there was not enough pressure in the heater hose to keep everything circulating efficiently. This was temporarily fixed using clamps to apply pressure to the heater hose after the PEX intersection. I have since replaced this set up with a flow control valve and an air valve to help clear any air out of the coolant system. I also have had to make several adjustments to the various spigots attaching the piping and tank to attend to leaks, and have added a small tube on the outside of the water tank to make monitoring the water level much easier.
Once the heat exchange was mounted and all the PEX piping was in place, I could figure out where to place the tub drain. This drain is far from perfect and made up of some very mismatched parts in order to create something that would work for our very hairy circumstances. I used a large drain specific to grooming tubs and then attached a large additional hair trap. I used a split for a garden hose in order to manually switch whether we are draining into the recirculating “wash” bin or if we are draining into our grey water bin. Placing the drain I had to keep in mind that I still needed to be able to slide the bins out from the back of the van as well as needing to access the manual drain switch from the inside of the van. I first cut the hole for the drain in the plywood of the tub table and then used a giant metal punch to surprisingly easily cut a drain hole in the tub. I adhered a pvc shower liner to the plywood table and cut the drain hole out before gluing the tub in place and installing the drain. At the same time, I finally closed up the remaining back wall panel. I had to custom cut this piece, add supports to the side wall pieces as well as anchoring to a ceiling frame bar, then used the remaining pvc shower liner to cover the plywood in order to make a much sturdier and water resistant panel than what was there originally. I covered the wall panel with matching decorative vinyl to the other walls and covered the exposed pvc of the tub table with an additional protective layer of decorative adhesive tiles. I also cut shower tiles to fit the bottom and make for a more comfortable bath floor for little pup feet.
The next major hurdle was the electrical system. In figuring out what I would need in order to run all our equipment, I had to take account of every single device aboard that would require electricity. I kept this in mind as much as possible when choosing equipment like pumps, trying to choose 12 volt products when possible (I have decided to replace one of our pumps for this very reason of drawing an excessive amount of energy). Not only did I need to know the energy usage of everything in the van, but I also needed to account for how much time everything would be in use in order to have a large enough battery bank to last us through a full work day. If this is something that you ever need to do, I strongly recommend getting your own meter to measure wattage used since specs written about products are notoriously inaccurate.
|
Volts |
Amps |
Watts |
Min watt-hr |
Max watt-hr |
|
|
Heat exchange pump |
12DC |
0.7 |
8.4 |
8.4 |
16.8 |
|
Tub pump |
12DC |
7.5 |
90 |
90 |
90 |
|
Recirculating pump |
115AC |
5 |
575 |
862.5 |
|
|
Dryer |
120AC |
8.5 (11.3 startup) |
1025 (1350 startup) |
1550 |
1550 |
|
Clipper vac |
115AC |
0.8 |
92 |
368 |
|
|
Fridge |
12DC |
3.75 |
45 |
45 |
225 |
|
Light strips (3) |
12DC |
1.5 |
18 (54) |
270 |
|
|
Light bars (4) |
12DC |
0.5 |
6 (24) |
120 |
|
|
Thermostat |
12DC |
3 |
36 |
36 |
72 |
|
Fan |
12DC |
0.27 |
3.24 |
18 |
18 |
|
Shut off valve |
12DC |
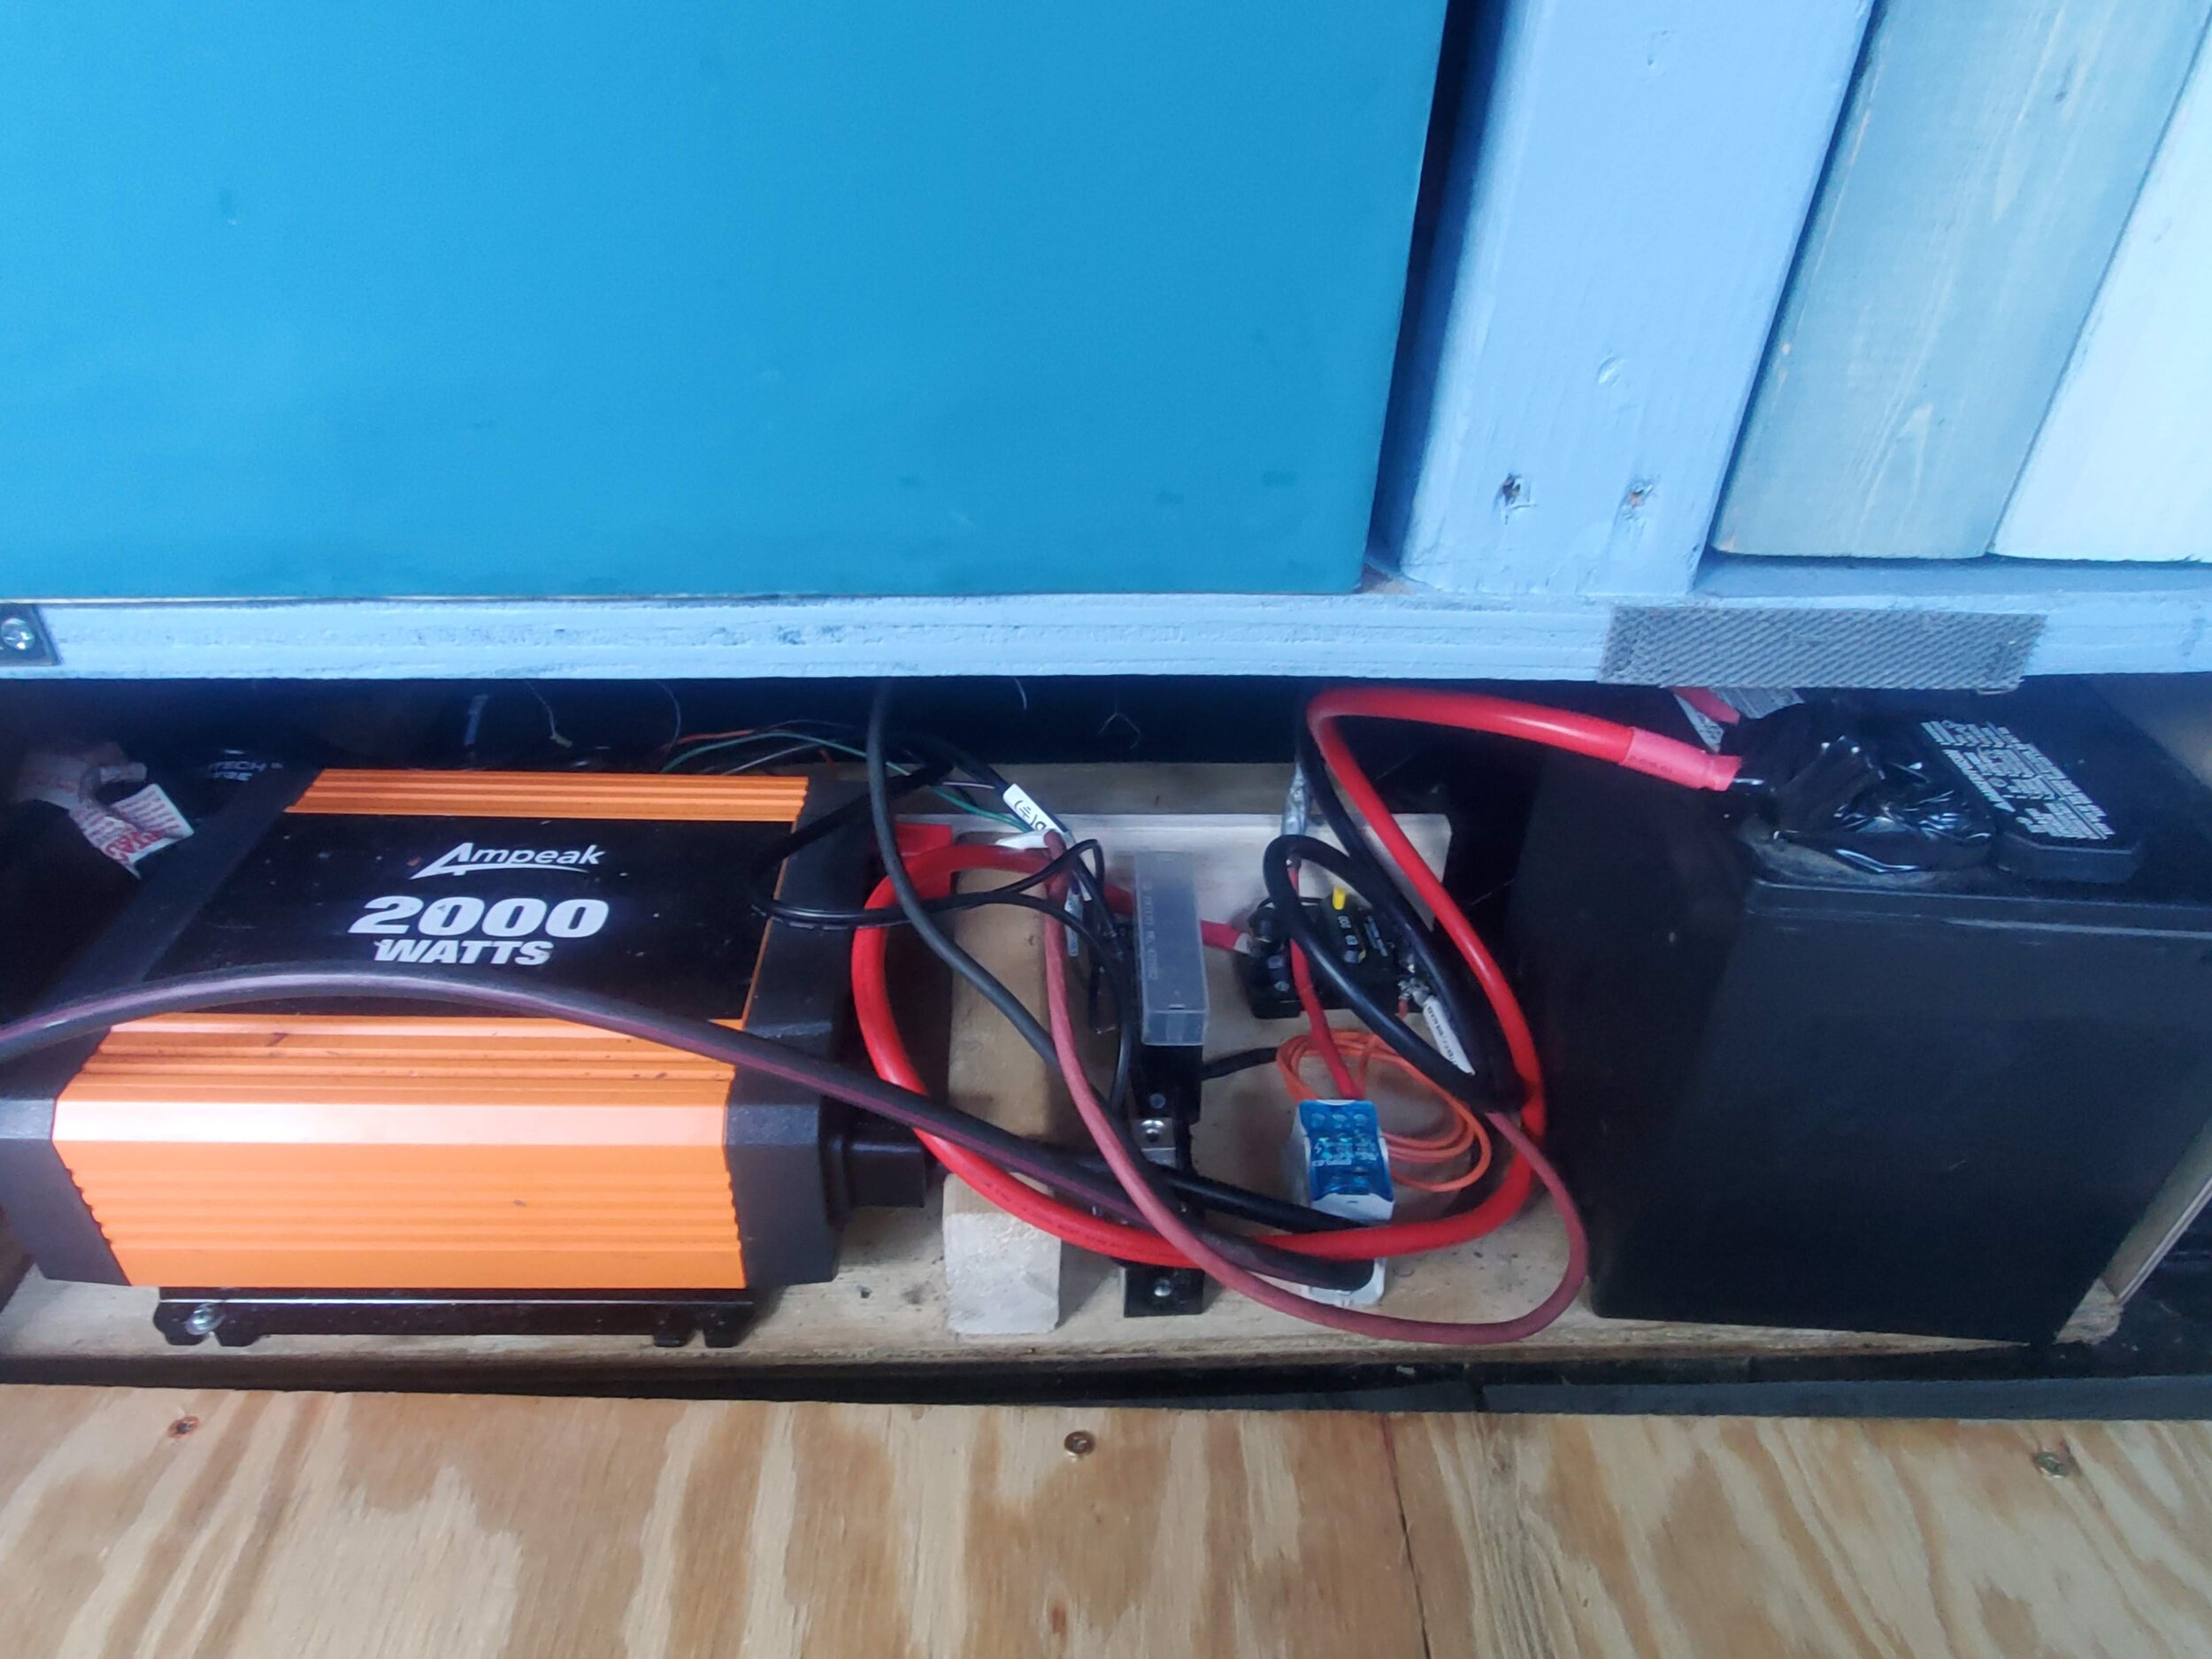
In order to decide on what we needed in terms of batteries, I recruited help from my resident engineer. There are LOTS of options for this, and all are very expensive, complicated, and potentially dangerous, so I pulled the expert in to the purchasing process to figure out what would work best for us. We ended up ordering the components needed to build our own battery system. This is only something I could do because I have the help of someone who knows what they are doing. Buying the components individually means that it is ultimately easier and cheaper to repair should one component fail as well as gives us a bit more flexibility in future expansion. However, these really need to be assembled by an expert as the lithium phosphate batteries we went with (ultimately the best choice for a number of reasons) can be extremely dangerous if not handled correctly. Because of this, our final on-board battery assembly is not yet complete. In the mean time, we are using an old car battery we had that does not really hold any charge, but we have it hooked up to the van battery. So for now, we need to run the van in order to operate any electrical components. This is a perfectly fine temporary solution for us as in this cold winter weather we are happy to have the van’s heat on throughout the day.
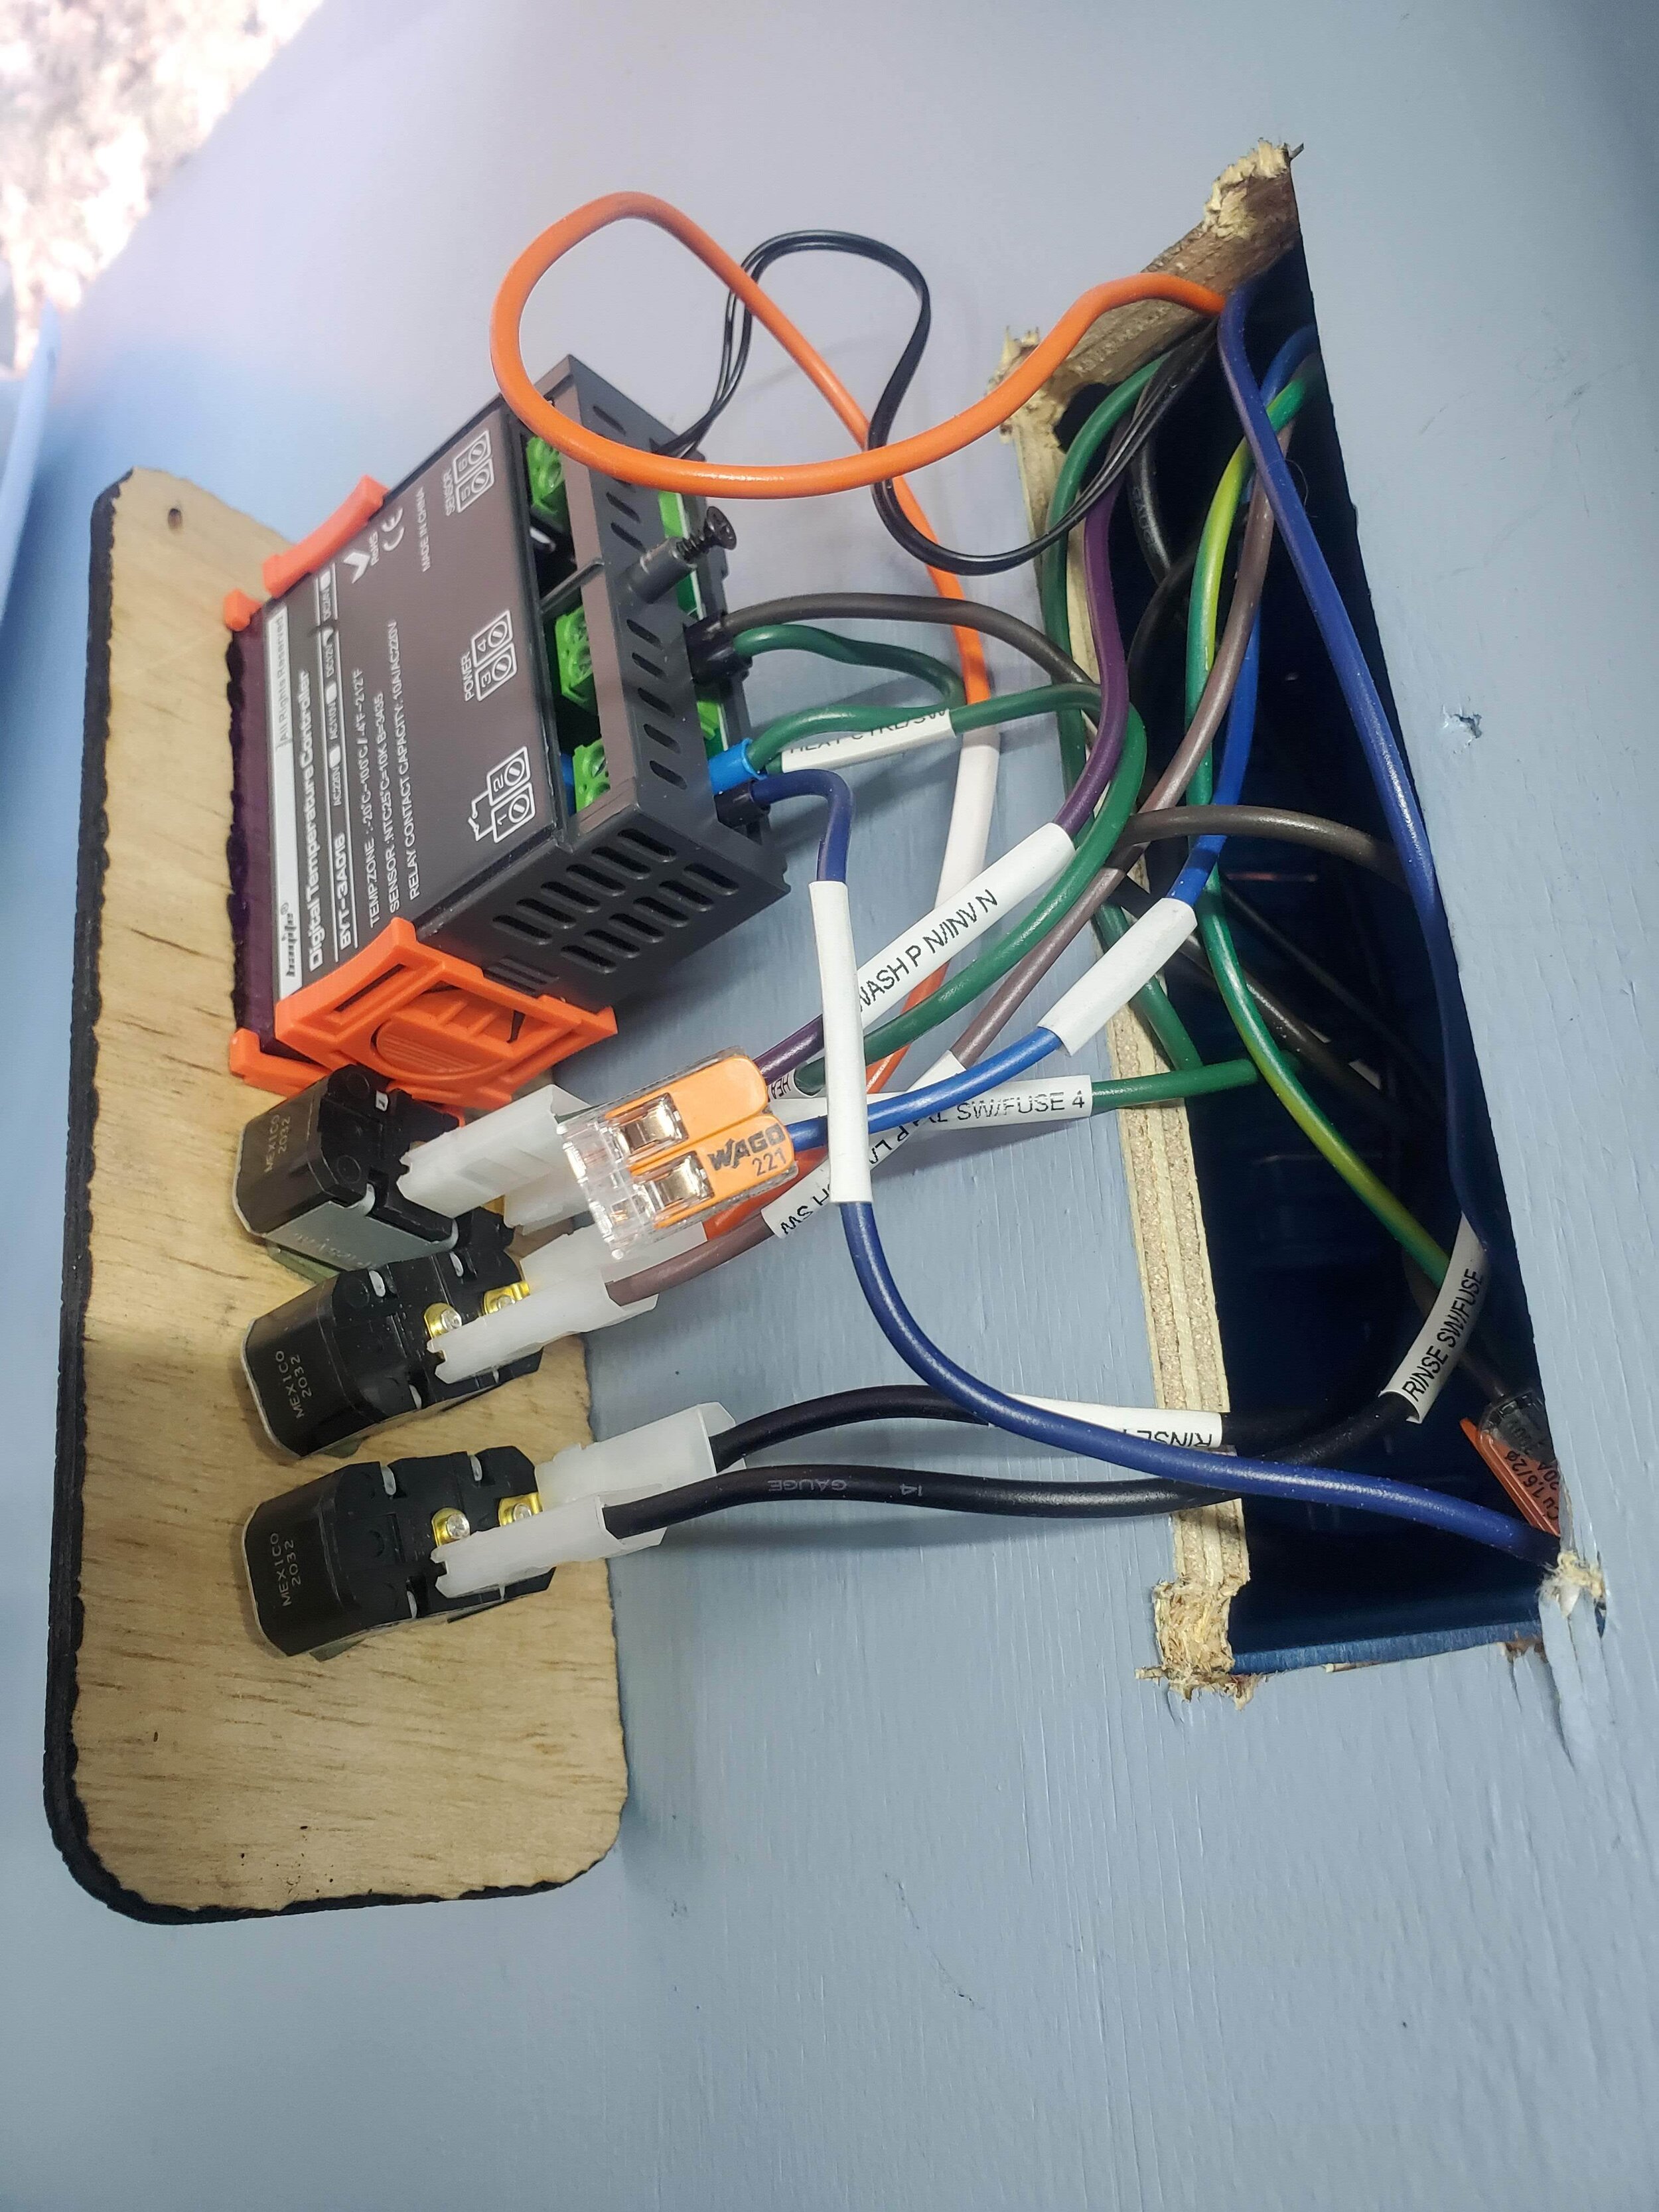
After making sure we would be able to run everything, I needed to actually wire everything up so it would work! With some guidance, I planned out a wiring diagram connecting all of my components to their corresponding switches and then to the fuse box/battery/inverter (there are also several circuit breakers involved in this system and it’s connection to the van battery for safety reasons).
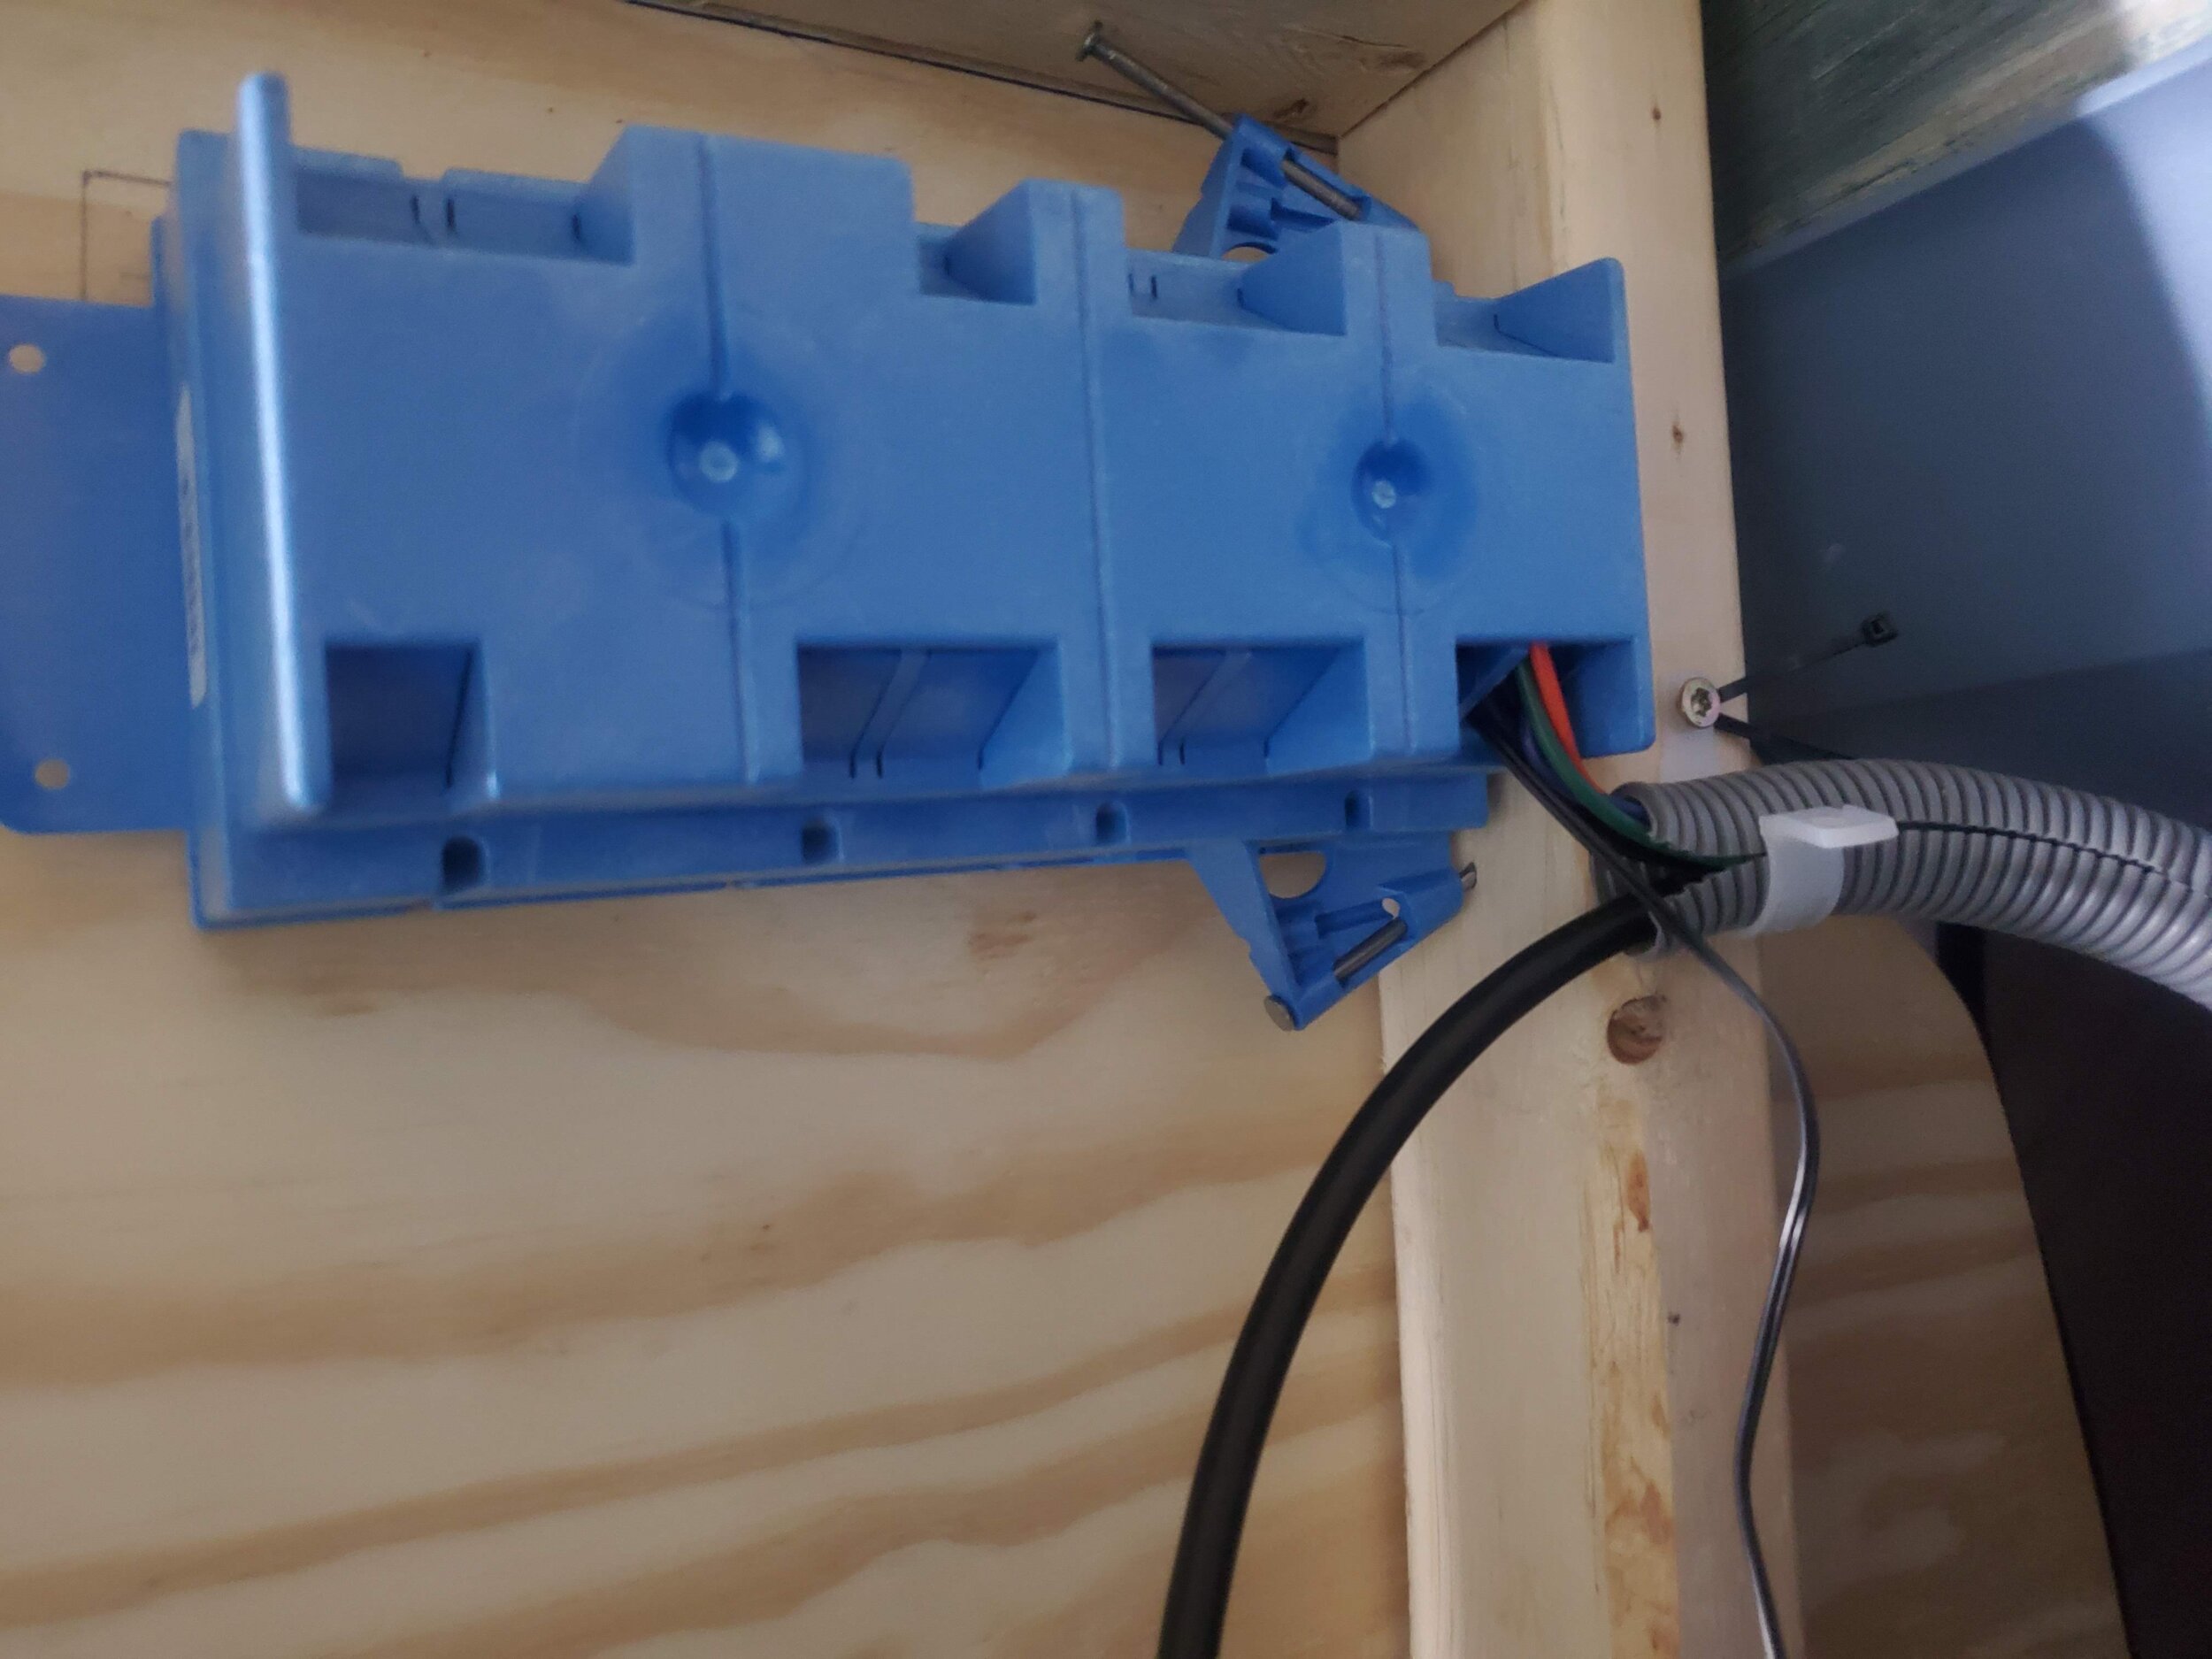
Once I understood everything that needed to be connected, I was handed a pile of novel tools to me and proceded to learn how to make appropriate electrical connections. While I was able to do most of this work on my own, it would have been impossible (and unsafe) without heavy guidance from someone who knew what they were doing. But, once I felt confident that I was using the appropriate gauge wire and knew what connectors needed to be on which wire ends I was able to pull most of it together pretty smoothly. At this point, I also took advantage of owning a laser cutter to design custom switchplates. Once I found a way to sneak a wire from inside the van to the battery (I squeezed behind the glove box and drilled a hole through the van hidden by a panel) I got help on the final few steps to get everything all connected to the battery.
While it’s certainly a huge sigh of relief to have everything up and running, there is still an enormous amount of pressure on my shoulders to keep everything running smoothly. There are a lot of things that I would have done differently if I had the luxury of time…or, you know, help. There are things I am still hoping to be able to improve to make it work better for us and there are a number of finishing touches that still need to come together. I also have a growing list of “things to ask for help with” that I am putting off until spring when I can recruit help with things like replacing the van’s rusted out steps. So for now, it’s not perfect, and it’s not done - but it’s alright and it’s working.


